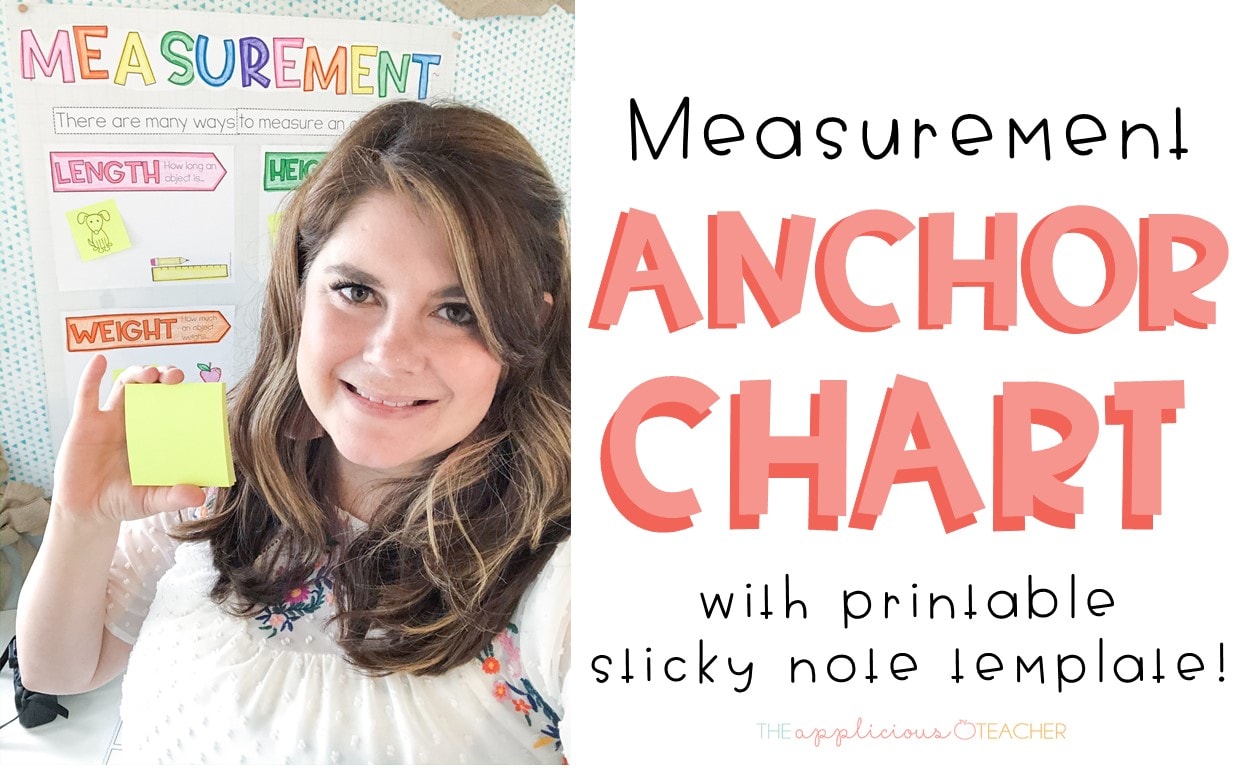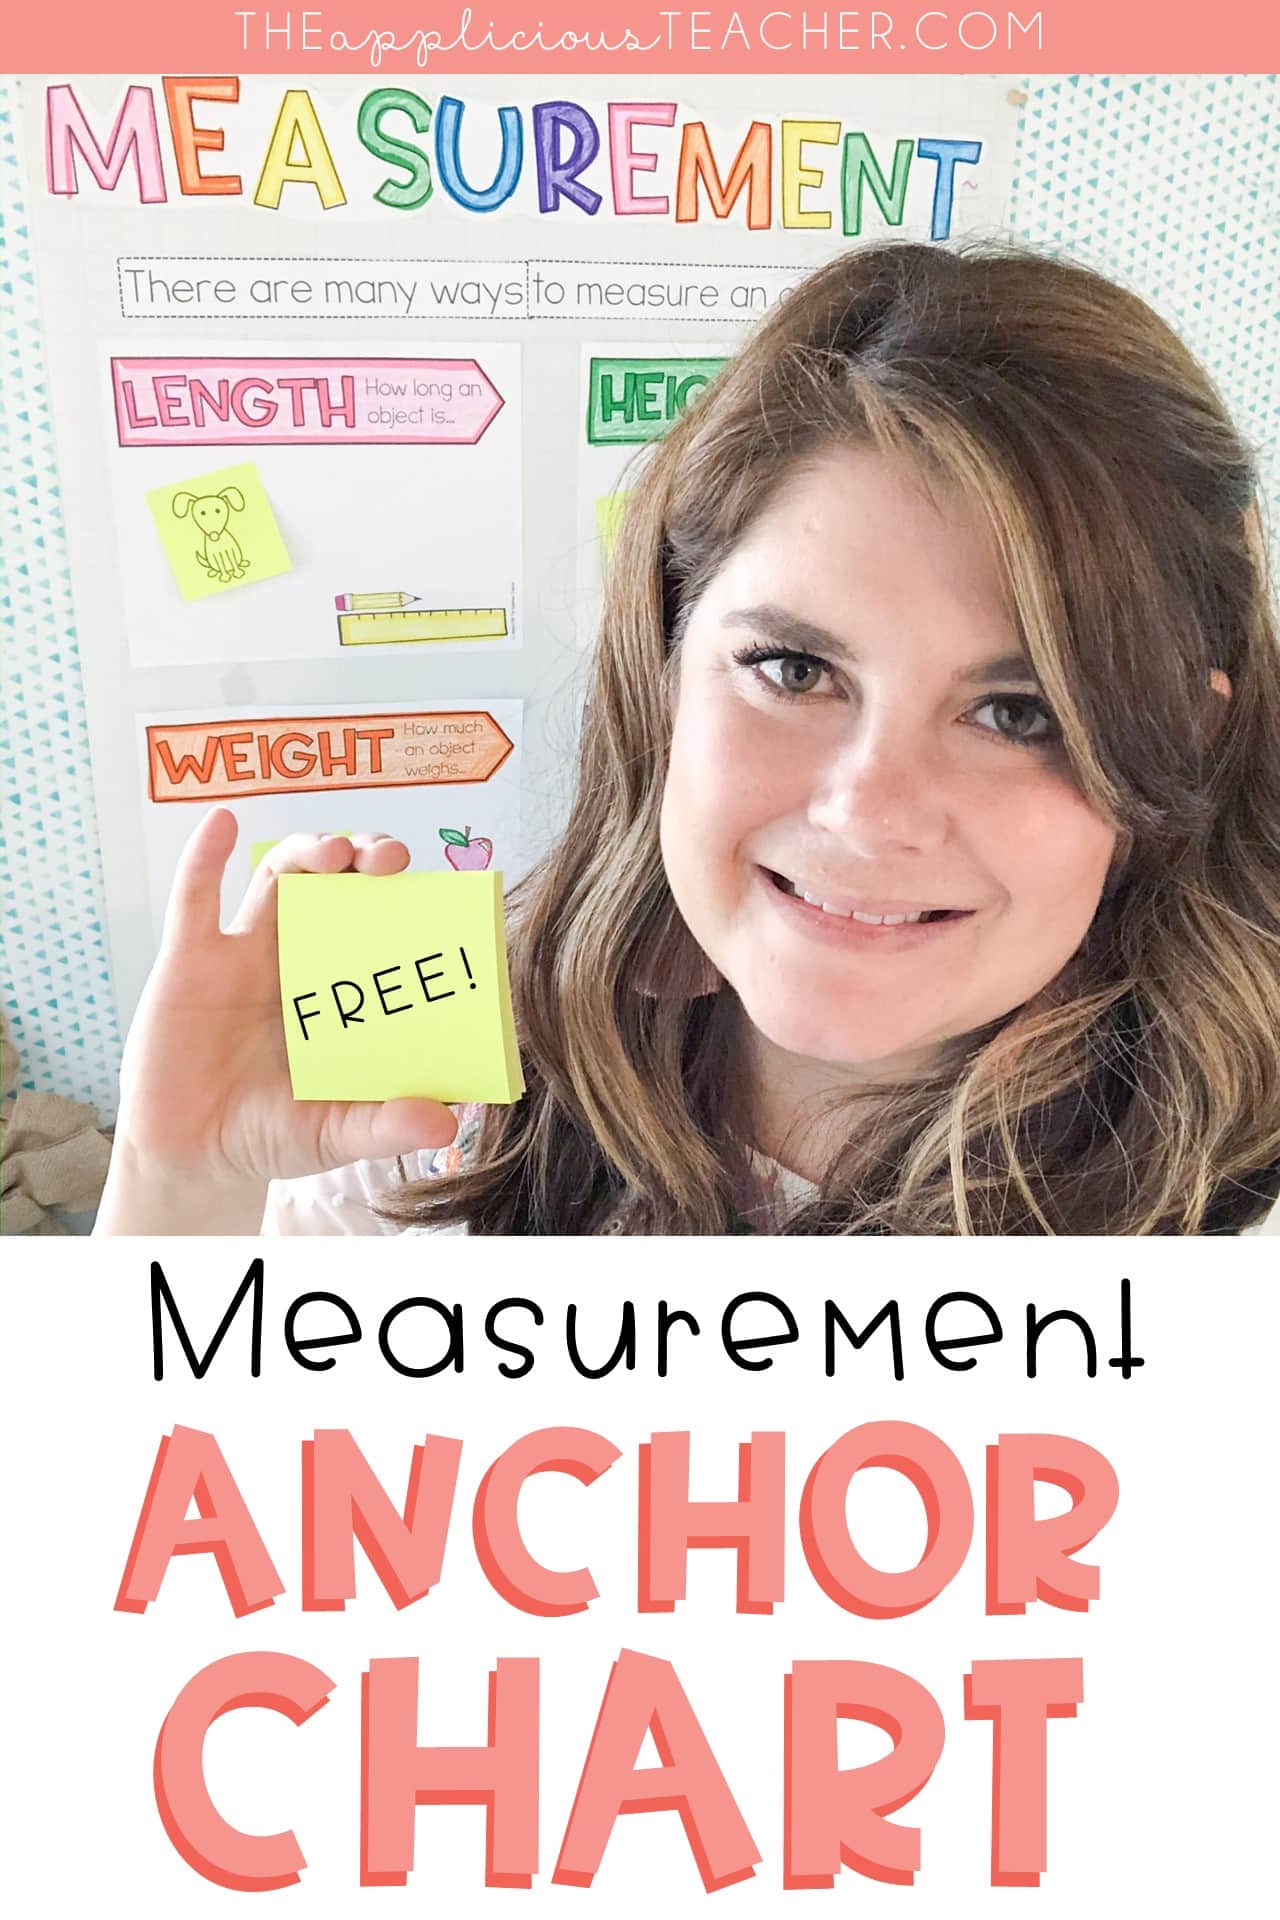
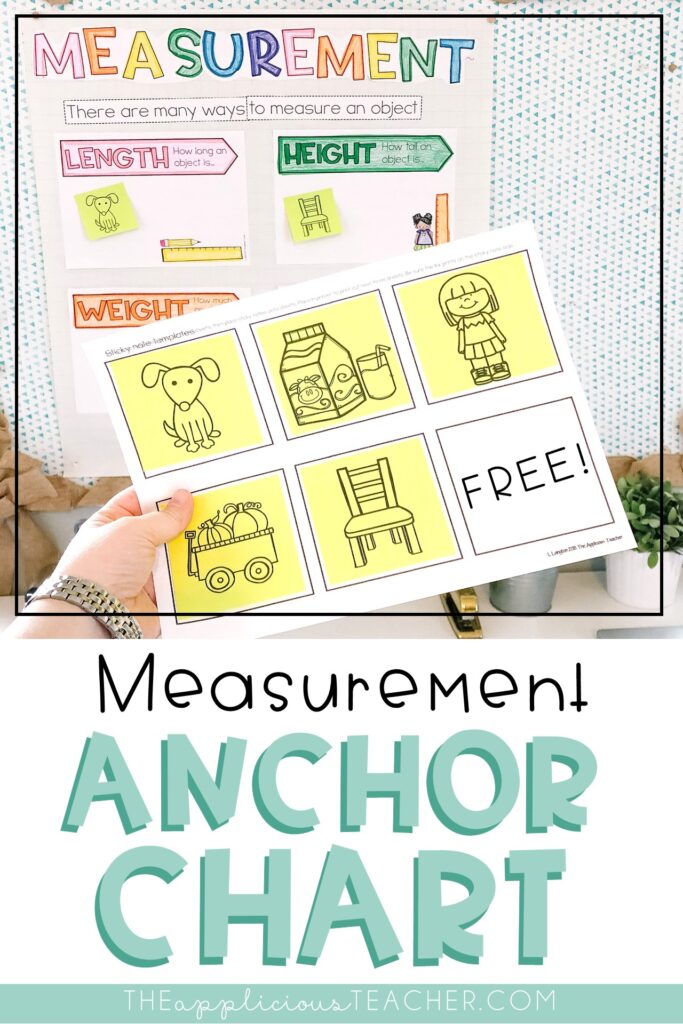
Are you about to start your measurement unit? Or maybe you’ve been wading in the weeds of measurement? Well… today, I am sharing a simple tool that you can use to introduce measurement or to refer back to as you teach your unit! This measurement anchor chart is super simple to make, and the template includes printable sticky notes, so you can make this completely interactive! YES!
Please note this post contains affiliate links. If you do follow my links, please know that I do make a very small commission from your purchase. There is no cost to you, but this extra coinage allows me to continue creating free resources and writing awesome content for you!
Measurement Interactive Anchor Chart
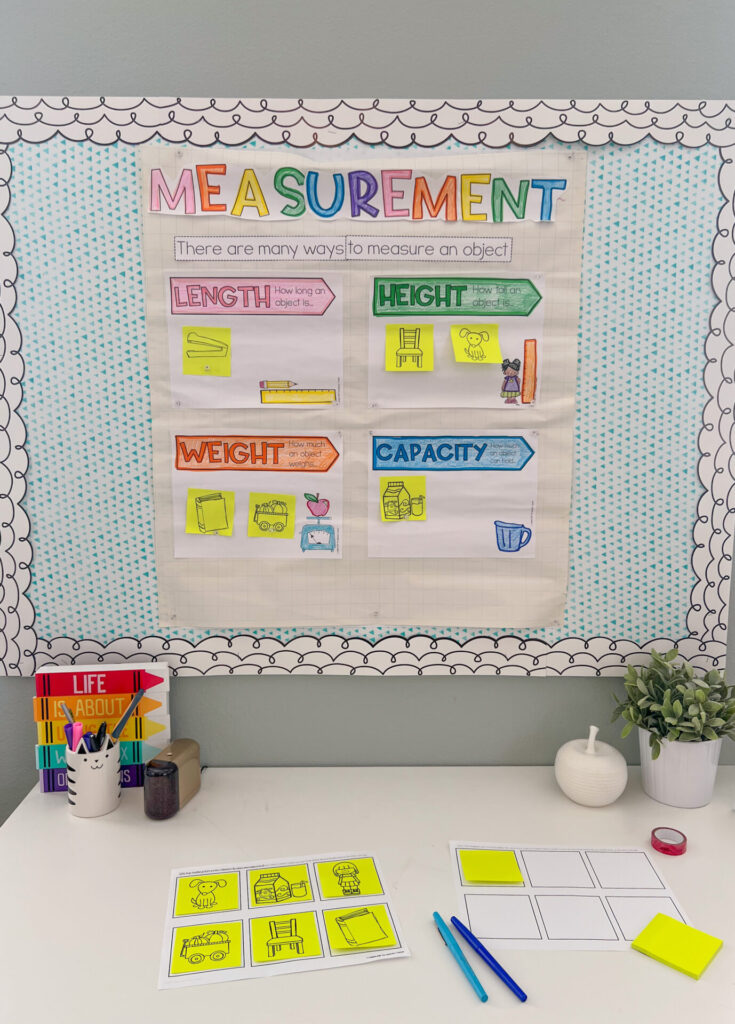
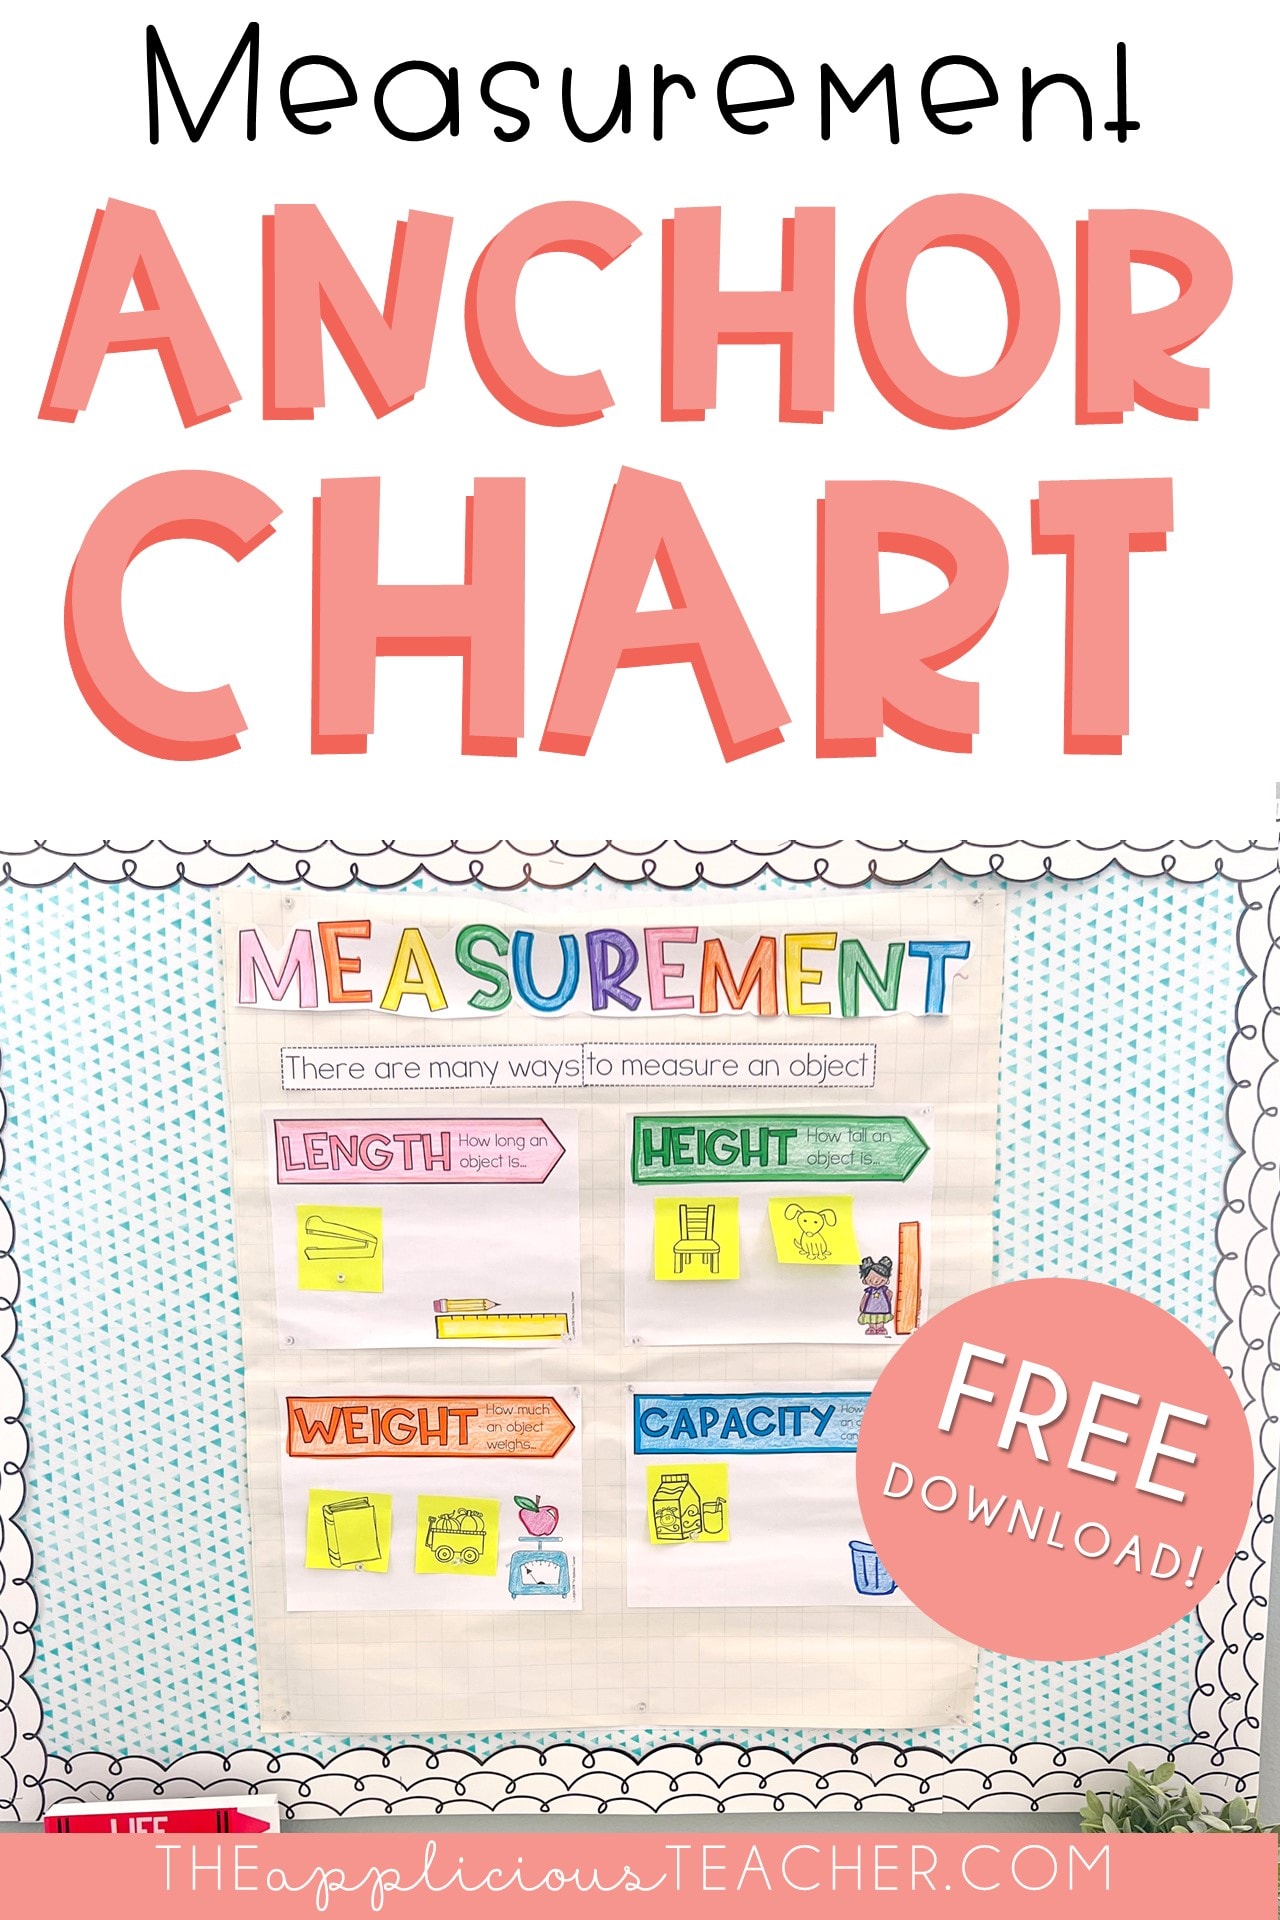
This measurement anchor chart is perfect for use as a reference as you go through your measurement units in math. Make it ahead of time and introduce it as a way to discuss what measurement actually is and how we can measure things in different ways.
Then, as you move through your measurement units, review the chart again. Keep it hanging on your focus board or up on your whiteboard for the remainder of your lessons.
Measurement Anchor Chart Supplies
First things first: You need some supplies to make this anchor chart. Here’s a quick list for you:
- measurement anchor chart pieces (get this sent to your email for FREE! Check out how at the end of this post!)
- markers or crayons
- anchor chart paper (this one is my favorite!)
- glue stick
- 3 x 3 sticky notes (these are my favorite)
Making the Chart
Making this measurement anchor chart is pretty easy!
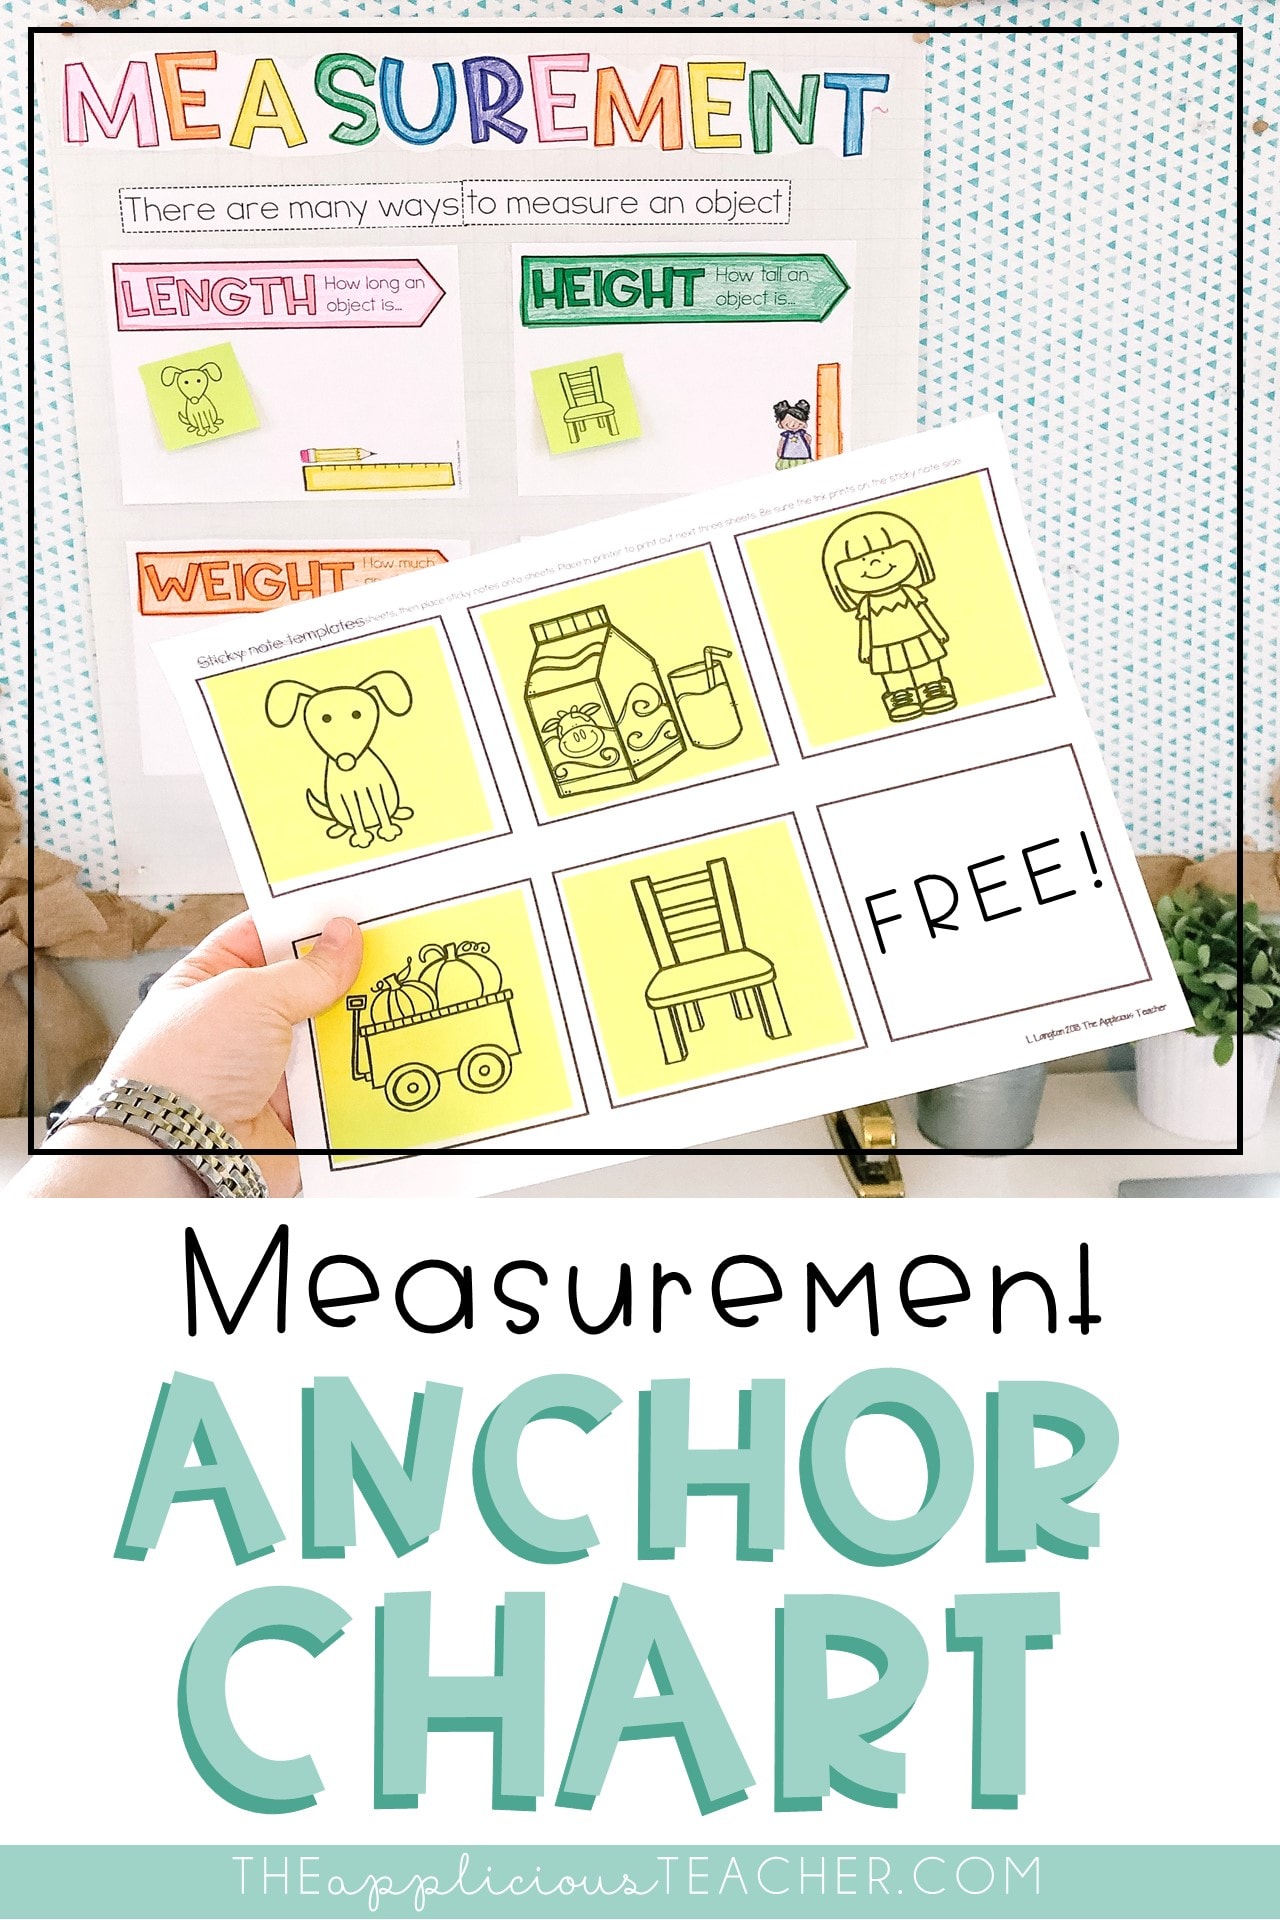
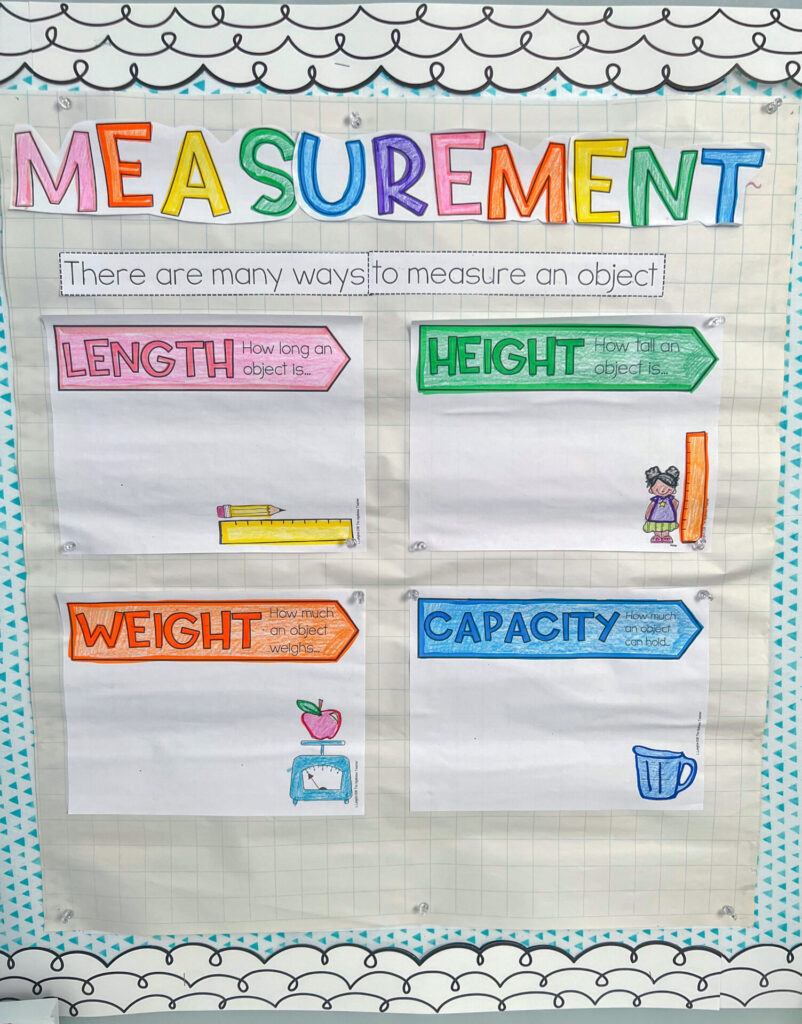
First, print out the anchor chart and sticky note template pieces. You’ll want two of the sticky note template sheets. Then, color, cut, and place the anchor chart pieces. Space them out how you like them, then glue them in place.
Printing on the Sticky Notes
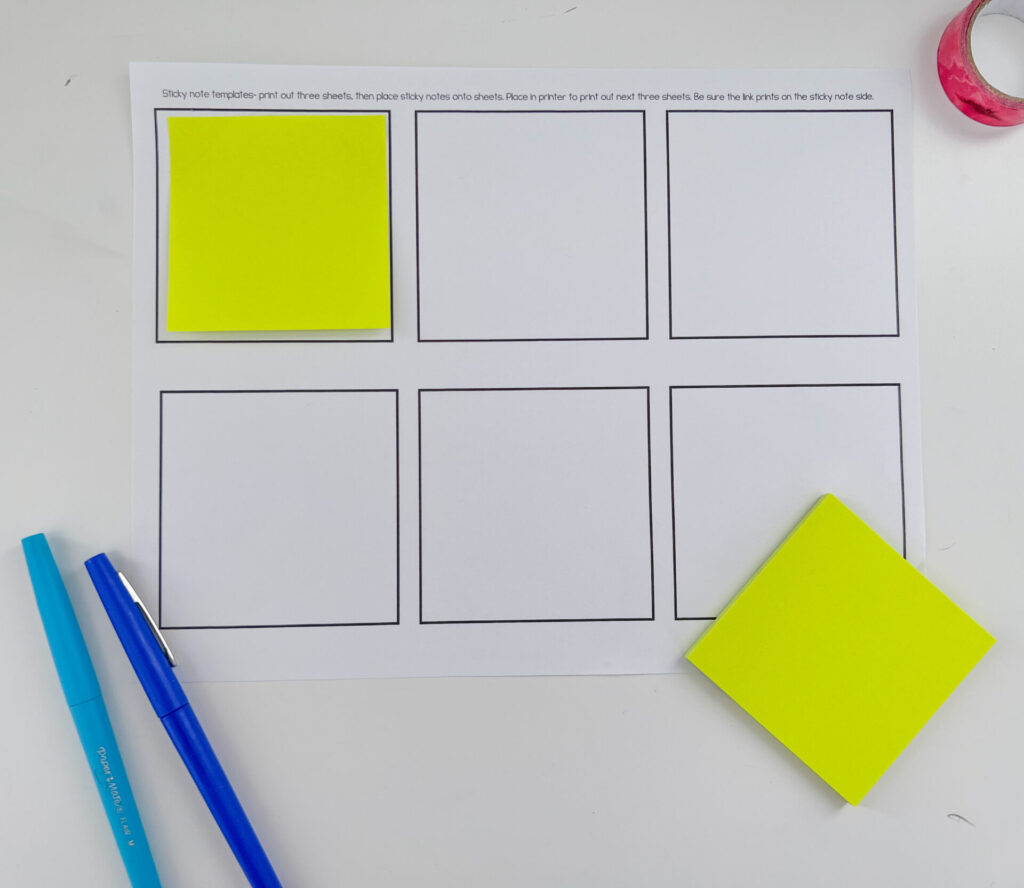
Now it’s time to print out the sticky note items. These are perfect in helping students understand how we can measure certain items in different ways.
- Print out sticky note template pages.
- Attach 3 x 3 sticky notes onto the boxes. Make sure the sticky side is down and at the top of the template.
- Place sticky notes template sheet into the printer paper feed so that the sticky notes will be printed on. (Often, it’s face down, but you need to do a test run to confirm how your printer works.)
- Select pictures pages you’d like to print.
- Print out pictures.
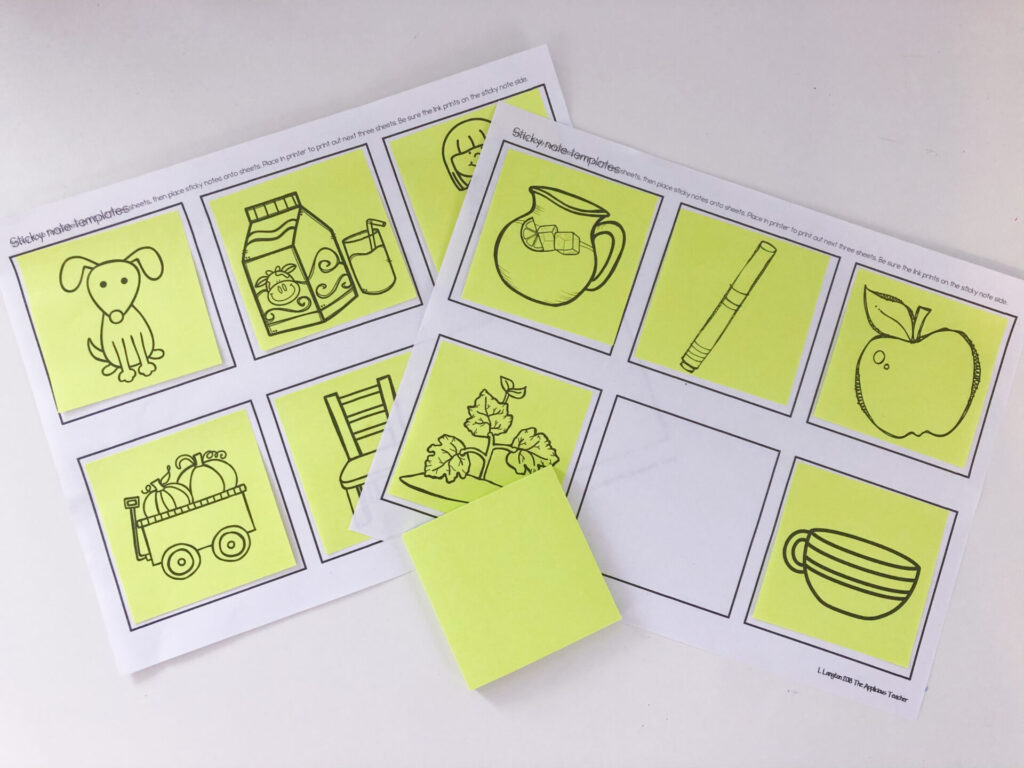
Remember, all printers are different, so you may need to do a test run with a blank sheet to make sure that you’re putting it in correctly!
Using the Anchor Chart in Your Classroom
Here are a few suggestions on how you can use this measurement anchor chart in your classroom.
After introducing the idea of measurement to your students, discuss the different ways you can measure. Show the examples on the measurement anchor chart.
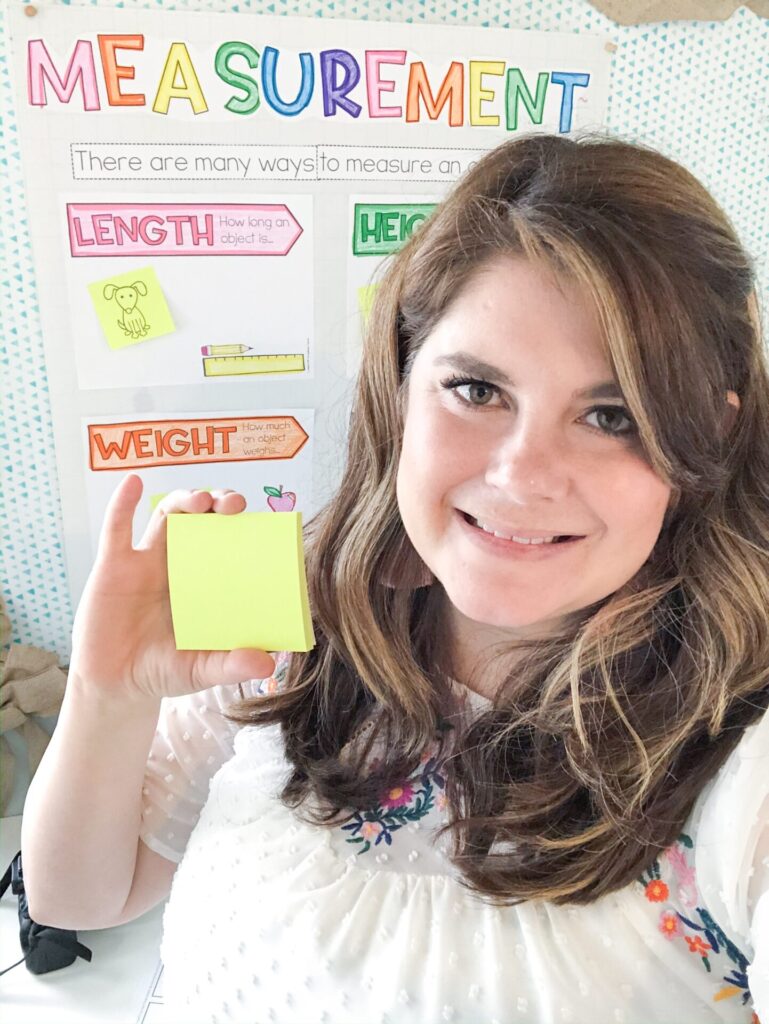
Then, give students sticky notes with the items printed on them. One by one, have students place their sticky notes onto the anchor chart under a measurement type. Discuss why they chose that measurement type for the item on their sticky note. Discuss how we can often measure things in different ways. Like, we can measure the height and weight of a dog. Continue until all sticky notes have been used.
Another option is to use the chart to introduce the idea of measurement, but only discuss the section you are currently working on. For example, if you are working on linear measurement, you might discuss how you can measure the height and length of something. Then, have students only sort items that would work in those two categories.
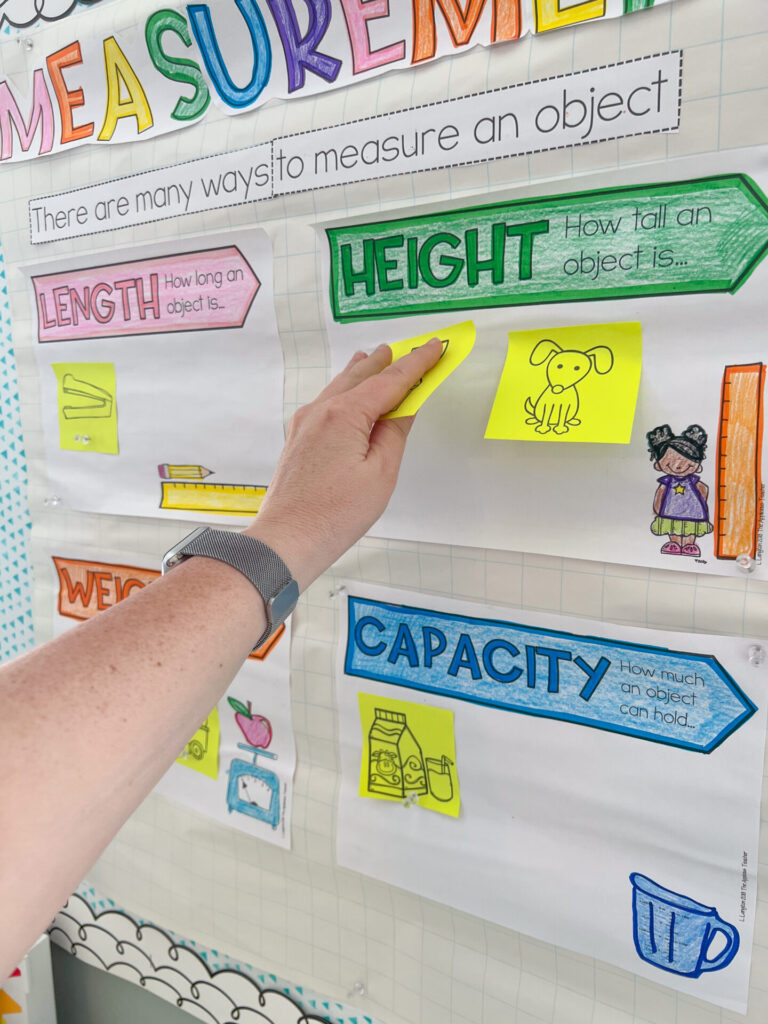
When you switch to teaching mass and capacity, refer back to the chart. Discuss the meaning of the terms and have students sort the remaining items.
Free Measurement Anchor Chart
Now you can use this measurement anchor chart to teach your measurement unit! Perfect place to start! If you want this free measurement anchor chart sent straight to your inbox, sign up using the form below.
