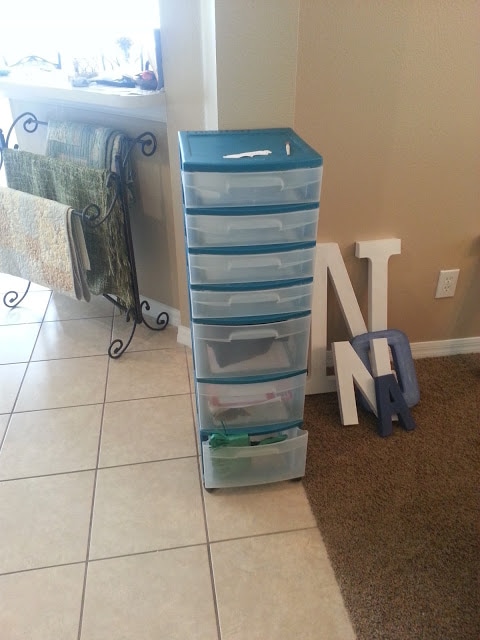
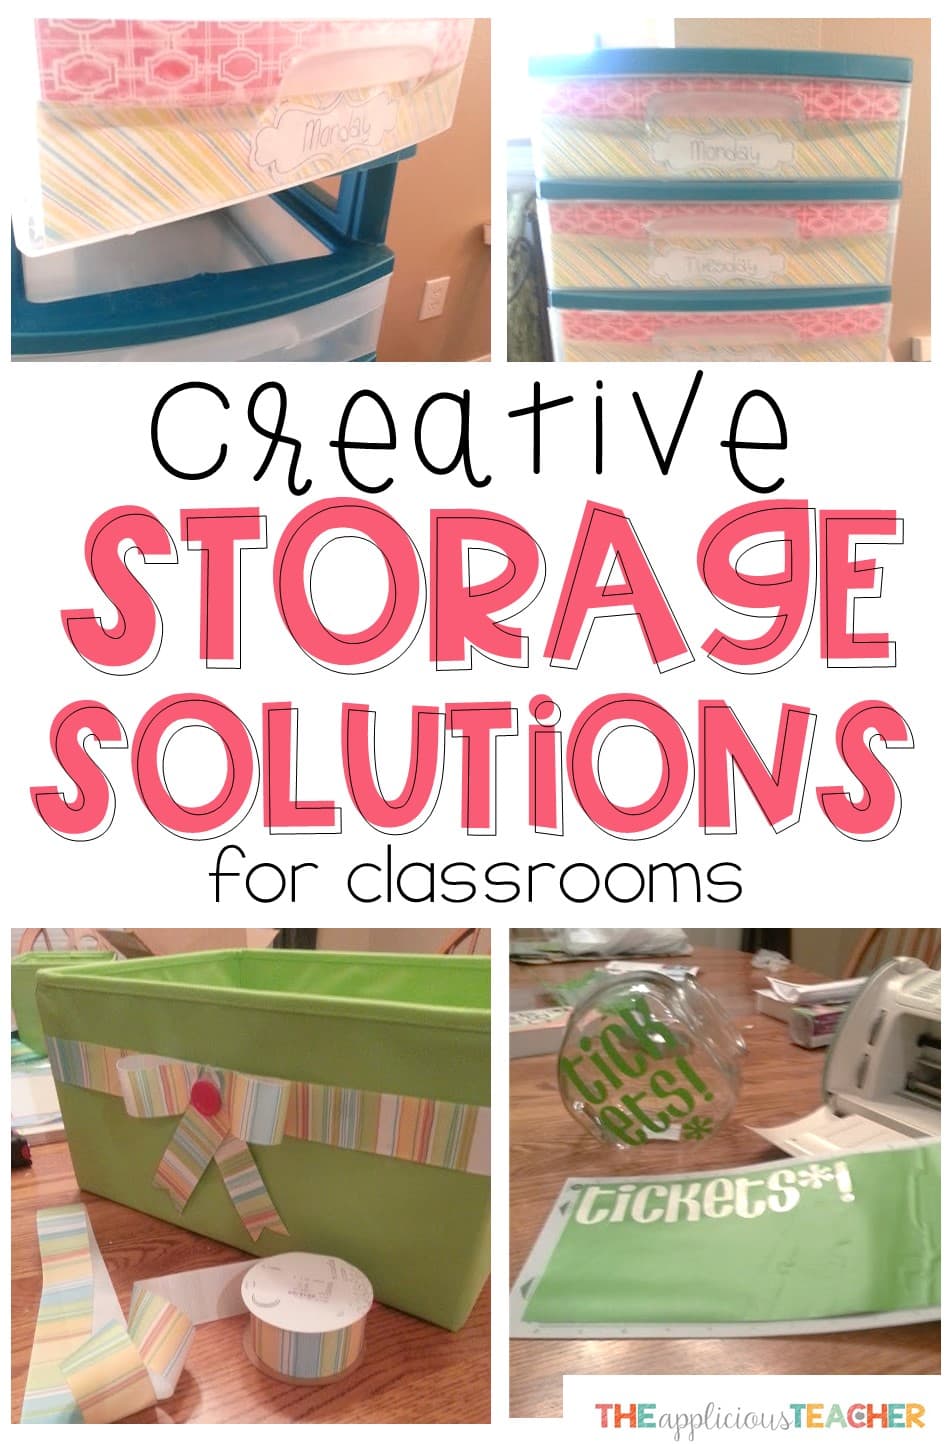
First up, my tower of drawers that houses my supplies for the week. *Please note that some links are affiliate links*
Weekly Lesson Plan Drawers: BEFORE
Not terrible but not good either…
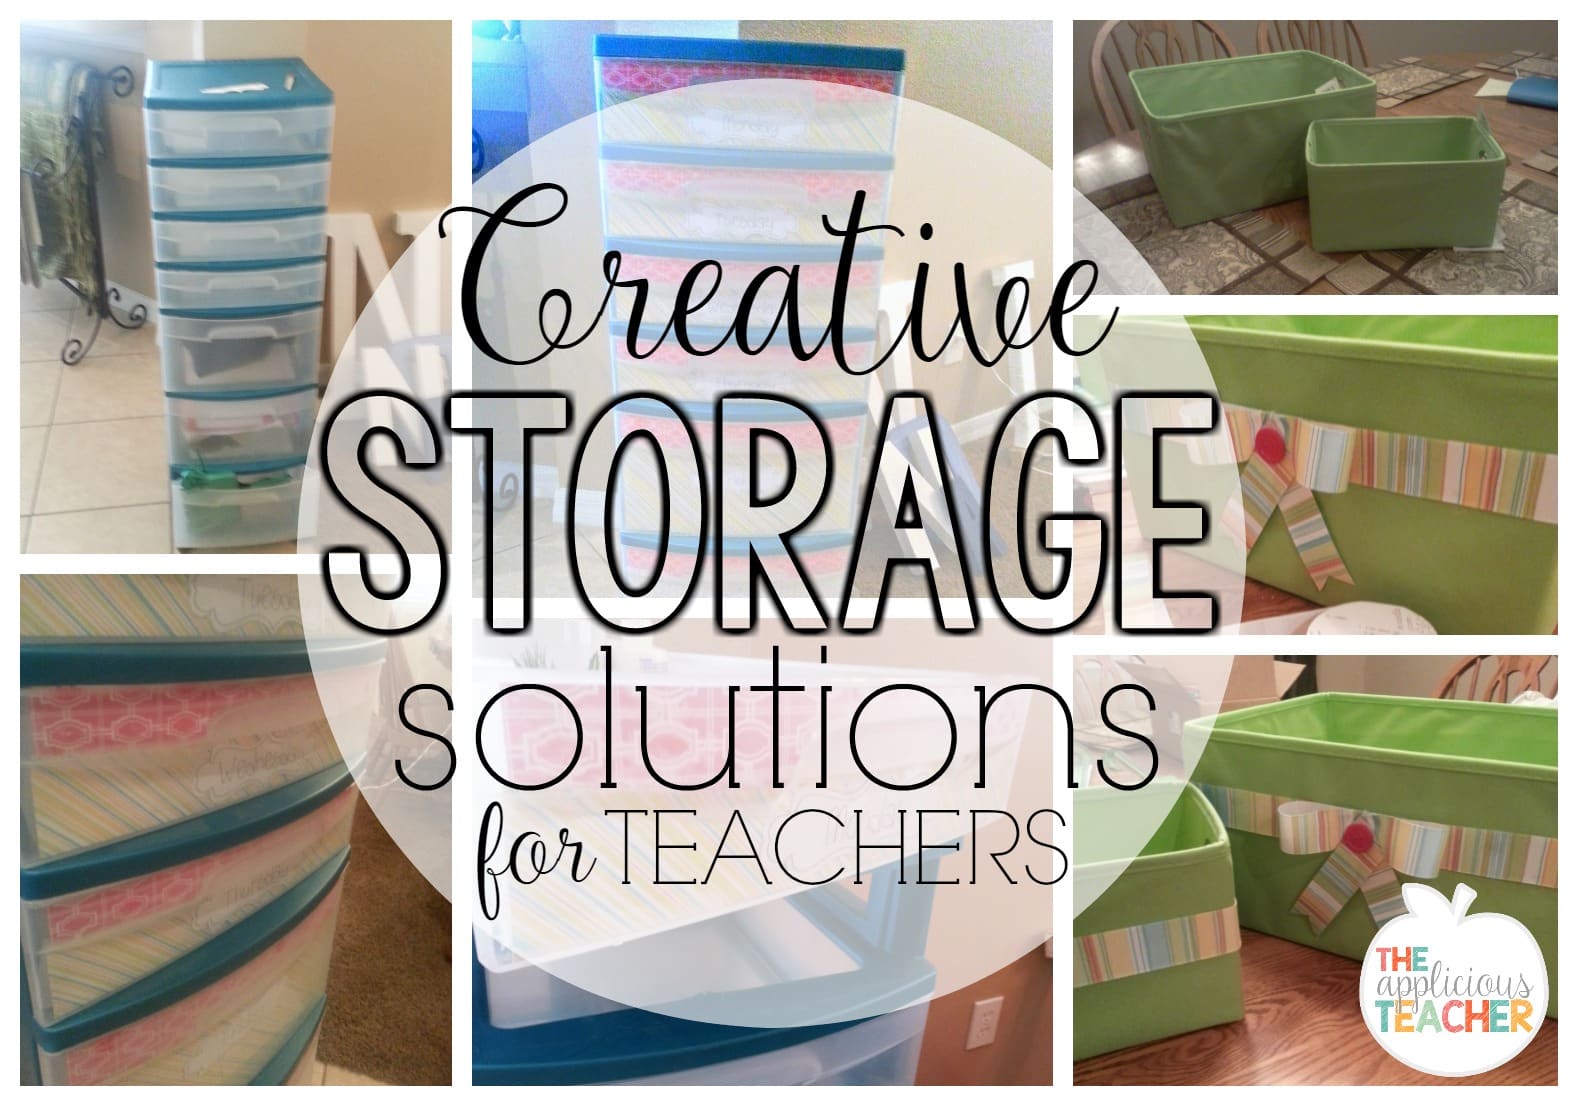
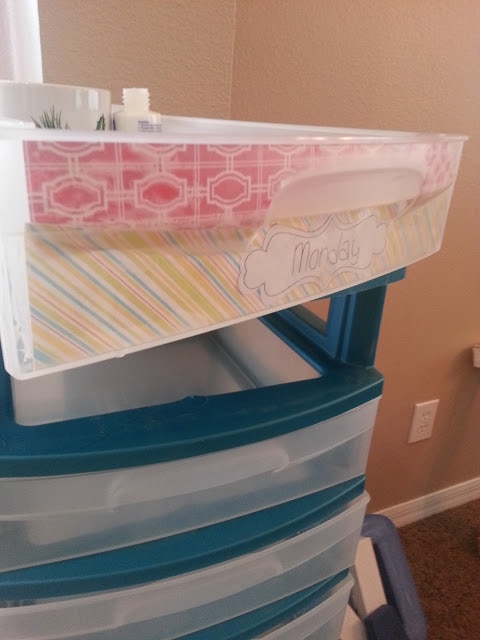
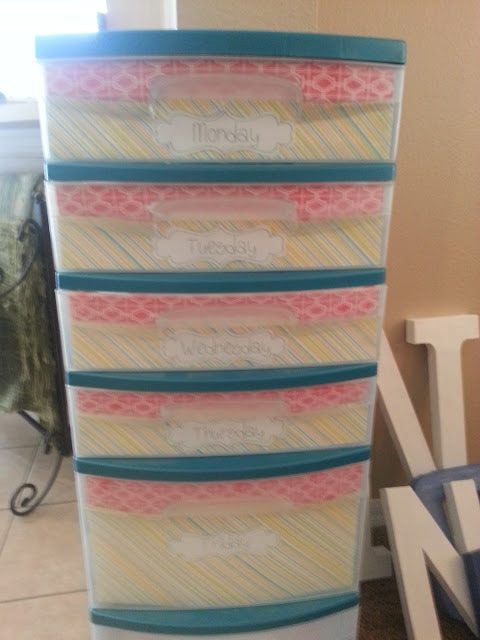
Weekly Lesson Plan Drawers: AFTER
So stinkin’ cute if I might add!
I found the paper at Joann’s in a “big stack” pad. I think I may have a few other crafts up my sleeve for that paper too! After measuring, trimming, remeasuring and re-trimming, I used a glue gun to adhere the paper to the plastic.
*Some words of advice on lining the drawers with paper- I’ve read a few blog posts on using Modge Podge and tape … I tried both ways and the glue gun worked FAR better! (Just make sure you use still clear glue, and not yellowed sticks)
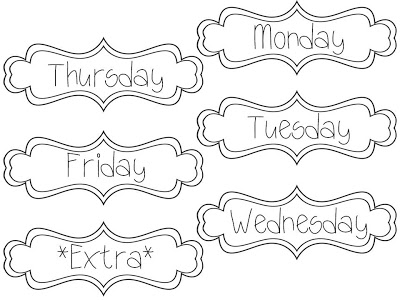
I love the red with the teal and the graphic print of the paper. Now each drawer is labeled and SUPER user friendly. No more “counting” drawers like I have been! WOOT! (You can grab my days of the weeks labels by clicking here)
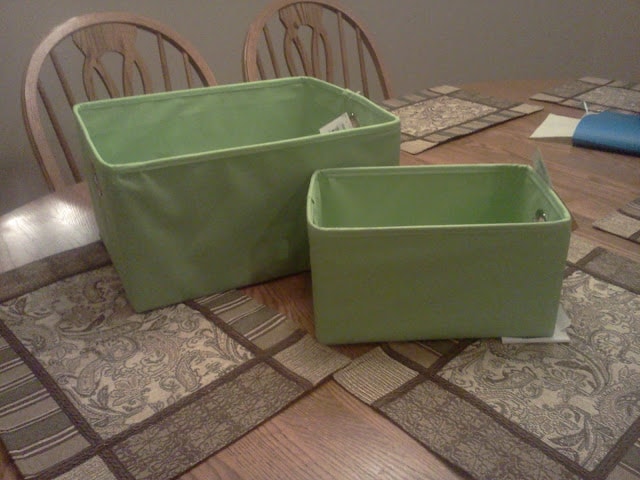
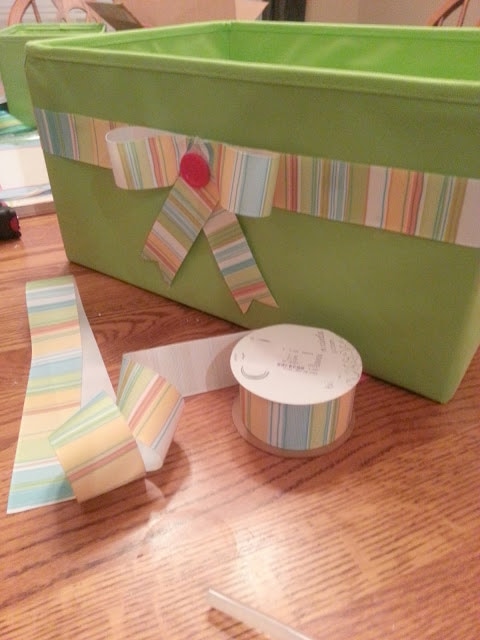
Speaking of the handy dandy glue gun, I also turned these plain green fabric bins that I got at Joann’s into
SUPER cute green fabric bins!
Guided Reading Storage Bin: BEFORE
Guided Reading Storage Bins: AFTER
You can find some similar ones here on Amazon!
These handy bins are going to sit on the window ledge behind my guided reading table. I plan to put my assessment binders and teacher tools in there to help me stay organized. Super cute and easy classroom storage idea! Now every time I turn around at my reading table to grab my data binder and assessments, I will have something UH-DORBS to look at! 🙂
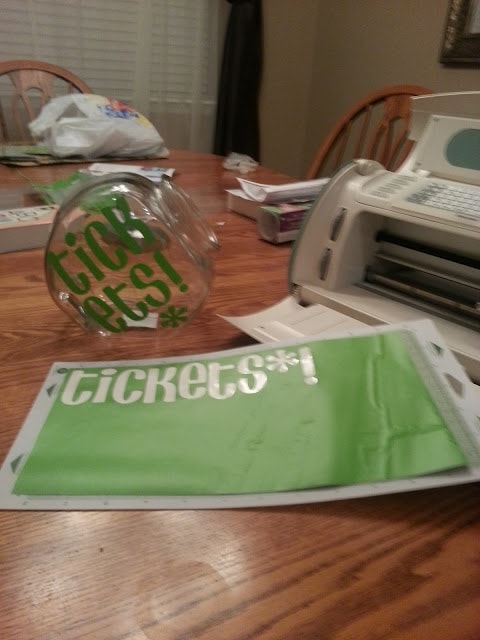
Classroom Tickets’ Jar
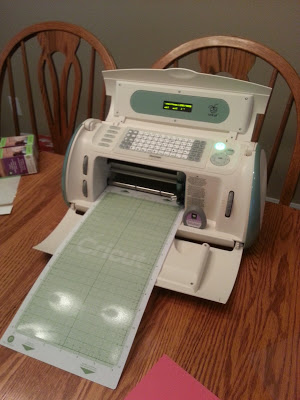
My last crafty project involved my Cricut!
I love this little cutting machine! <3
I used it to cut some lime green vinyl to decorate my ticket jar (to read more on how I use my ticket jar, click here). My one from last year was sadly broken after 6 years of faithful service. #RIP
These are just a few ideas for solving the classroom storage war. What are some other ways you’ve creatively solve the teacher storage problem?
Sign up to snag these!

Receive all these classroom management tools right to your inbox!
Success! Now check your email to confirm your subscription.
