
As a teacher, it seems you can never have too much bulletin board space. From hanging student work, a place to keep your objectives, or somewhere to have a few anchor charts, there can never seem to be enough bulletin boards in your classroom. When I switched schools a few years ago, I found myself in a unique situation. My old classroom had TONS of bulletin board space. In addition, I added a bulletin board using cross fencing. It was *almost* too much… but honestly, I loved filling up the space.
When I moved to my new school, I was SHOCKED at the lack of bulletin boards. There were 3 fewer boards and the boards themselves were WAAAAAAAAAAAAAAAYYYY smaller. What was a girl to do? Make her own, I say! So today, I’m sharing the seriously EASIEST DIY bulletin board you have ever seen! Now the possibilities are endless!
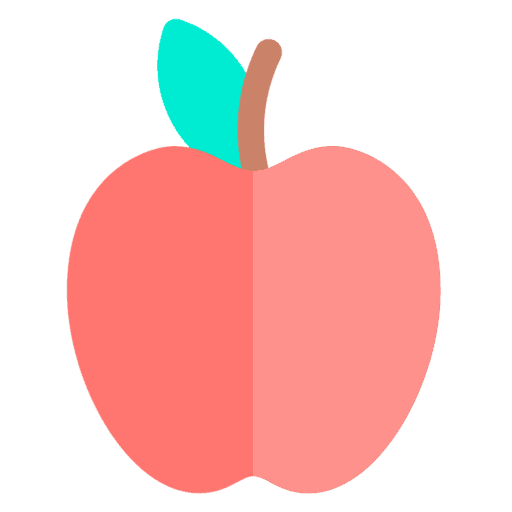
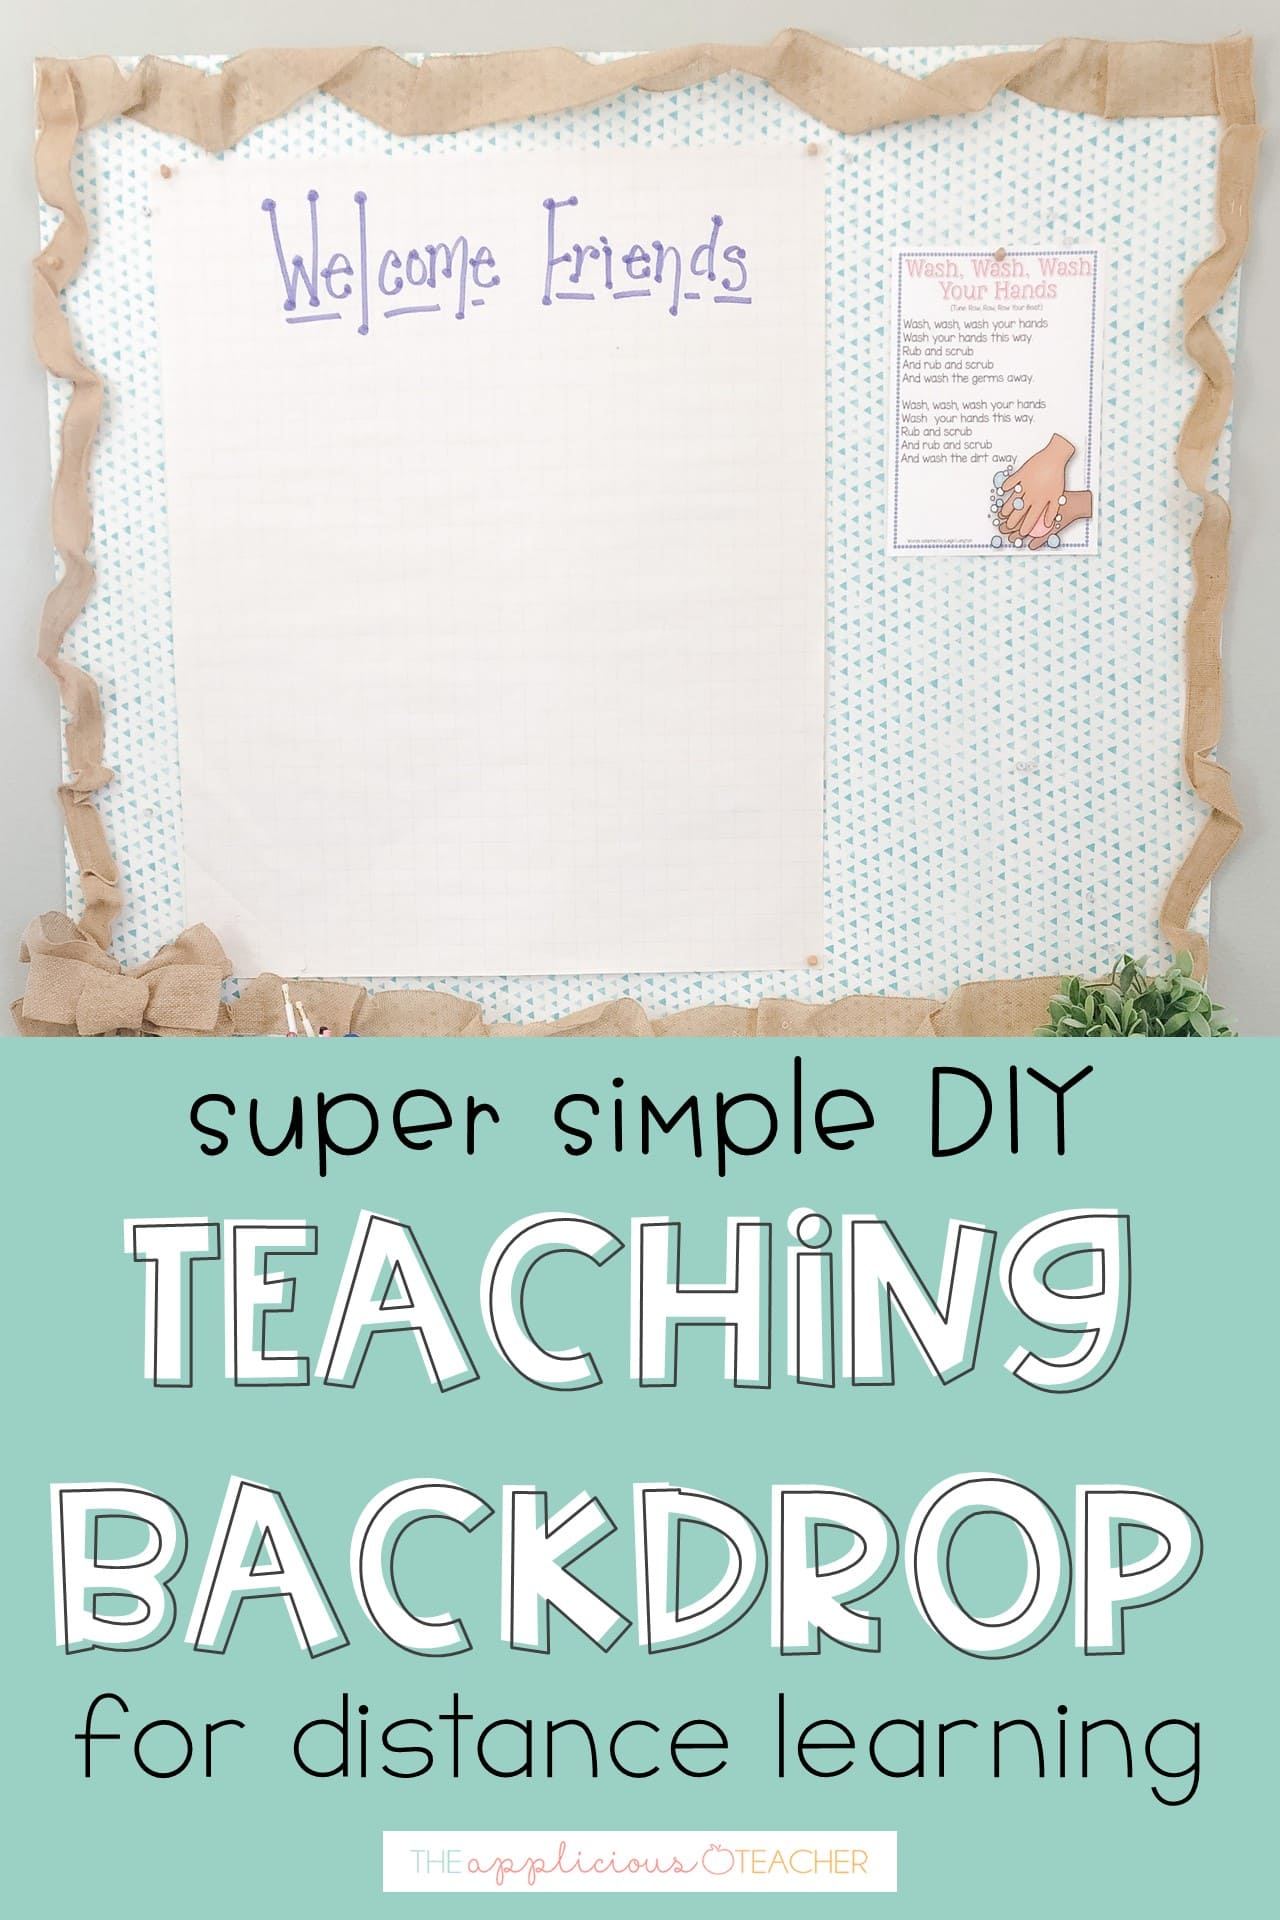
This simple bulletin board is temporary, so it would make a perfect backdrop for your distance learning classroom. Just be sure to use the command stripes I suggest so you can remove it when your done (and bring it in your classroom!
Please note this post contains affiliate links.
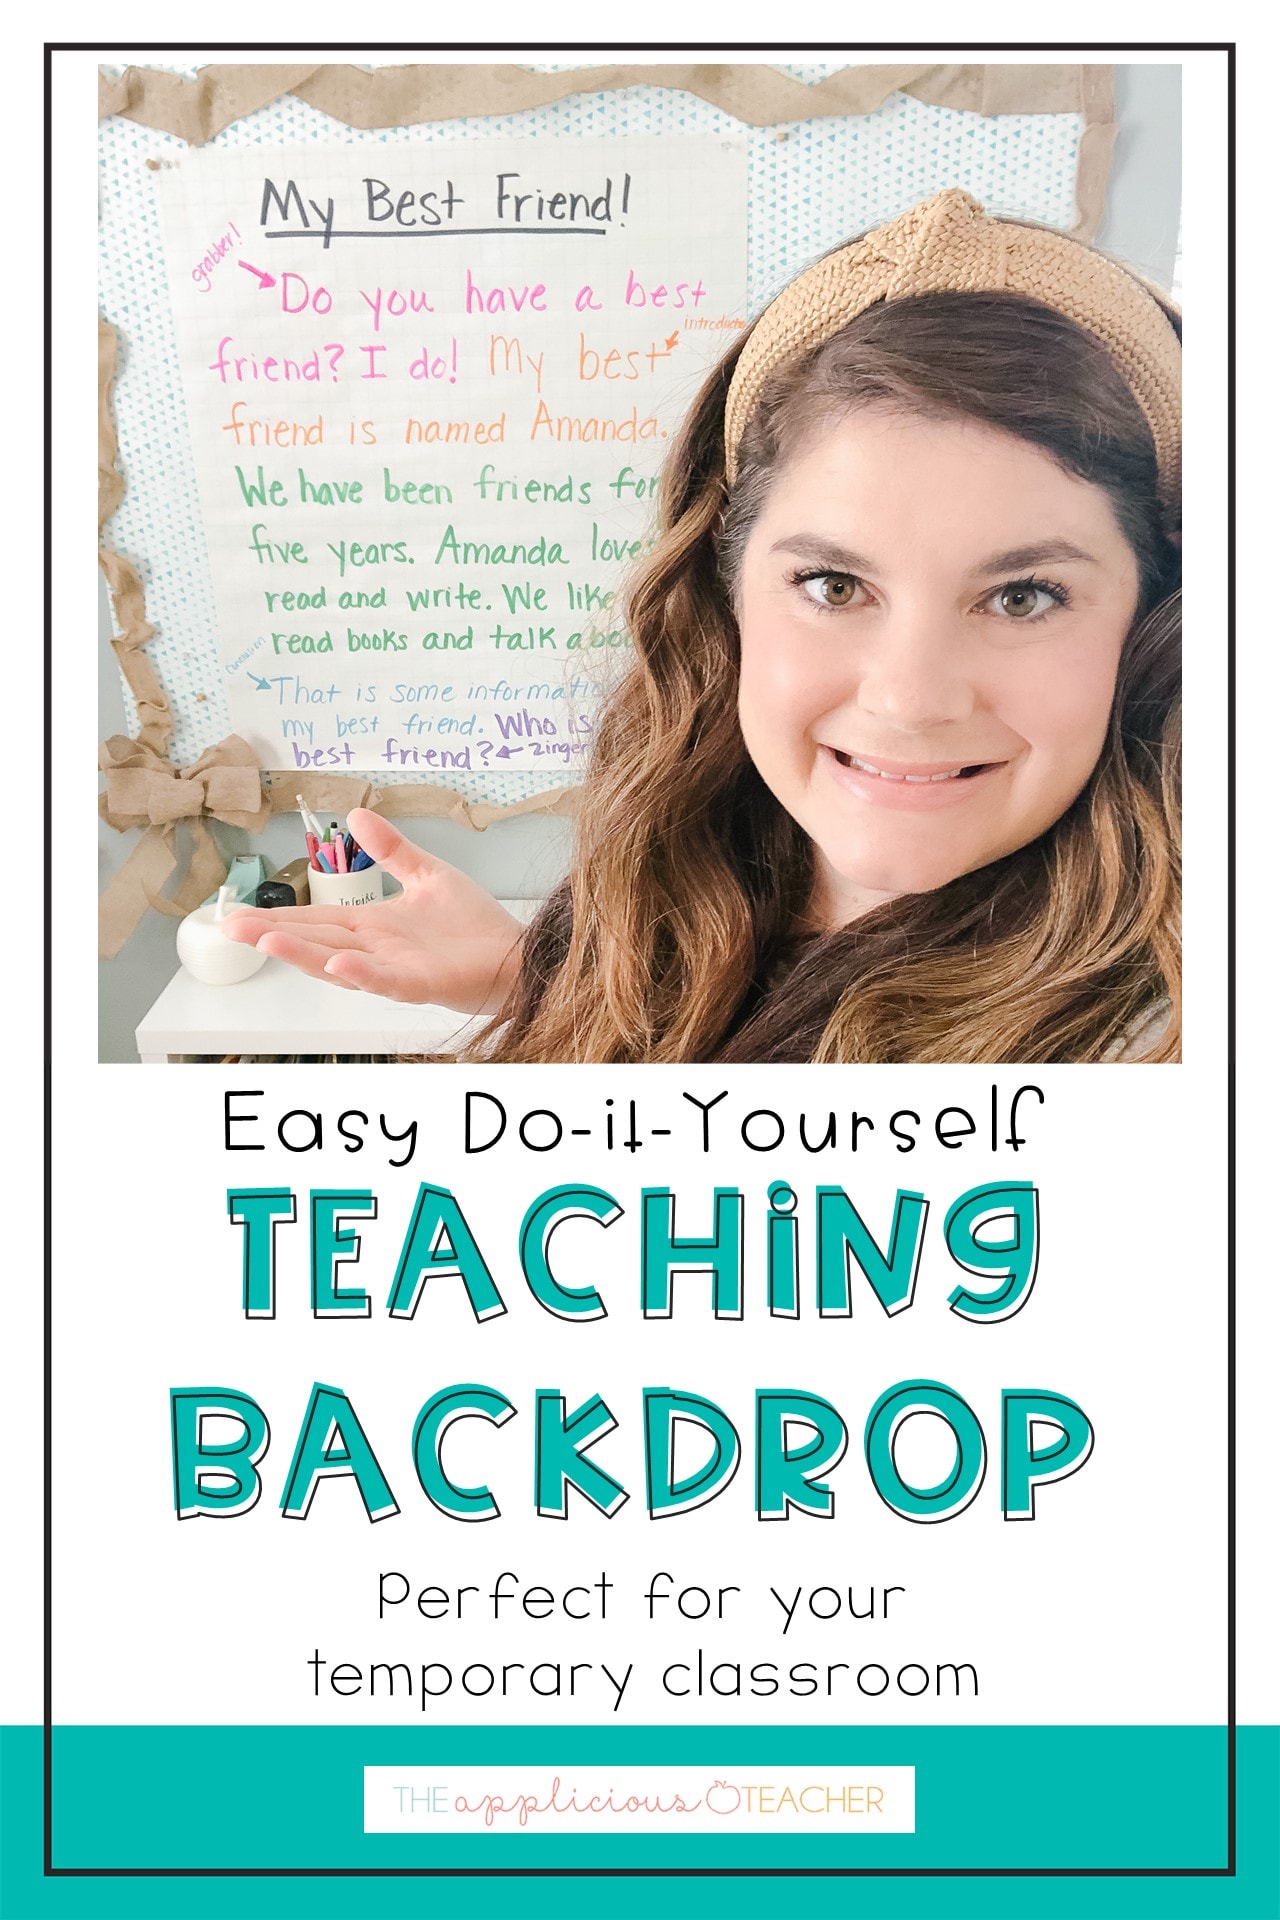
Supplies for your temporary bulletin board
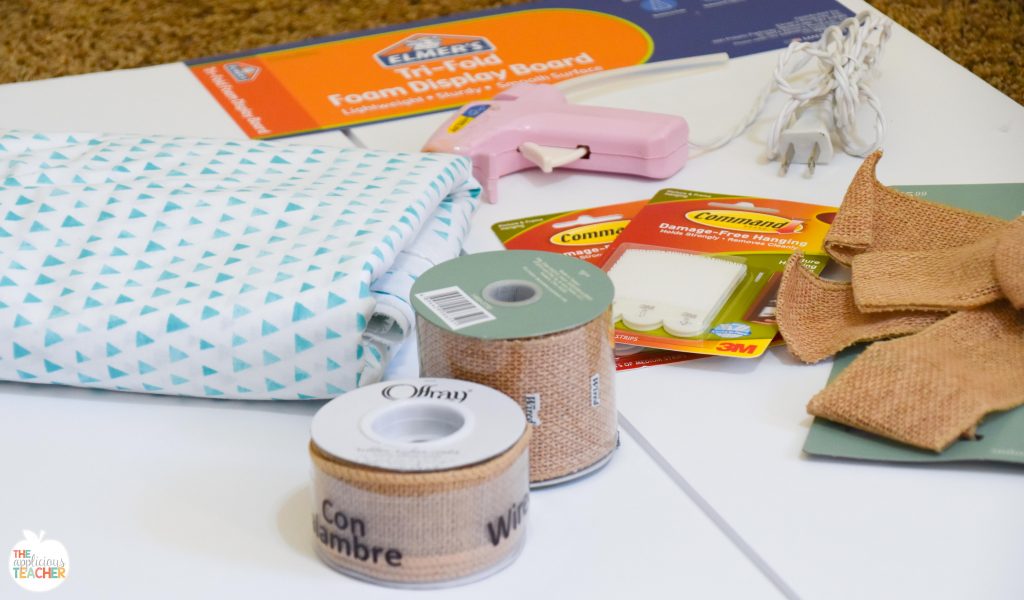
First up, the base. The base of the board is a Tri-fold Display board. You know the ones you use for science projects? Make sure it’s the white foam board type. This one I grabbed at Target for around 10 bucks. Oh! Did you know you can purchase online and pick up in the store? AWESOME Target! Just what this busy mama needs!
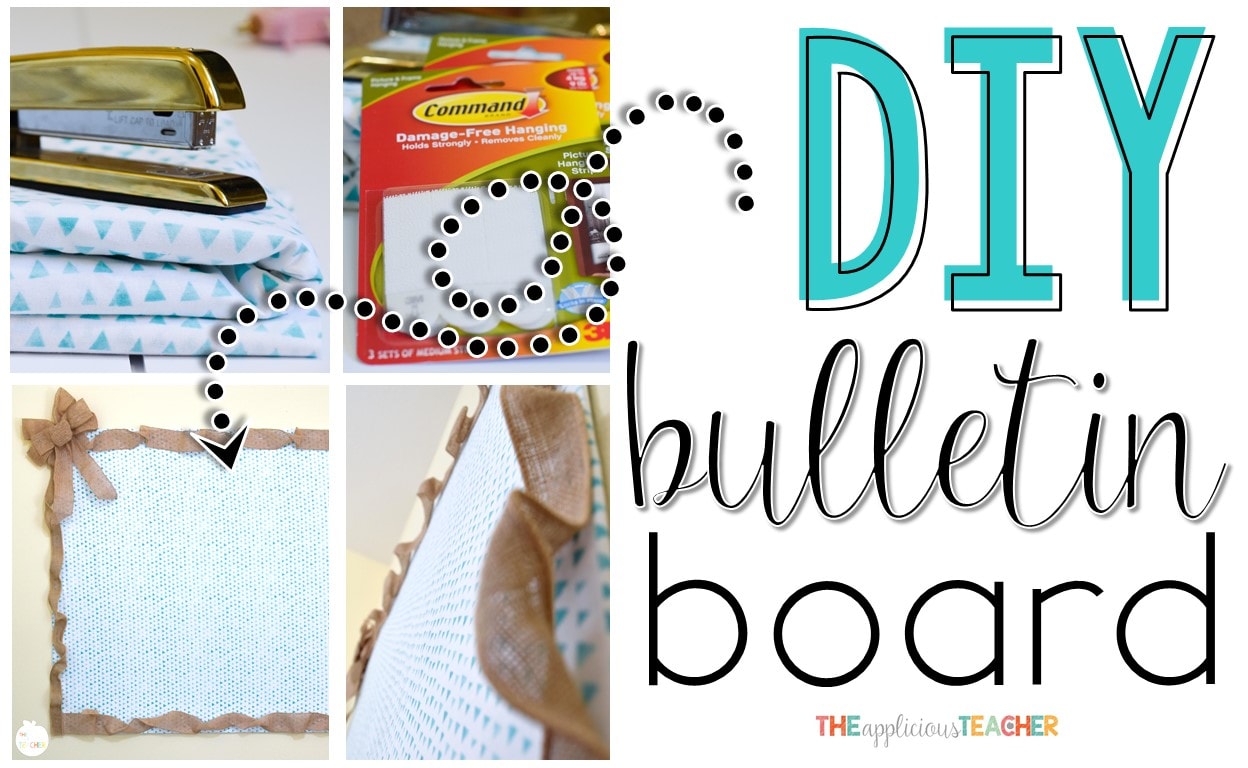
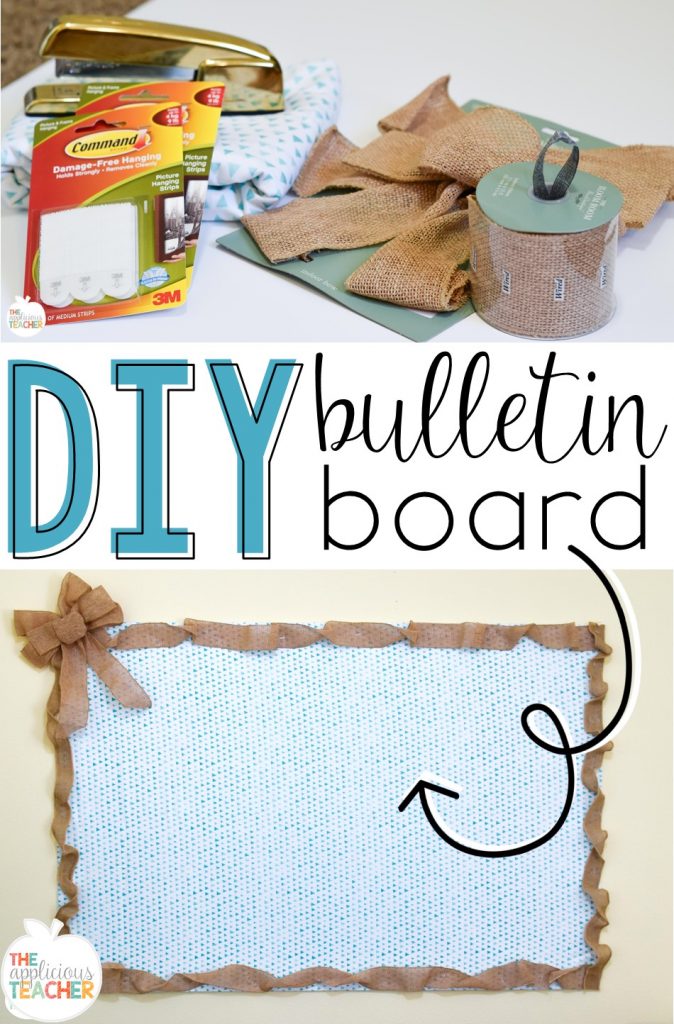
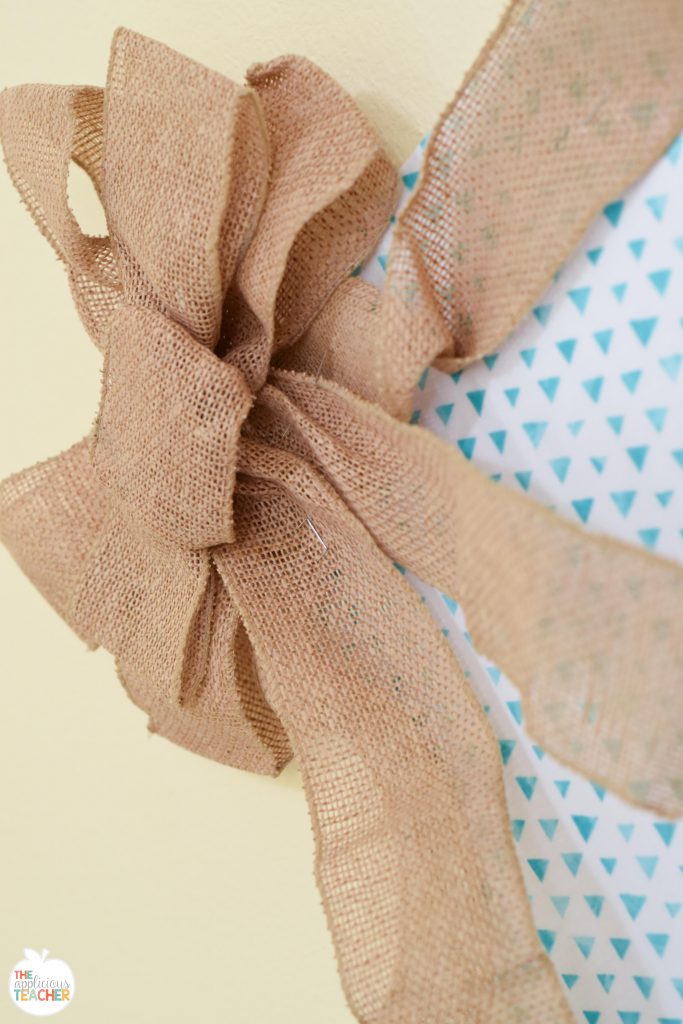
You’ll also need a glue gun (any kind will do!) some large paper or fabric. I found this fabric at Joanne’s for around $3 a yard. I got 3 yards. You don’t have to use fabric, I just like how durable fabric is. You’ll also need a set of Command Damage Free Hanging Strips. These are the key the hanging your bulletin board basically anywhere damage free! Now, I also bought some burlap ribbon and a bow for decoration, but any border will do!
These supplies will make a 4 x 3 bulletin board. You can double the amount to get a larger board, or cut it down if you’d like something smaller.
Getting Started
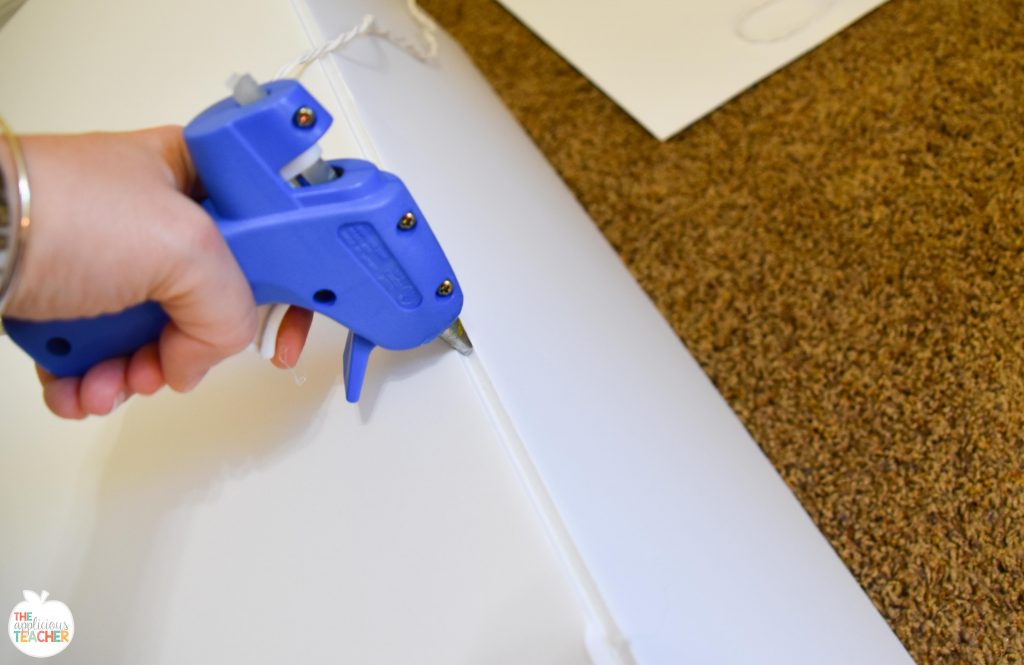
First, lay out your foam board and using the glue gun, glue the flaps of the board straight. This will keep the board sturdy when hanging. It also creates an almost seamless board for you to work with.
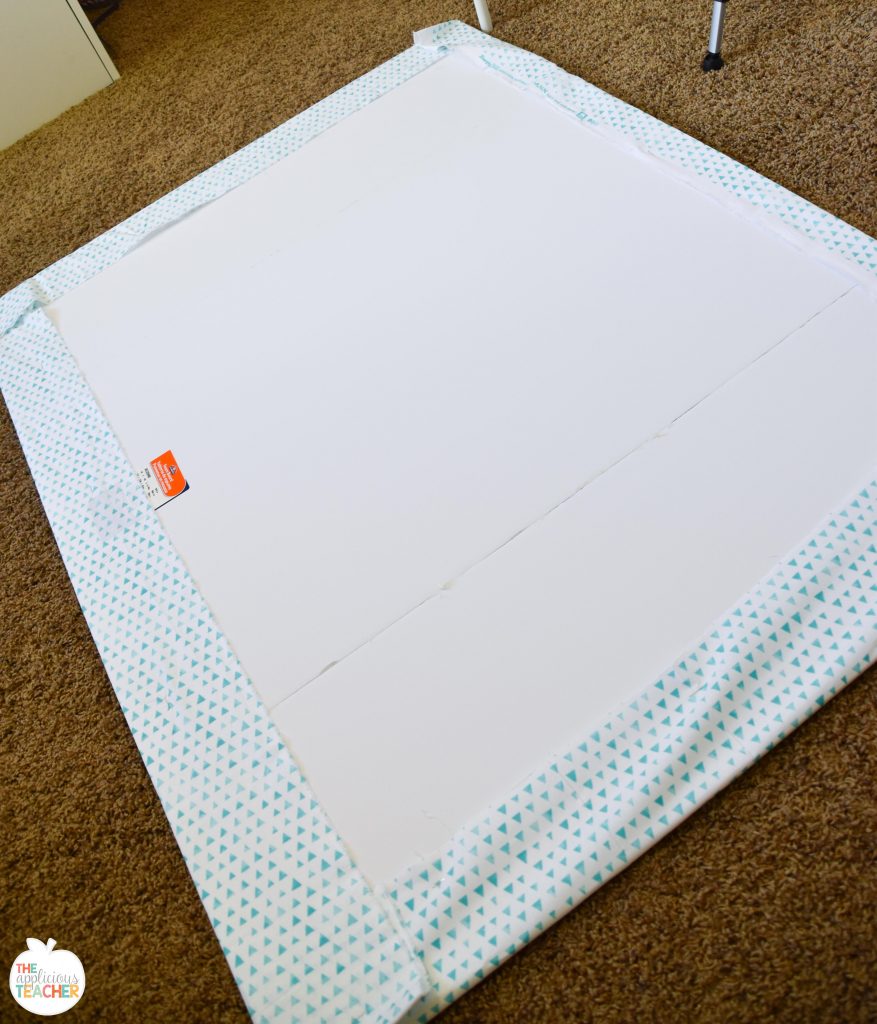
Once the glue dries, lay out board over fabric or paper. Trim the material to fit the board. I allowed for about a 3 inch over hang on all sides.
Then, pull fabric tight and staple right onto the backside of the board.
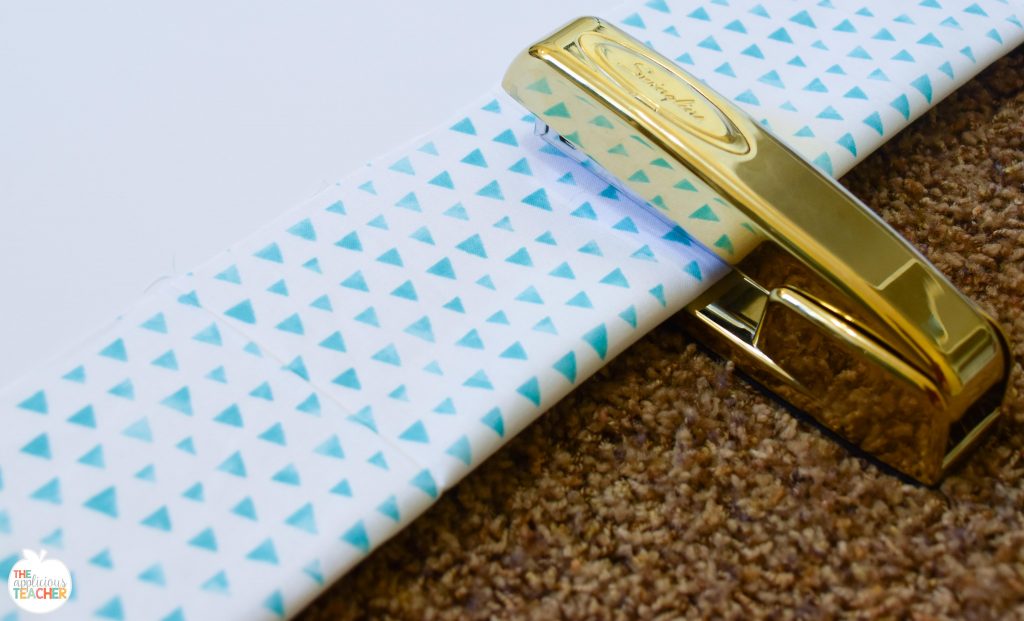
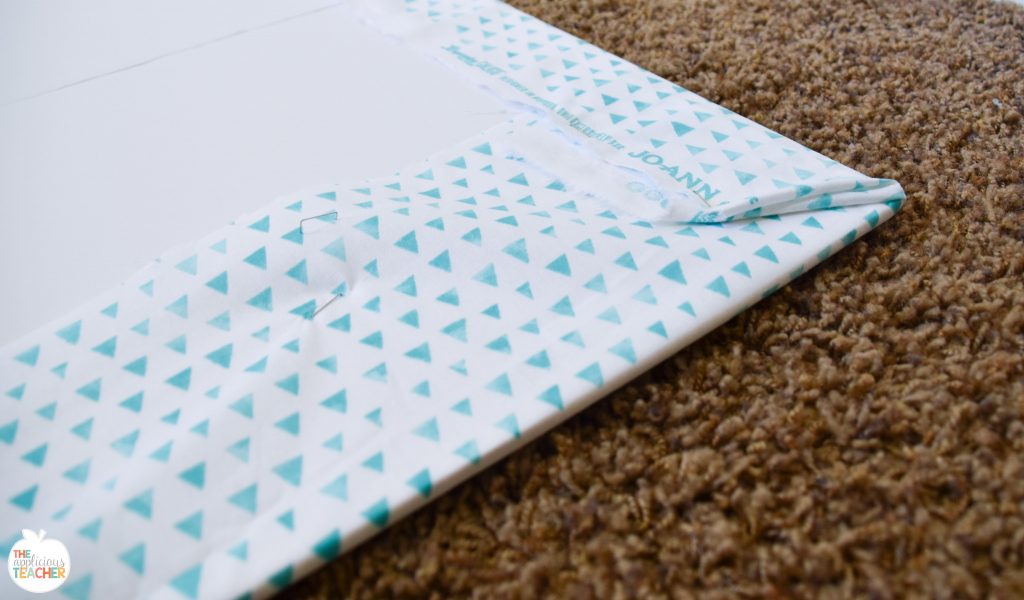
Make sure to pull tight as you staple to prevent wrinkles or lags in the fabric. To do the corners, I just folded the fabric over and stapled the fold.
This is the base of your board. If you decided to use paper, you don’t have to pull the paper over the board, just straighten and staple on the front of the foam board.
Anchoring your temporary bulletin board to the wall
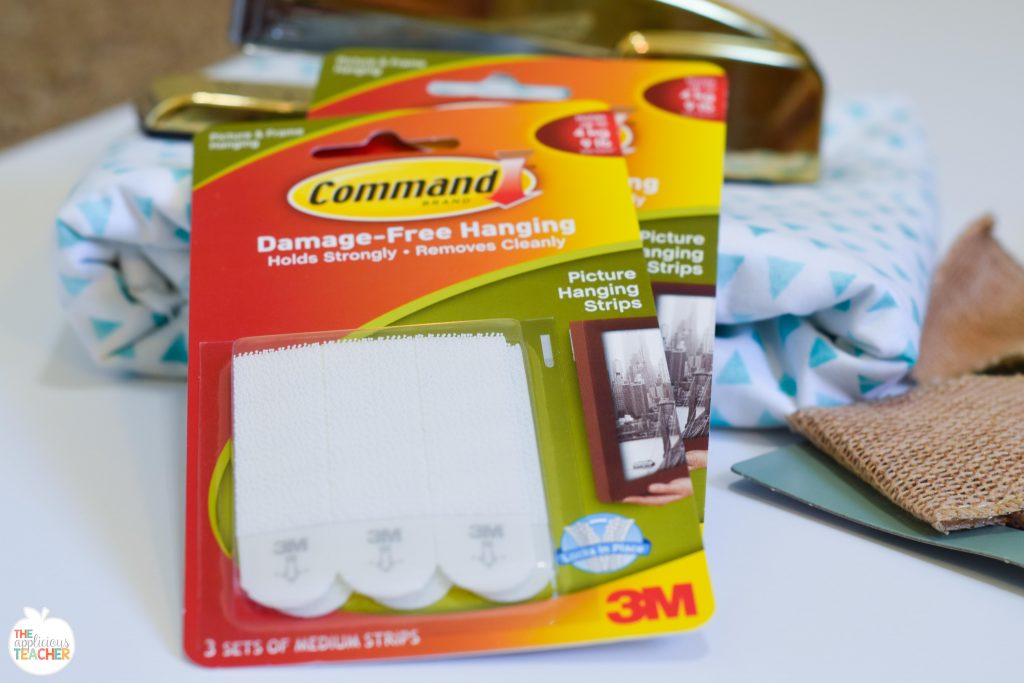
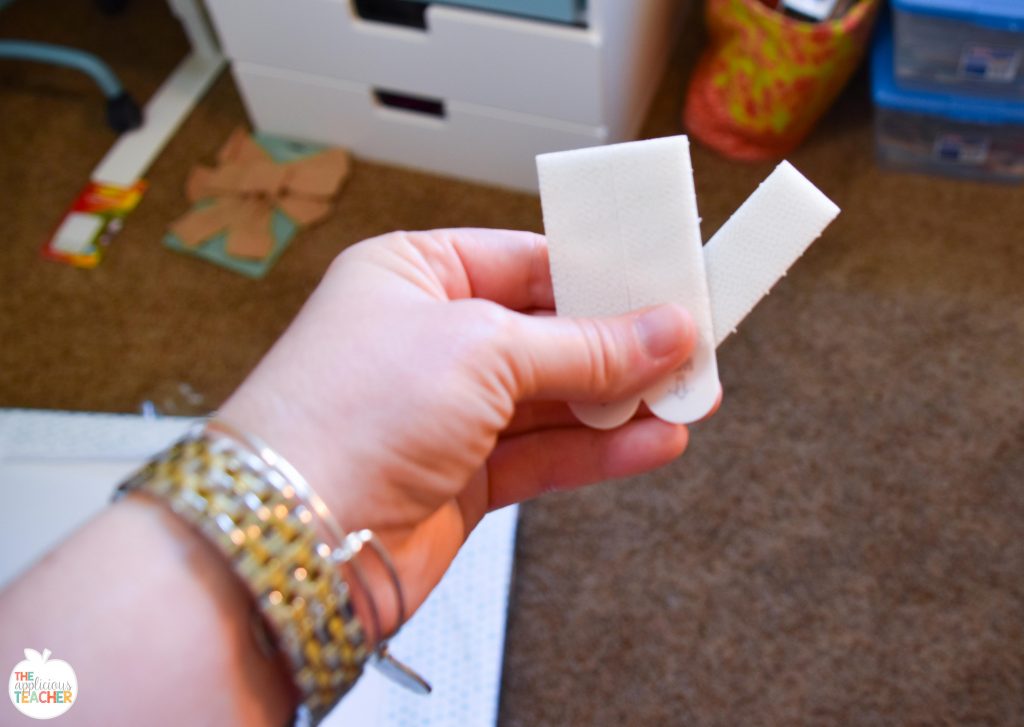
Next, take two Command Strips and push them together. They are made of a glorified Velcro material. This allows them to be re-positioned as needed.
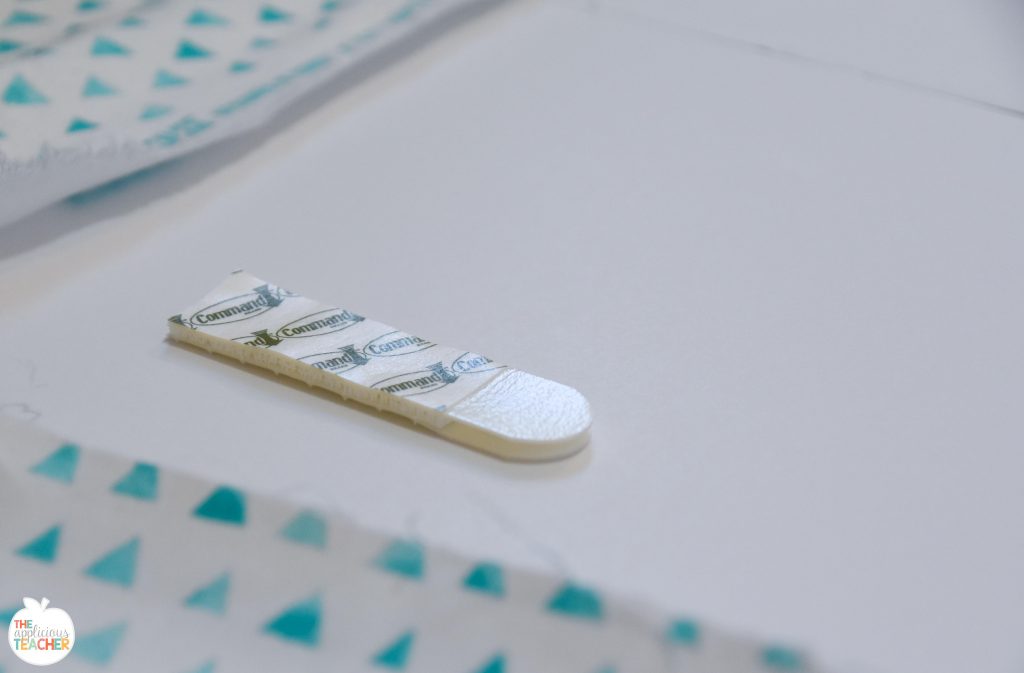
Position the doubled strips onto the corners of the board. Peel off one side of the strip and place it in the corners. If you doubled the board, make sure you add more strips. For this size, one strip in each corner is fine.
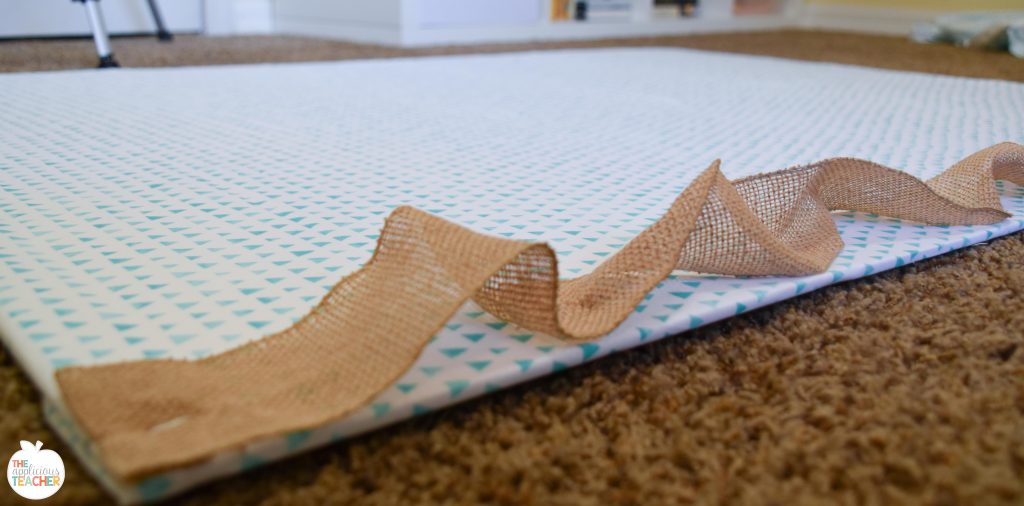
Then, turn the board back over. It’s time to decorate! I found it easier to add the border and bow on the ground, but you can put up your board to attach the decorations.
Once the decorations are attached, peel off the other side of the Command Strips and position onto the wall. These are pretty strong, so push hard to make sure they catch. You should hear a crunching sound as you push on the board. That’s normal.
Applicious Teaching Tip! use a level to make sure the board is hanging straight!
Completed DIY Bulletin Board
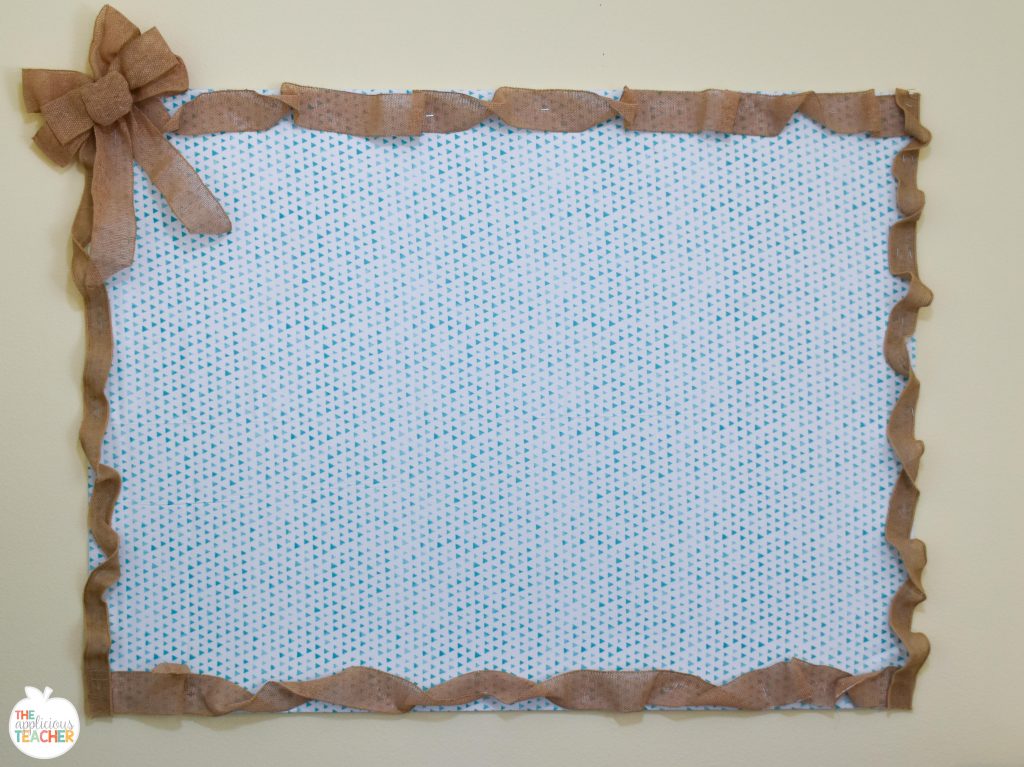
Now, your board is ready for student work, anchor charts, or whatever else you’d like to hang. I do suggest not to hang heavy decorations on this board because it is really more of a temporary board, but it will definitely hold some weight. The Command Strips are designed to hold up pictures with glass and frames, so papers, a couple of anchor charts, or a few decorations are fine!
What would you do with an extra bulletin board in your classroom? Share below!
More Bulletin Board Ideas
Need a few ideas for bulletin boards? Check out these posts!
- Back to School Bulletin Boards, You Can Keep Up All Year
- Bulletin Board Hacks to Save Your Sanity
- First Week of School Charts FREEBIE
Sign up to snag these!

Receive all these classroom management tools right to your inbox!