So this is only my second year using IPads in the classroom, but I am hooked! I’m pretty sure my kids are too! 😉 I’m here to share another app that I’ve found to be SUPER user friendly (read: easy for kids AND teachers to navigate) but also with endless uses in the classroom!
Have you heard of this app? PicKids is the kid friendly version of PicCollage. If you’re not familiar with either of these, think of them as photo-editing apps on steroids. LOADS of stickers, add ins, and everything in between. Did I mention it’s free? Yeah… SCORE!
So how can you use a photo editing app in your classroom? Well… soo many ways I promise, but I’ll share how we’ve used it in our room first!
Remember, back-in-the-day, your teacher would hand you a white poster and you had to create a poster to display some sort of information? Well… we used PicKids to take poster making into the digital age!
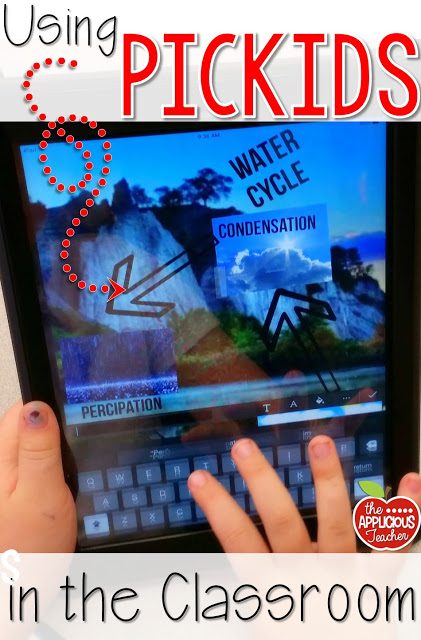
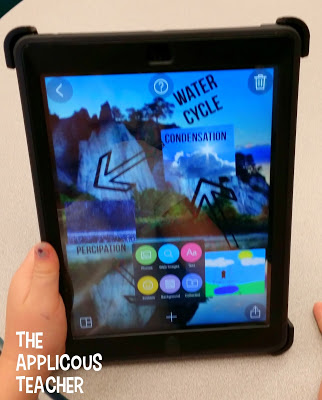
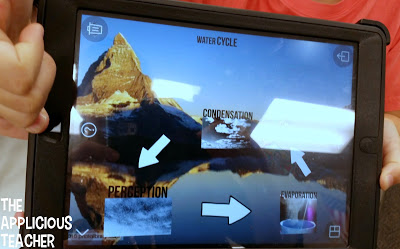
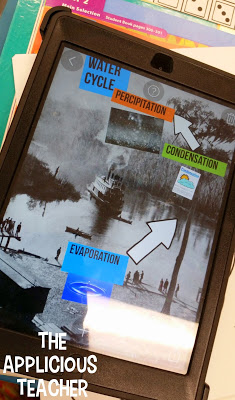
After learning all about the different stages of the water cycle, it was time for my kids to flex their creative muscles and create a digital poster of the water cycle.
To familiarize my kiddos with this app, I went briefly through how to add a background, text, and photos from the internet through the app. (Don’t worry, my district has great filters! So I don’t have to worry too much about my kids coming across anything inappropriate on their image search.) I also showed the kiddos how to add stickers to their posters to add a little pizzazz!
This app makes it super easy to add elements by having them all in one place! Just click the + sign and touch what you’d like to add!
Then, it was time to review our poster requirements. We need to know what we’re making, right? Our requirements for a completed project were simple.
Student’s posters needed to include:
-a title
-a background
-the three stages of the water cycle to be labeled (bonus for run off!)
– pictures for each of the stages
-arrows to show how water moves through the cycle.
I also showed a sample that I had already made. I’ve found my kids this year really need a visual to refer back too, unlike my thirds who would prefer to make it more their own.
Then we were ready to start creating. I only have 5 IPads in my classroom at a given time, so I split my students into groups of 3. Each student was required to complete one stage of the water cycle.
First, students worked to add a background. Most students choose something to do with water…
Then, they added elements like clouds, rain, and water vapor.
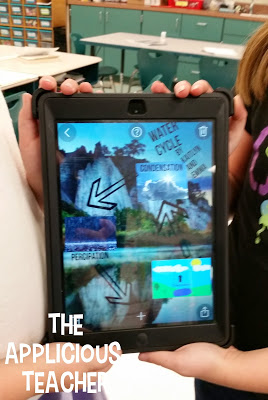
Here’s a peek at a few of our finished projects!
The kids LOVED this project!
My biggest concern was time, though! It took use about 45 minutes to finish these digital posters. So plan accordingly, the kids DID NOT WANT TO STOP! LOL!
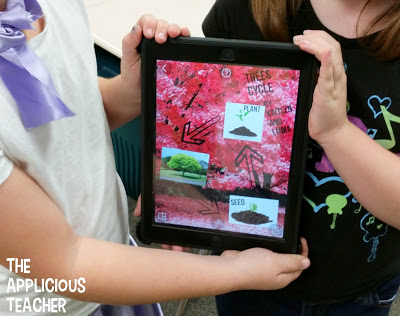
A few of my students who finished early wanted to make other posters, too…
Loved this condensed version of the life cycle of a tree!
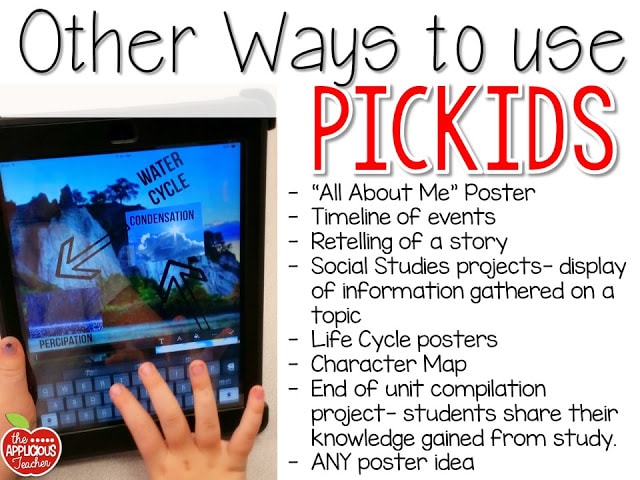
Here’s a few other ideas for using this awesome app in your classroom!
So, how do you use this app in your classroom? Share below!
Sign up to snag these!

Receive all these classroom management tools right to your inbox!
Success! Now check your email to confirm your subscription.
