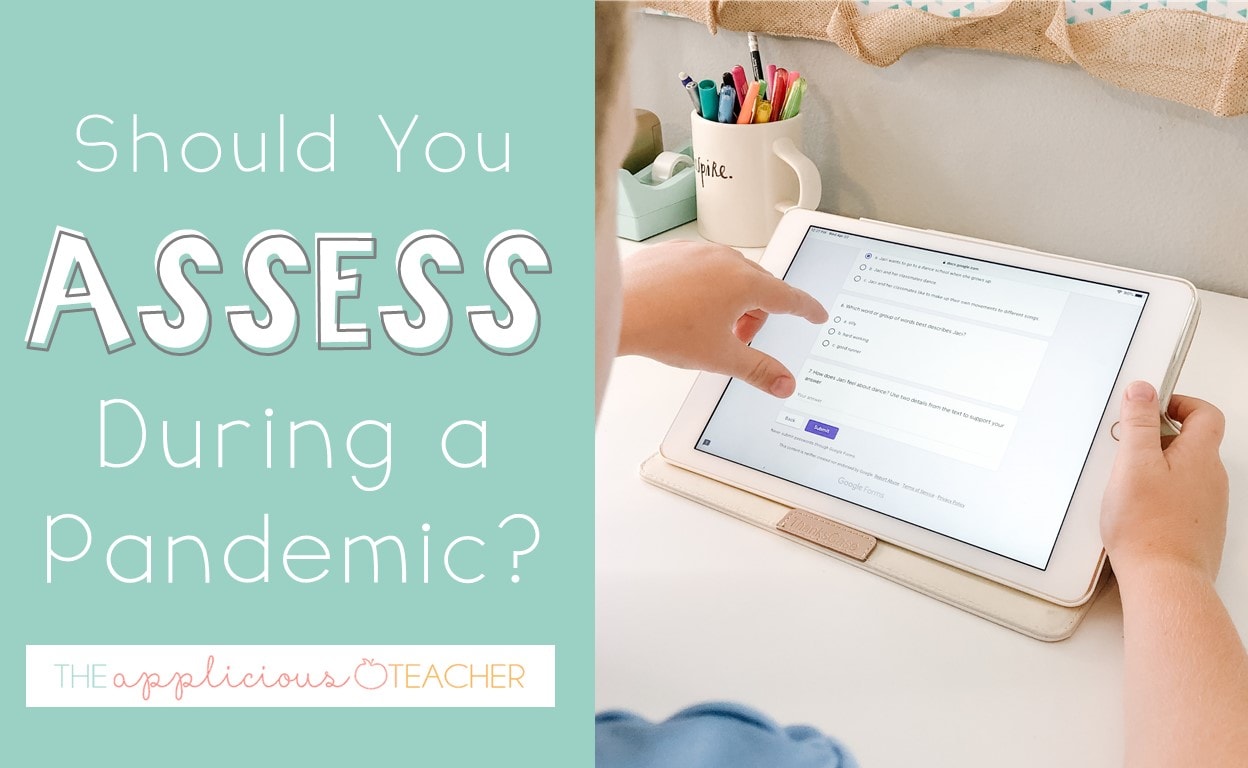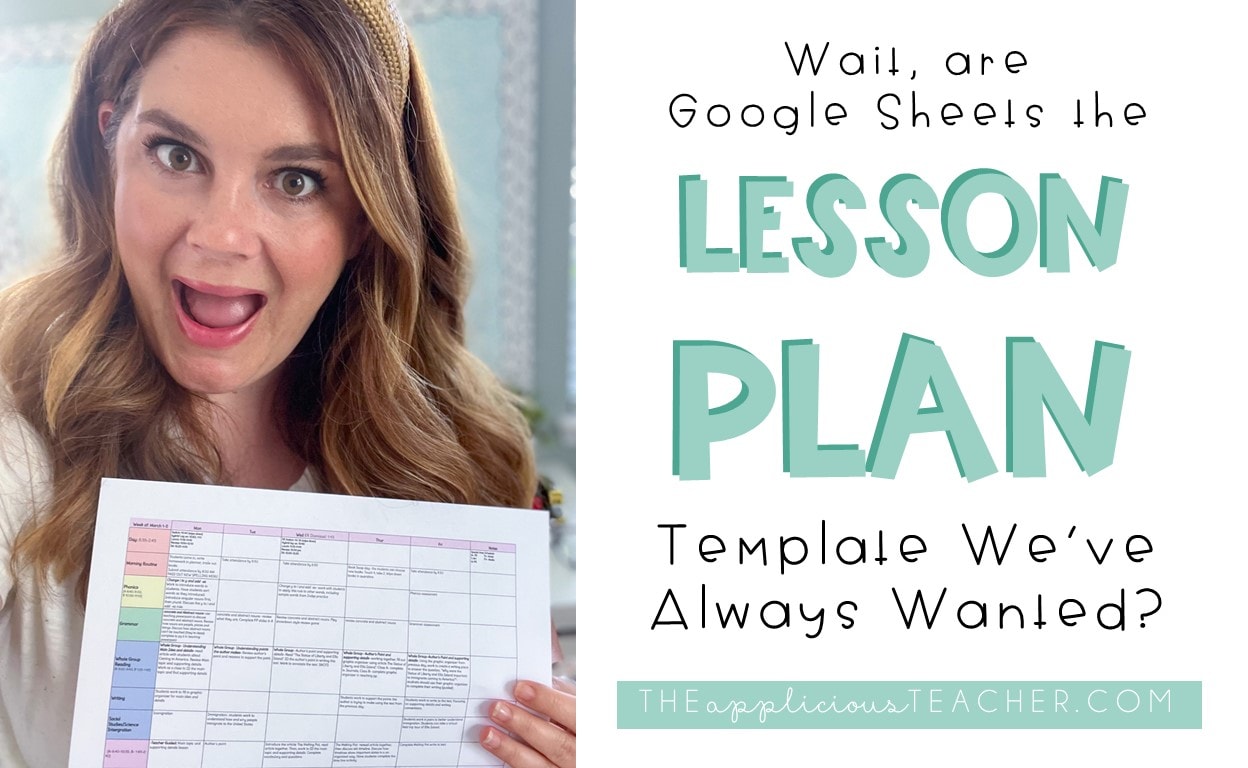
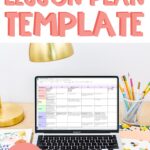
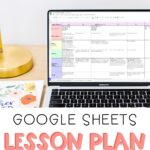
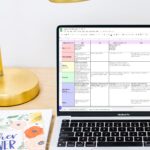

Wait… is this the best lesson plan template I’ve ever used…? Maybe! Today, I’m sharing how I used Google Sheets to create a lesson plan template that rivals even my most beloved Planbook.com lesson plans! Best part? At the end of this post, you can grab a free template to try it for yourself!
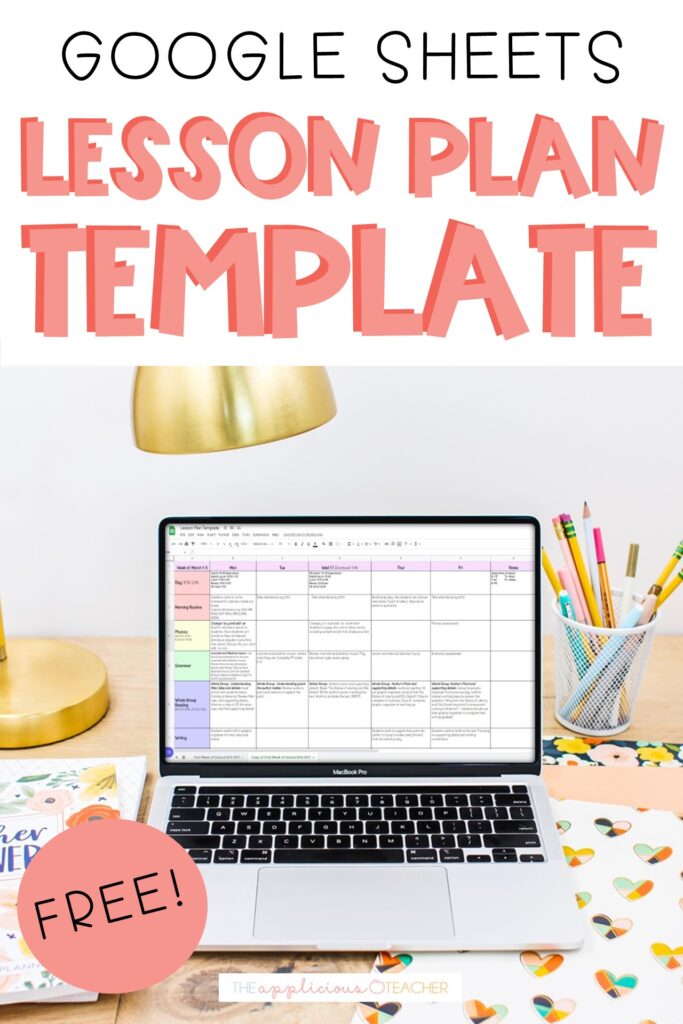
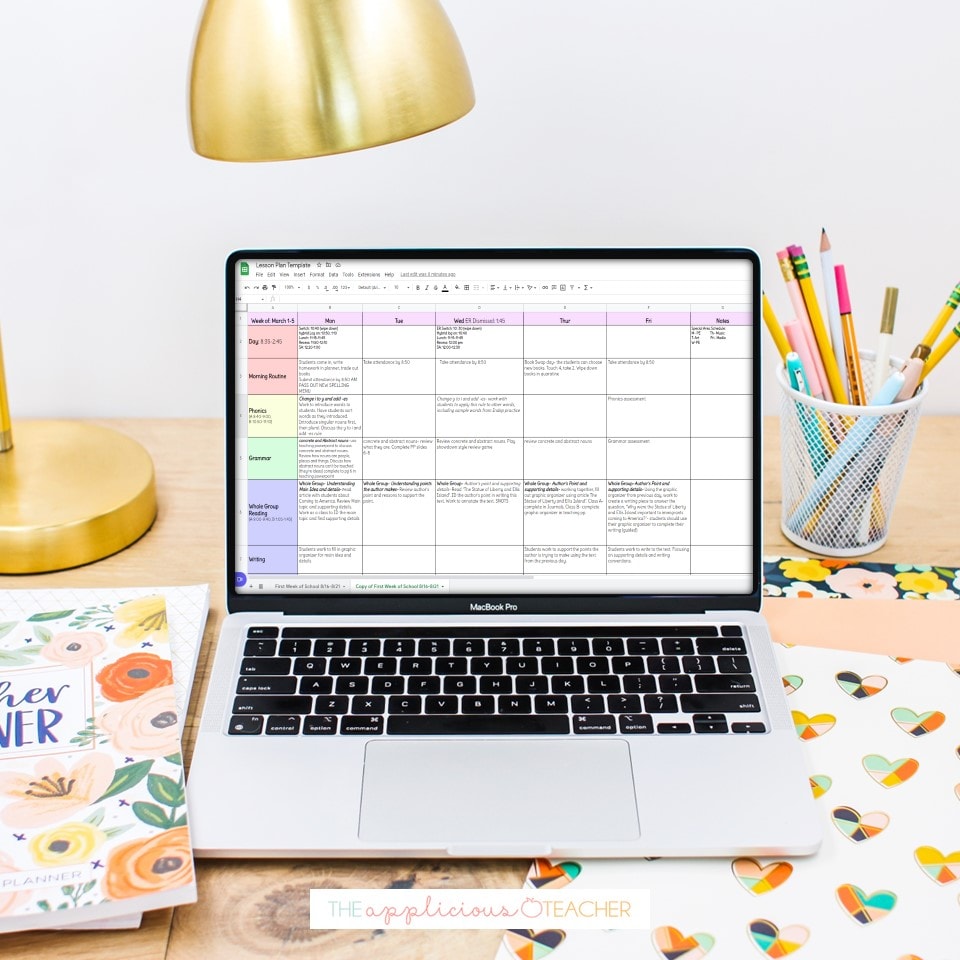
Google Sheets Lesson Plan Template
Ok… so let’s back up a second and first talk about how this genius idea even started.
Last spring, I had the opportunity to step back into the classroom as a long-term substitute in a 2nd-grade Dual Language classroom. Before starting her maternity leave, the teacher shared her lesson plans with me so I could easily just pick up right where she left off.
And the lesson plans she shared with me?
Google Sheets formatted!
At first, I was like… whoa… I’m not into this… Then, I started playing around with the template. I added a few extra columns and filled them with some color. As my time progressed, I started to really LOVE using them!
I knew it was something I HAD to share with you guys… so here we are!
Let’s dive in!
Using Google Sheets as a Lesson Plan Template Video
More of a visual learner? Check out the video!
Oh, and be sure to subscribe to my channel while you’re there!
Getting Started with Google Sheets Lesson Plans
Ok… so let’s get started with using Google Sheets as your lesson plan template.
First, you’ll navigate to your Google Sheets app and create a new sheet. This will be the template you’ll use to build your lesson plans.
To streamline things, I’ve made a FREE template that you can 100% customize to fit your needs! You can grab that at the end of this post!
But, if you want to start from scratch… here’s what you’d do:
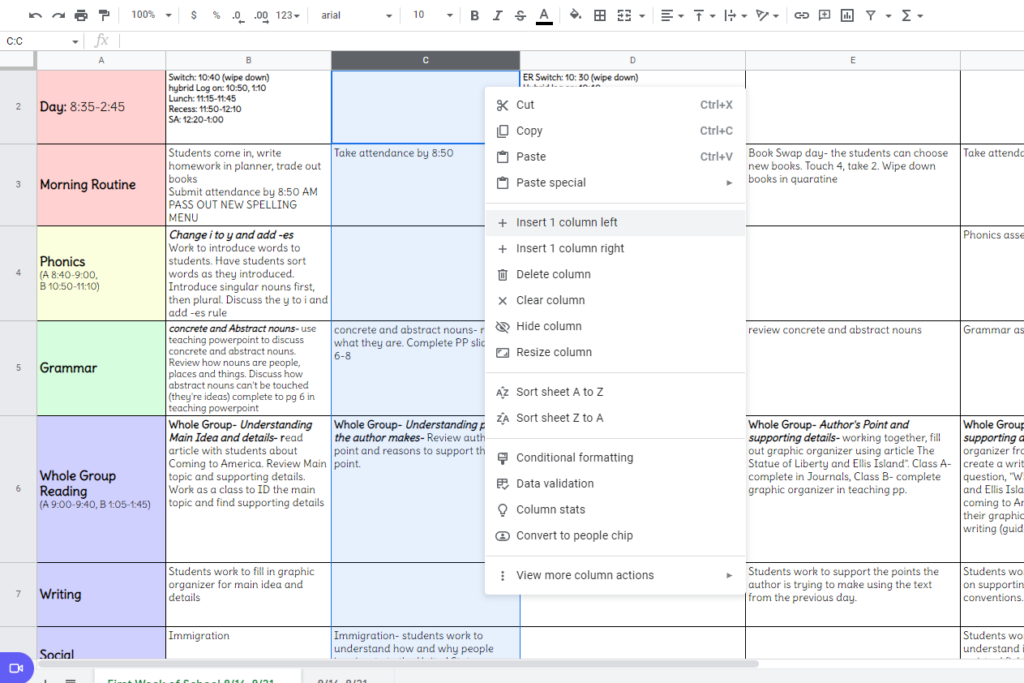
- Adjust the number of columns and rows you’d like to include in your template. I like my days of the week across the top, plus one extra section for notes, so I have 6 columns. Then, create enough rows for your different sections of the day. You can do this by highlighting the cells you’d like to delete, then right-click and select delete cells.
- From there, you can adjust the sizing of the rows and columns to fit the information that will be given. For example, in my sample, the header rows are pretty small, but the different sections vary.
- Now, highlight the given area and add grid lines if you like. This will give each box an outline on the online view as well as the printed view.
Customizing Your Lesson Plan Template
Ok… now that you have the base (or have downloaded the copy at the bottom of this post!), it’s time to make it look cute!
Change the Font
Add some fun fonts to your template! Do this by finding the font section on the toolbar. Select the box or boxes you’d like to have that font, then select the font from the choices.
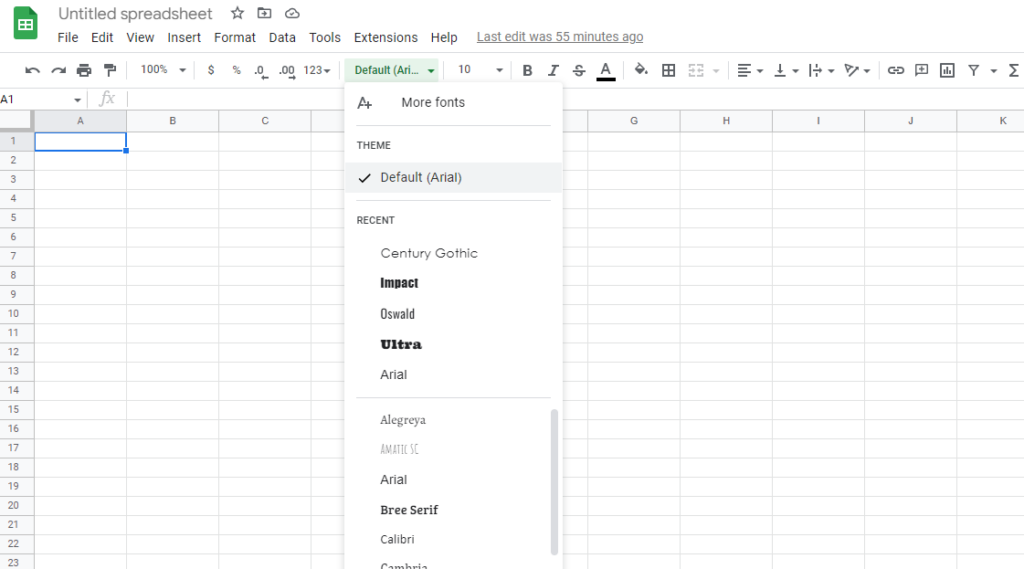
Don’t like the font choices in your dropdown? Select “more fonts” from the dropdown menu to explore even more Google (TM) font options, like Delius used in the template I created.
Add Color
Want to add your own colors to your lesson plans to make “seeing” the different sections a little easier on the eyes? Use the color selector tool (the paint can tipping over icon) to fill the box you select.
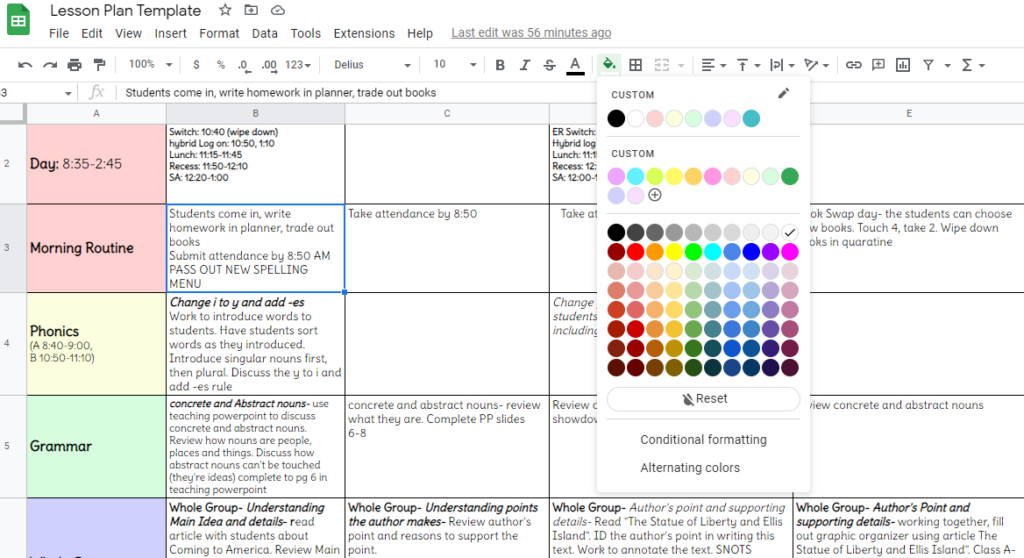
Fill with options there, or use the “custom colors” section to create new colors. You can even add your own preferred colors by typing in the hex code. (Just do a quick search of hex code colors and a ton of options to help you with this part will appear!)
Add More Tabs
Now that you’ve got your template EXACTLY how you’d like to use it… you can make copies of the sheet for each week/month that you’re planning.
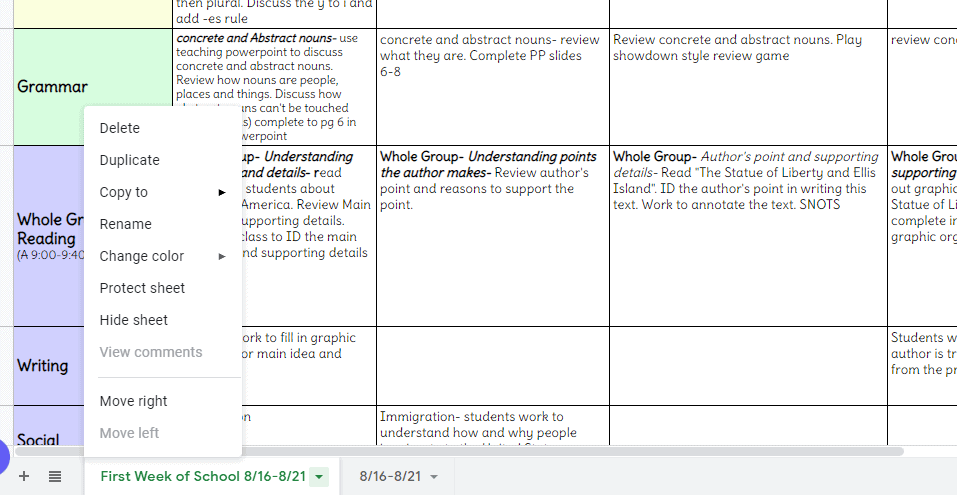
To do this, navigate to the bottom of the sheet where the tab is. Select the arrow icon to show more options. Select “duplicate.” This will duplicate the tab EXACTLY how it is set up. Perfect for keeping your original template looking nice! Use the same section to rename your tab to include what week or month is stored in the tab.
Typing in Your Lesson Plans
Now that you’ve gotten your base set up exactly how you like it… it’s time to start adding information. Google Sheets functions just like Excel sheets or a word document that has been gridded. You can add text to each box, and align the text to the center, left, or right.
One *little* annoyance I had when I first started using Google Sheets for lesson planning was the fact that when you press the enter key, it takes you to another cell instead of just the next line in the same cell.
You can sidestep this quirk by using holding down the “shift” key while pressing enter. This will allow you to move to the next line within a cell. YEAH!
Searching Within Your Lesson Plans
A nice thing about using a word processing program like Word or PowerPoint to create lesson plans is the fact that you could search terms if you were looking for a specific theme or concept but couldn’t remember which week you have placed it under.
You can do a search of terms within Google Sheets, too! Think of this as a quick way to look back at what you taught and when you did it, without always having to remember the exact week it was done.
To Search for Terms within Google Sheets
To search for a term, navigate to the top of your spreadsheet and find the “edit” part in the menu bar. Then, scroll to “find and replace.” Type in the word you are searching for (for example, triple-digit addition). This function will search your entire sheet looking for this phrase. Once it is found, it will highlight the term, and you’ll have an option to replace it with something else, but really now you know which week you taught it! YEAH!
Sharing Your Google Sheets Lesson Plans
One of the best parts of using Google Sheets as your lesson plan template is how easy it is to share. You can share just like you would a Google Doc or Google Slide; navigate to the left corner of the sheet and find the green “share” button.
Select the button and adjust the share settings to fit your needs. I like to use “access with link” and set them as a viewer. This will allow anyone I share the link with to see my lesson plans, but they won’t be able to edit them accidentally.
I know some principals require you to upload your file to a shared drive or database. You can do that easily with Google Sheets too!
Here are three ways you can share:
- Upload a word document to your folder and add your sharing link to the document. (Perfect if your school uses an onsight network drive-like “i-drive.”)
- Download and save the week as a PDF and upload it to your sharing area.
- If your school uses Google Drive for sharing, you can just place your lesson plan spreadsheet into your folder.
Grab the Free Google Sheets Lesson Plan Template!
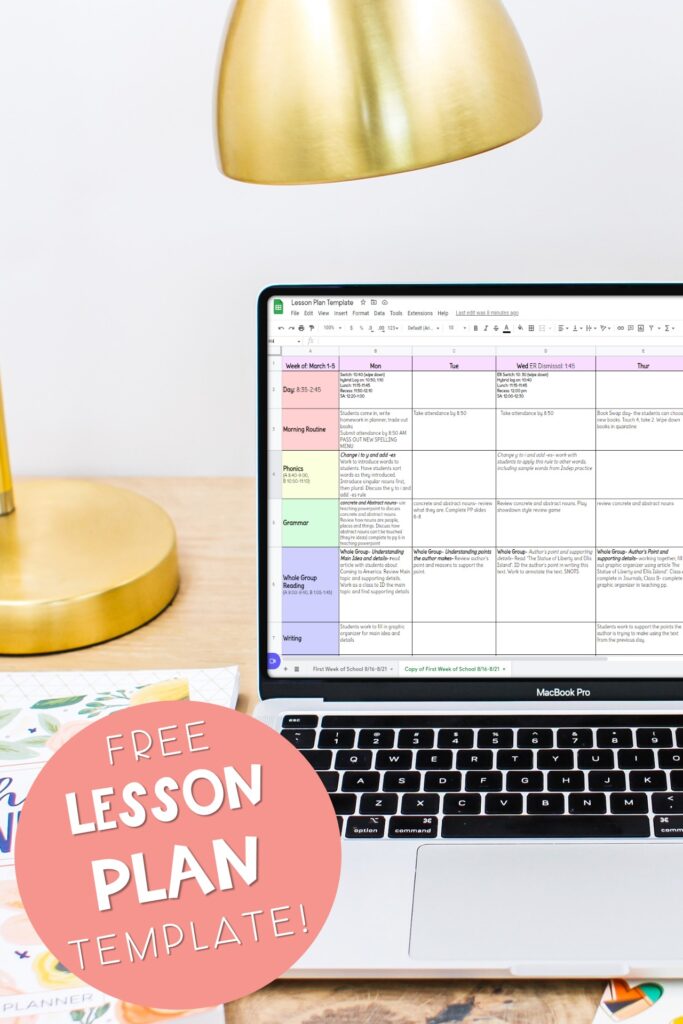
So there’s a quick crash course on how to use Google Sheets for your lesson plans. I know you are low on time and will def appreciate a leg up, so I created a simple template you can copy right to your Google Drive! This template is available in my Applicious Resource Library. Just sign up below to gain access!
More Great Ideas
Be sure to check out these other amazing ideas!