


Over my 11 years in the classroom, it’s safe to say I’ve accumulated a lot of teacher “stuff”. But, it’s that “stuff” that allows me to teach powerful, engaging lessons year after year… so of course, I will never get rid of it. But here’s the thing… after 11 years, two school districts, four grade levels, and seven classrooms… I still know where everything is. How is it that after so many moves and grade level changes, I still know exactly where all my plant books are and my space resources are? Well… you’re in luck… because today, I’m pulling the curtain back on how I’ve managed to stay organized all these years using a simple system I call… teaching bins.
Please note this post contains affiliate links. If you do follow my links, please know that I do make a very-very small commission from your purchase. There is no cost to you, but this extra coinage helps to feed my book addiction. You can read more about the affiliate networks I am apart of here.
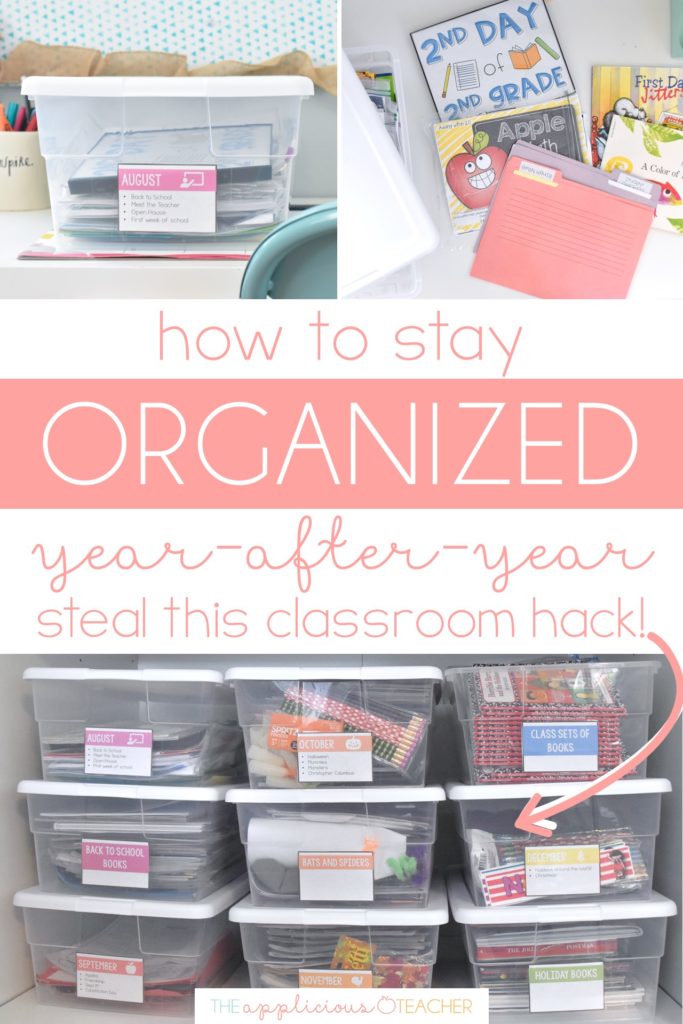
What are Teaching Bins?
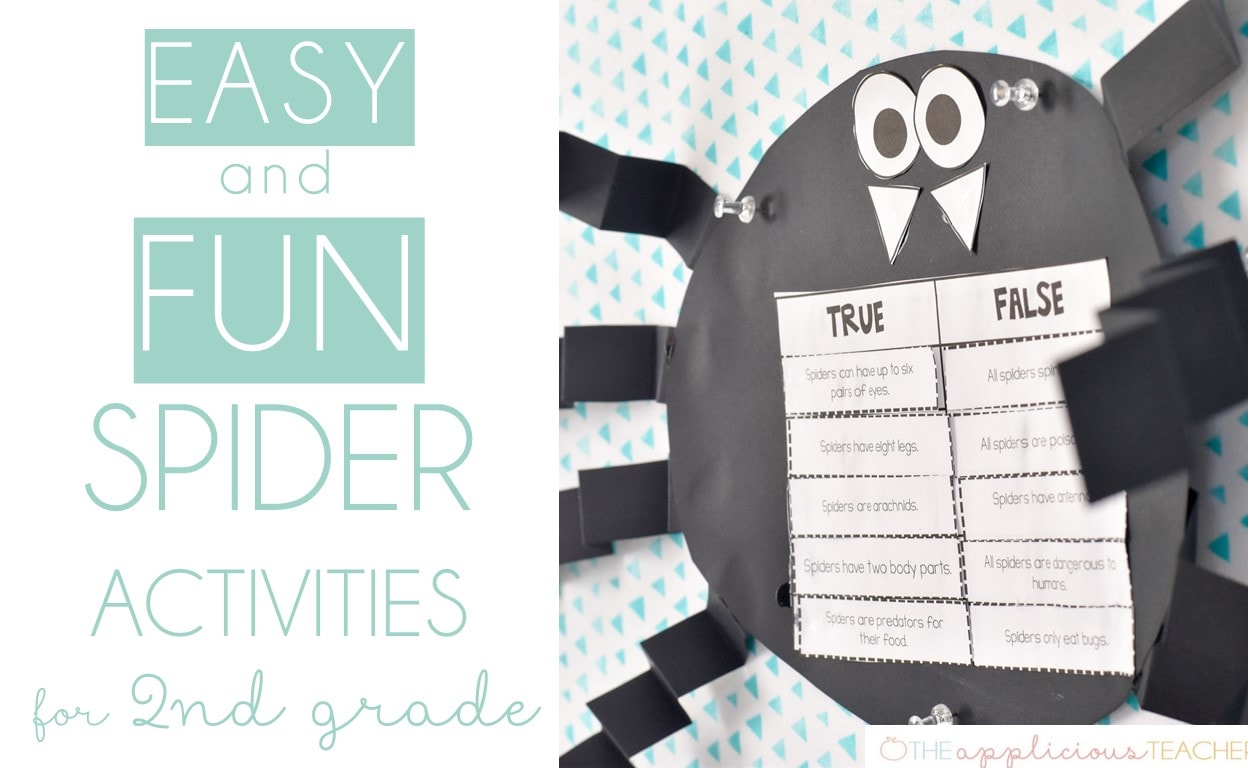
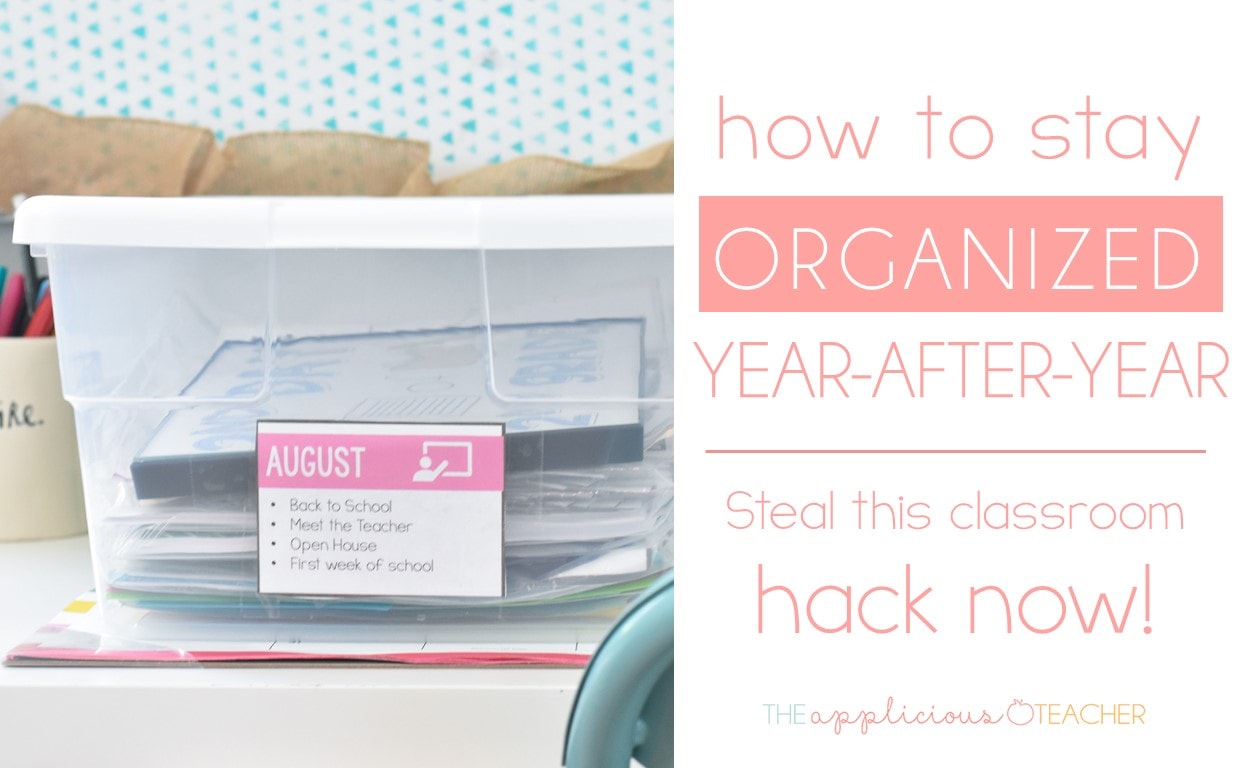
So what are teaching bins? Teaching bins are a simple system of plastic Sterilite totes that have been labeled by months and themes. I started this system back in my first year of teaching in 2008. I was in a portable (read: no storage!) and I realized I wanted to keep the things I was using to teach my students organized for the next time I taught. So, I went to Target (like every broke first-year teacher) and purchased a few bins with lids. My first three tubs were: Back to school, bats and spiders, and end of the year. And they were literally just stacked behind my desk!
From then on, my teaching resources and bins grew! I started organizing them by month and had a few bins for things like multiple sets of books or holiday crafts. Basically, if it needed a home, I made a bin for it!
For the actual bins, I like using the 16-quart size you can find here on Amazon, but I’ve also found them at Target and Walmart for a similar price.
I like this size because they are manageable. I can easily stack them in my classroom closet or take them home. When I taught Kindergarten, I kept all my teaching bins at home and just brought the ones I needed as the year progressed. I also like that they are sturdy (most of the bins I have are 8-10 years old!!!) and have a top.
Seriously, people, the top is the key! Tops mean things stay in and bugs stay out. Tops also mean you can stack them, making them easy to store in any corner of your classroom. (Or behind a desk.)
How to Organize Your Teaching Bins
Organizing all those resources, books, centers, and activities can be challenging. That’s why I like using teaching bins to keep it all in one place. I prefer to organize mine how I teach.
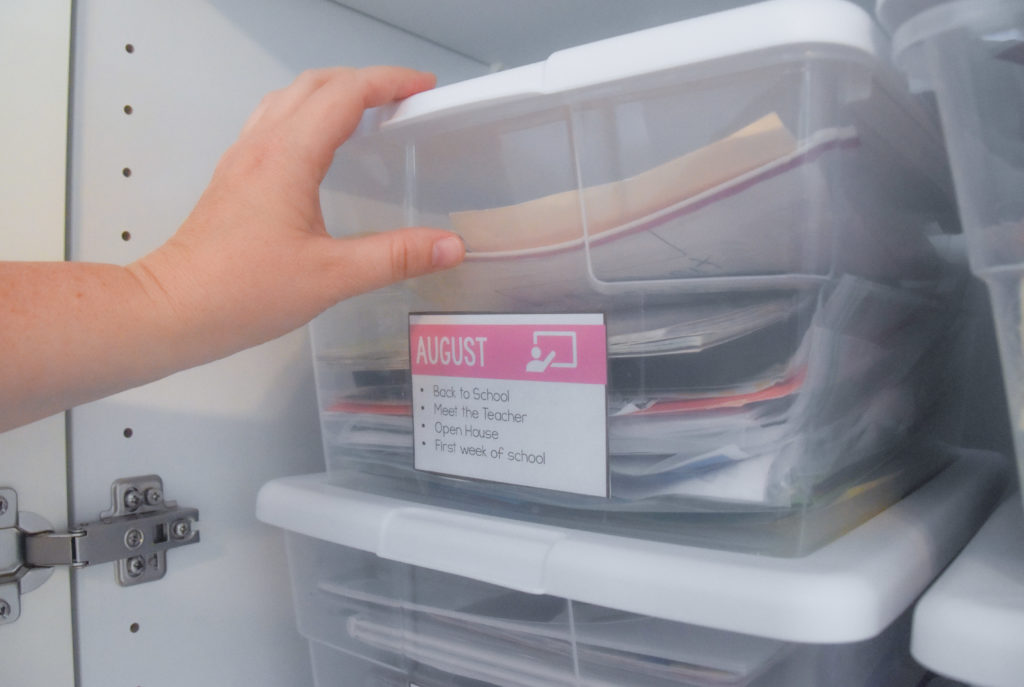
In general, I teach the same things around the same time year after year. Bats and spiders around Halloween and Valentine’s Day or Groundhog’s Day in February. To match that, I organize my teaching bins by months. Then, on the label, I include “big ideas” or themes that those months include.
That allows me to pull resources from different bins if maybe I’m not teaching an idea or theme during a month I normally would. For example, I used to always teach life cycles in the spring. But, then we got a new science series and it wanted us to teach life cycles much earlier in the year. I was able to just grab my supplies out of my March bin with no problem!
Other Ways to Organize Your Teaching Resources
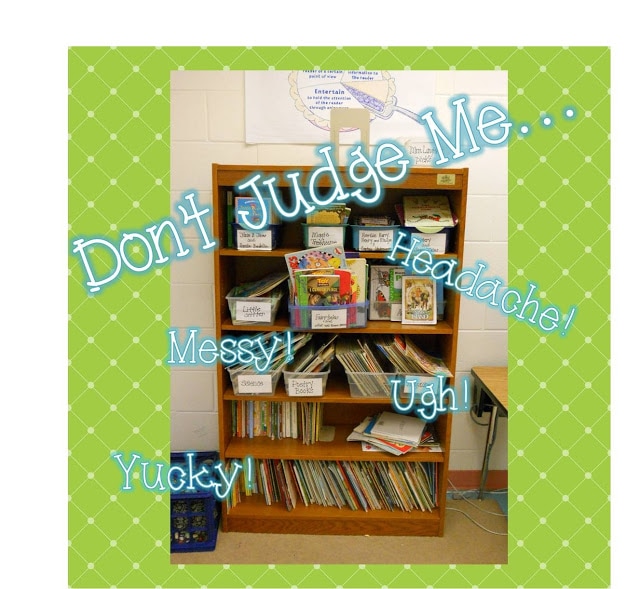
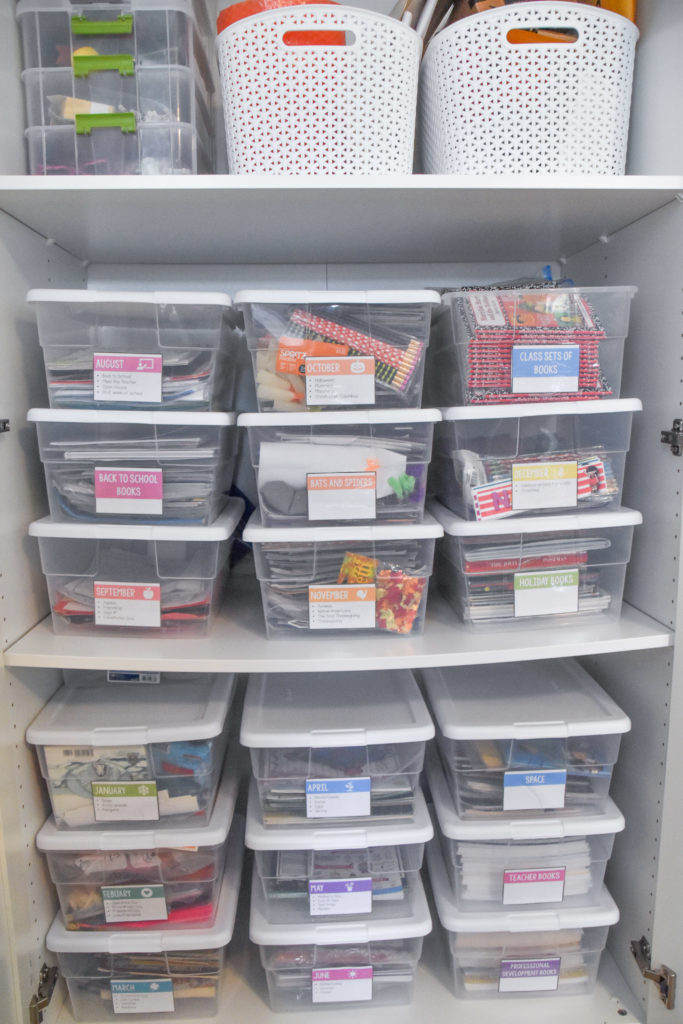
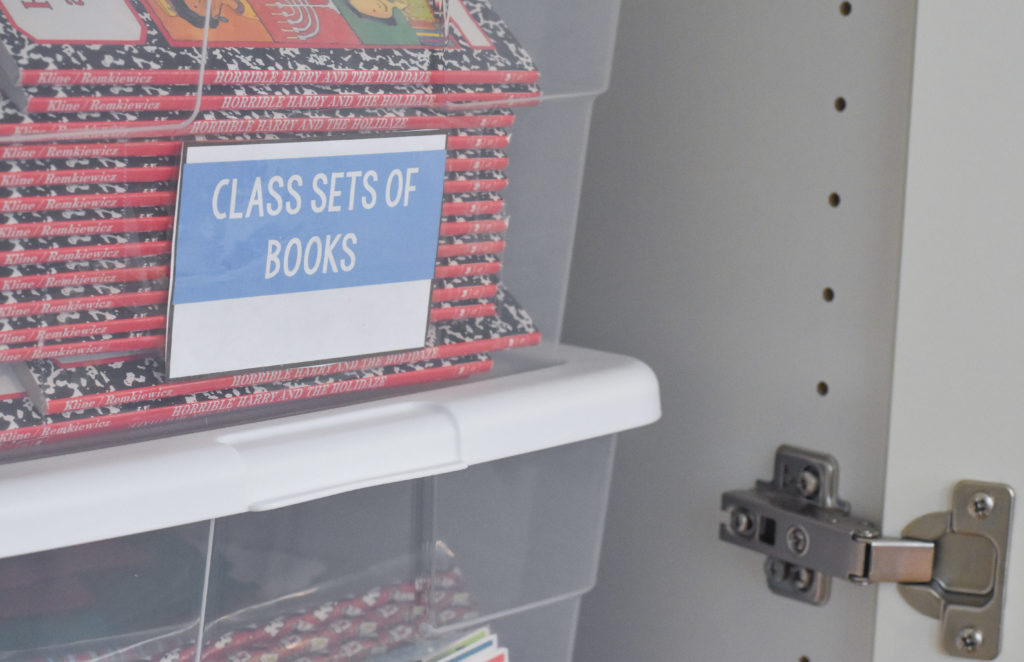
From there, I also have other teaching bins that are for overflow. For example, I have so many books for Back-to-School time. Too many to keep in the bin with everything else, so those are stored in their own bin right next to my August back to school bin. (Also you can see how heavy these bins are! My shelf is already starting to bow! Oops!)
I also have a separate bin for my space resources. I’ve found that space works it’s way into learning from grades k through 5th (no literally!) but, it’s not something that is always taught at the same time of year. So, I started it’s own separate bin once I started getting more books and resources to support my students during their studies. Over the years I had just collected too much, so I moved it out of the April bin it once was into its own dedicated bin.
The key for this system to work for you is to organize them how you teach. This will vary greatly depending on the grade level or content you teach. A science teacher will organize differently than a kinder teacher. So think about how you teach and how to pull resources for each “unit” into one place.
Other ways to organize your teaching bins:
- themes: fall, plants, under the sea, friendship
- content area units: revolutionary war, inventors, maps
- concept: geometry, life cycles
- quarters: first, second, third, fourth (Warning: this is only good if you teach one subject all year round and have no plans on ever moving grades or teaching another content area!)
- strategies: main idea, test prep (good if you are teaching intervention)
What’s Inside a Teaching Bin
Ok… let’s take a peek at what’s inside my teaching bins.
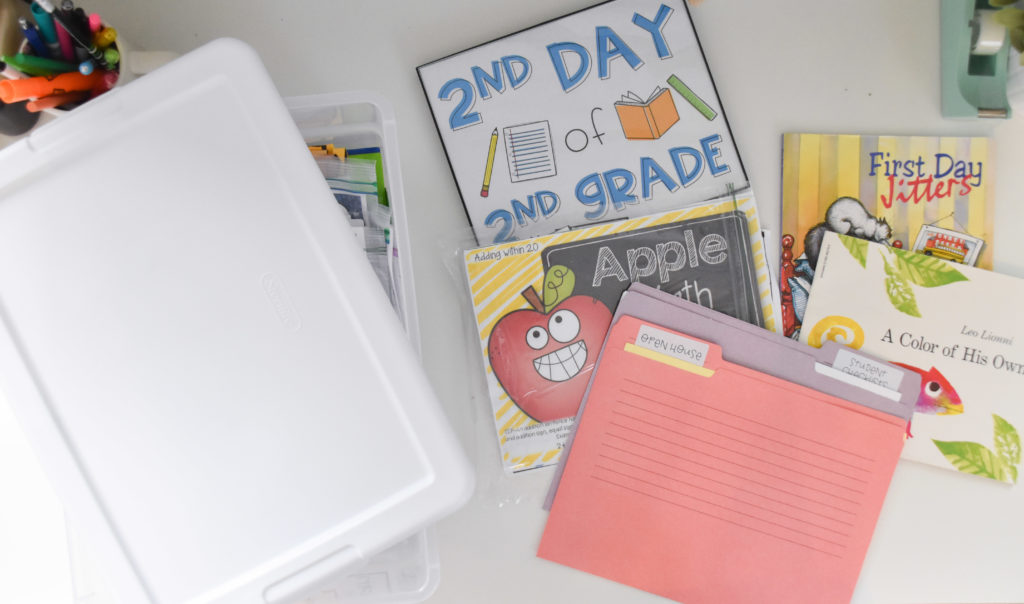
Remember, a teaching bin is a catch-all place for all the resources, books, papers, and everything else you need to teach a certain subject or theme. Here are some things you can keep in your bins.
Items to keep in your Teaching Bins:
- worksheets, printables
- articles
- center or station activities
- lesson plans
- books
- teacher notes
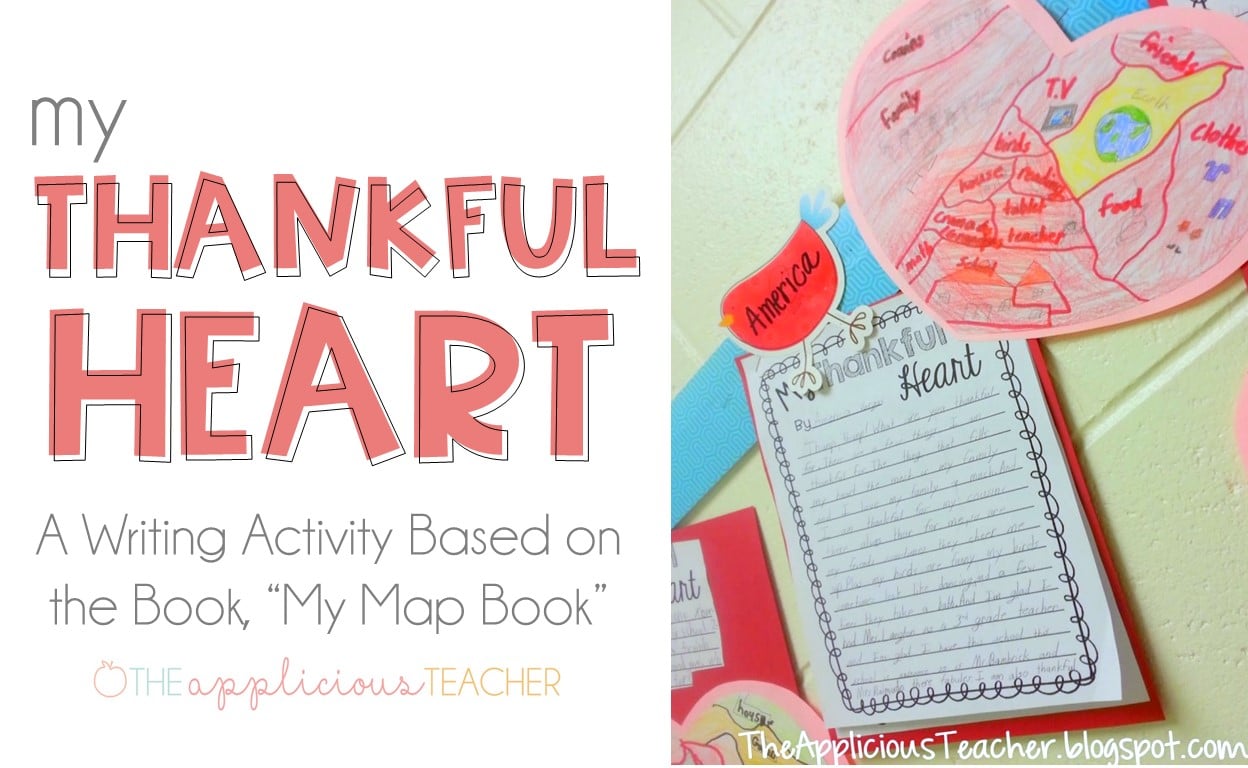
- samples of writing activities, completed projects, crafts
I’m not going to lie to you… inside my teaching bins, it can get a little messy! But I do try to keep it organized and neat so things stay nice!
For papers like worksheets or articles, I like to keep them in folders (so they don’t get bent!) Center activities are kept in baggies with all their pieces and recording sheets. Lesson plans are great to keep so you can reference them when planning your unit again. I also like to paperclip any teacher notes I might have written myself about teaching that subject. Sometimes the notes are suggestions on what worked or didn’t work the last time I taught. Other times, they are teaching tips on ways to lead in the lesson or a fun activity we did at the conclusion that doesn’t have any concrete evidence. For work samples, I usually place them in large gallon zip baggies with extra copies of the pieces needed to complete the project.
Teaching Bin Labels Free Download
So are you ready to steal this classroom organization hack for yourself? If you are, I’ve created some editable teaching labels to help you get started. Just add your email address below and they’ll get sent your inbox so you can get started ASAP!
So how do you stay organized year after year? Share your classroom organization hacks below so we can all save ourselves some time and stress!
Other Classroom Organization Hacks
Looking for some other ideas for staying organized all year long? Check out these classroom organization posts!
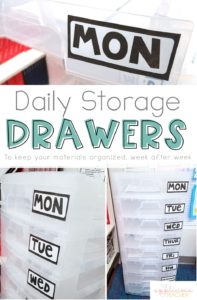
- Weekly Drawer Organization: Keep Your Lesson Plans Organized
- Teacher Binder: Keeping All That Paperwork Organized
- Teacher Data Binder: How to Keep Track of All Your Student Data
- Creative Storage Solutions for Teachers