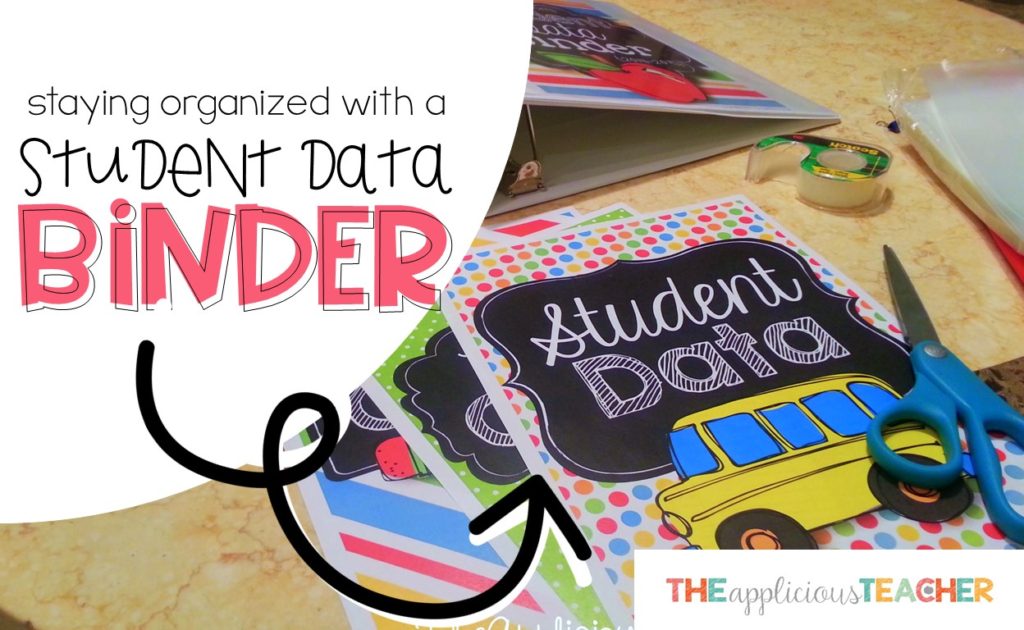
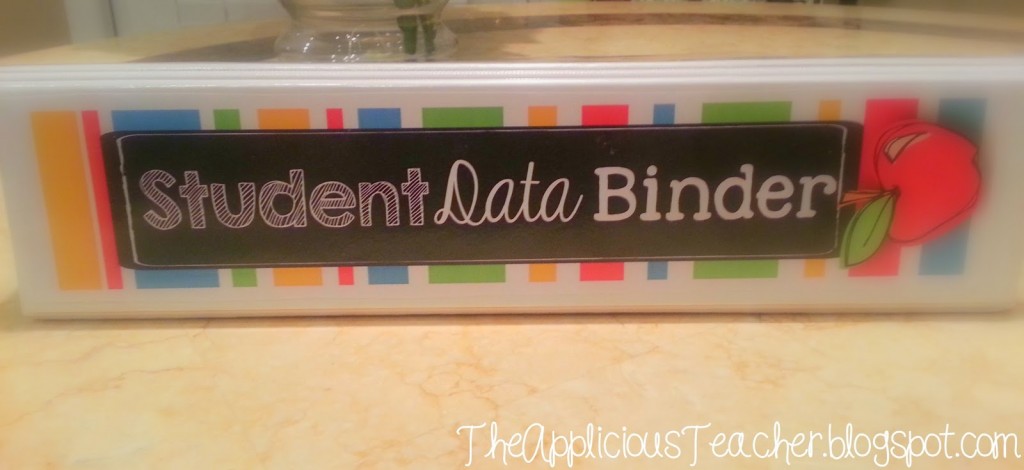
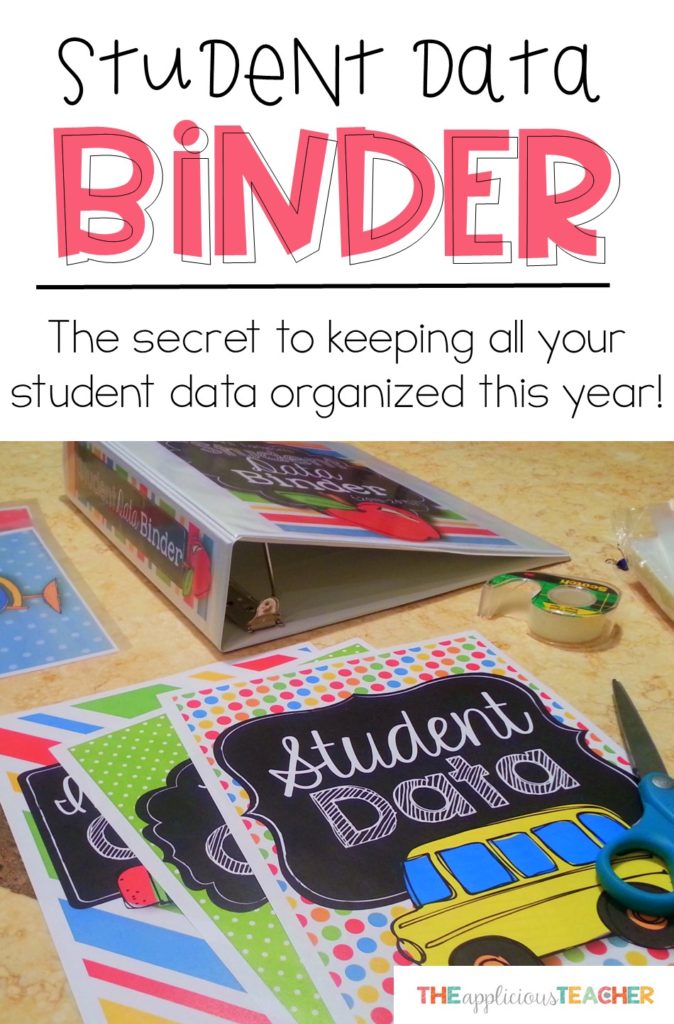
How many times have you’ve been called up to a meeting at the last minute? No time dig around for student scores, wonder where you put that intervention data, and definitely no time to wonder where those sight words and DRA cards are!! After quite a few run-ins with this scenario, I decided to start using a Student Data Binder to keep myself organized. I’ve touched on this topic before, but I really wanted to go more in depth and share how you can set one up and use it in your classroom, like seriously… every.single.day!
I’ve been using a Student Data Binder in various forms for about 5 years and I must say it is one of my teacher staples. It’s easy to grab for important meetings like IEP’s, PST’s (intervention), RTI’s, and parent conferences. I reference it whenever I am grouping students, and pull it out when discussing student data at our PLC’s. Not a day seems to go by when I not grabbing for this baby.
So let’s talk specifics… and answer some questions.
Why keep a data binder?
Well… the answer to this is different for everyone, so I will just share why I keep one… and it’s a super simple reason:
It keeps me organized.
In this data-obsessed age, there is so much to keep track of, I would go (and have gone) crazy trying to keep it all straight. Compiling it all into a portable binder makes my life easier. No more running around to three or four different files to find current information on my students! With a Student Data Binder, I can just grab and go at a moments notice! (Who can remember all those student meetings, anyway?!)
What’s in it?
Once again, this will vary by teacher, grade, school, and district. It even varies by year for me depending on my students and their academic goals. But here’s a quick peek at what I plan on keeping inside mine this year.
First up…
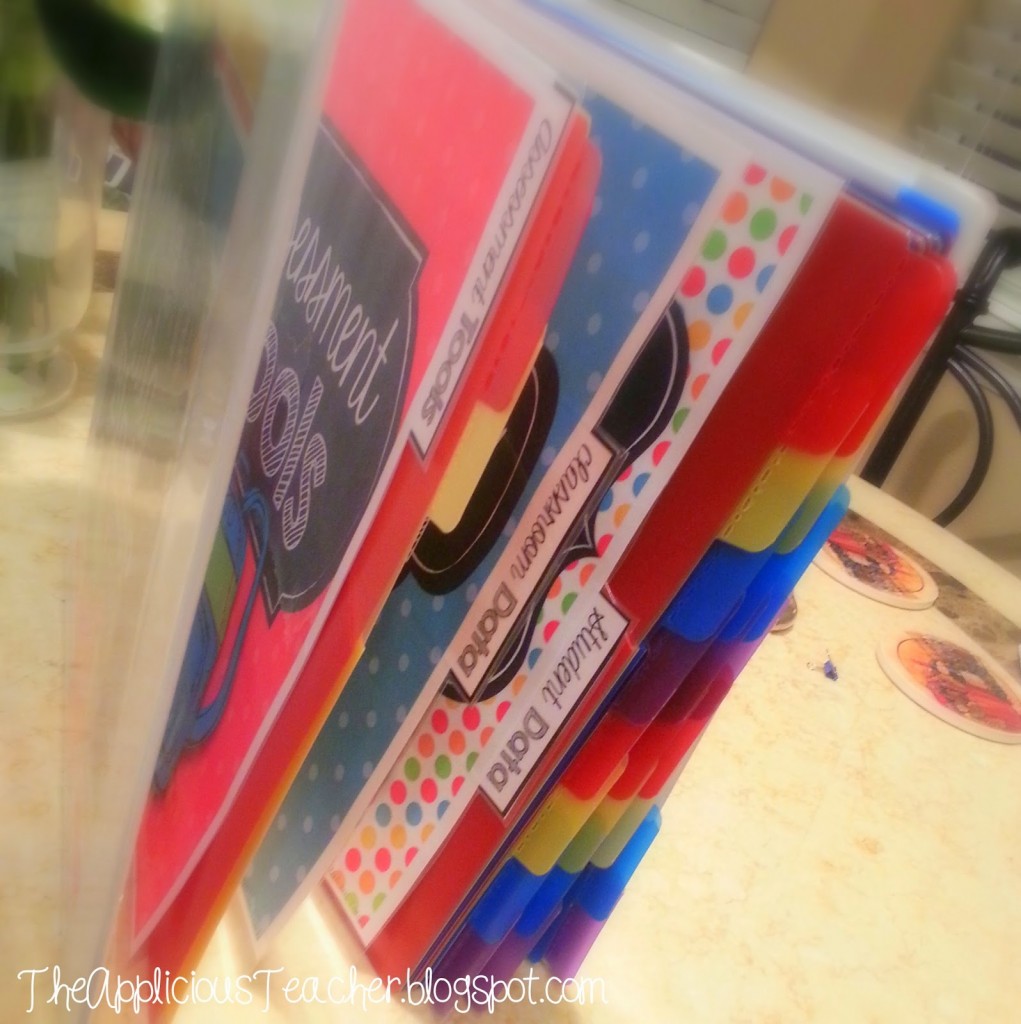
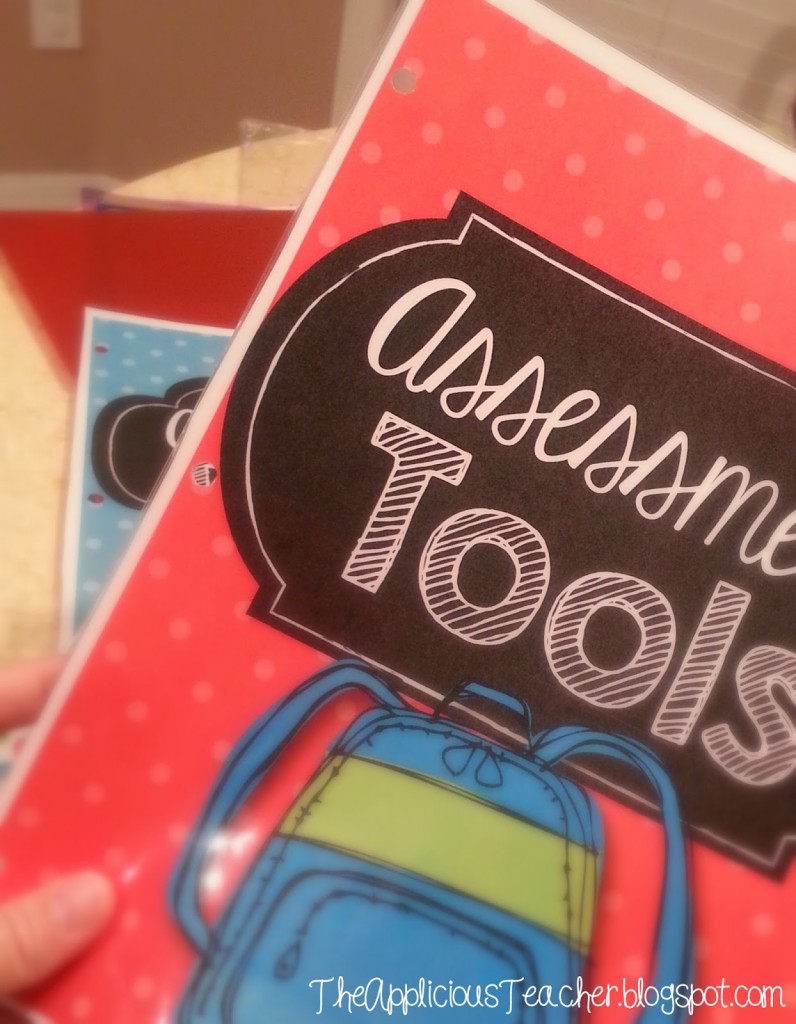
Student Data Binder: Assessment Tools
Behind this tab is all of my student version of assessments. Keep them right up in the front for easy access. Most of them I’ll slide into page protectors and put them in the rings, but some I have laminated and put into a 2 folder tab divider (more on those later!) This allows me to easily call students back when I need to assess without fumbling through wondering where the student task cards are. Because they’re in the sheet protectors, I sometimes don’t even pull out the sheet, I’ll just turn the book for the student to see and go from there.
Easy and efficient.
Just the way I like it!
Some examples of assessments include:
sight word lists,
QPA’s,
SIPPS task cards,
and the PAST, PSI, PASI
In the tabbed folders, I’ll usually store the master copies of the teacher recording sheets for the assessments.
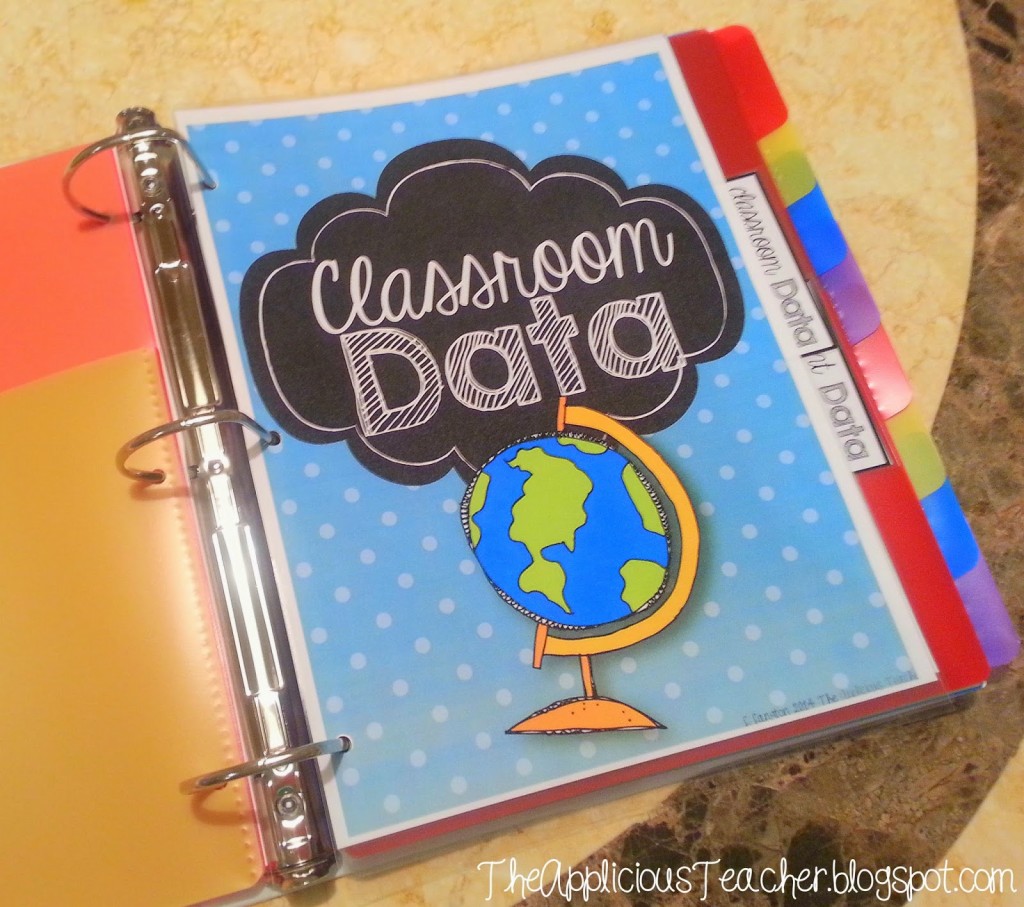
Student Data Binder: Classroom Data
These are whole class snapshots of scores. This allows me to look at my data as a whole before I dive into the individual student scores. To store, I’ll just print out the report, 3-hole punch it and stick it in!
Examples of data that is kept in this section:
District assessments
Classroom summative assessments
I-Ready Data
Any other formal data that pertains to the whole class
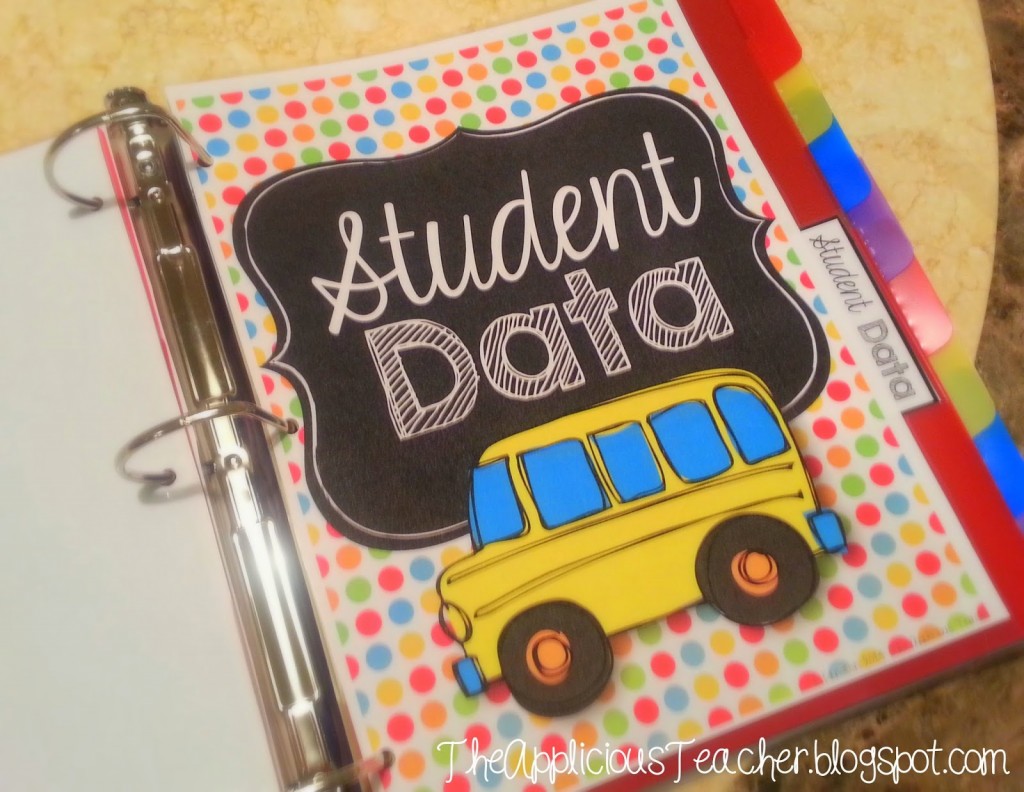
Student Data Binder: Individual Student Data
Behind my whole class data is individual student data.
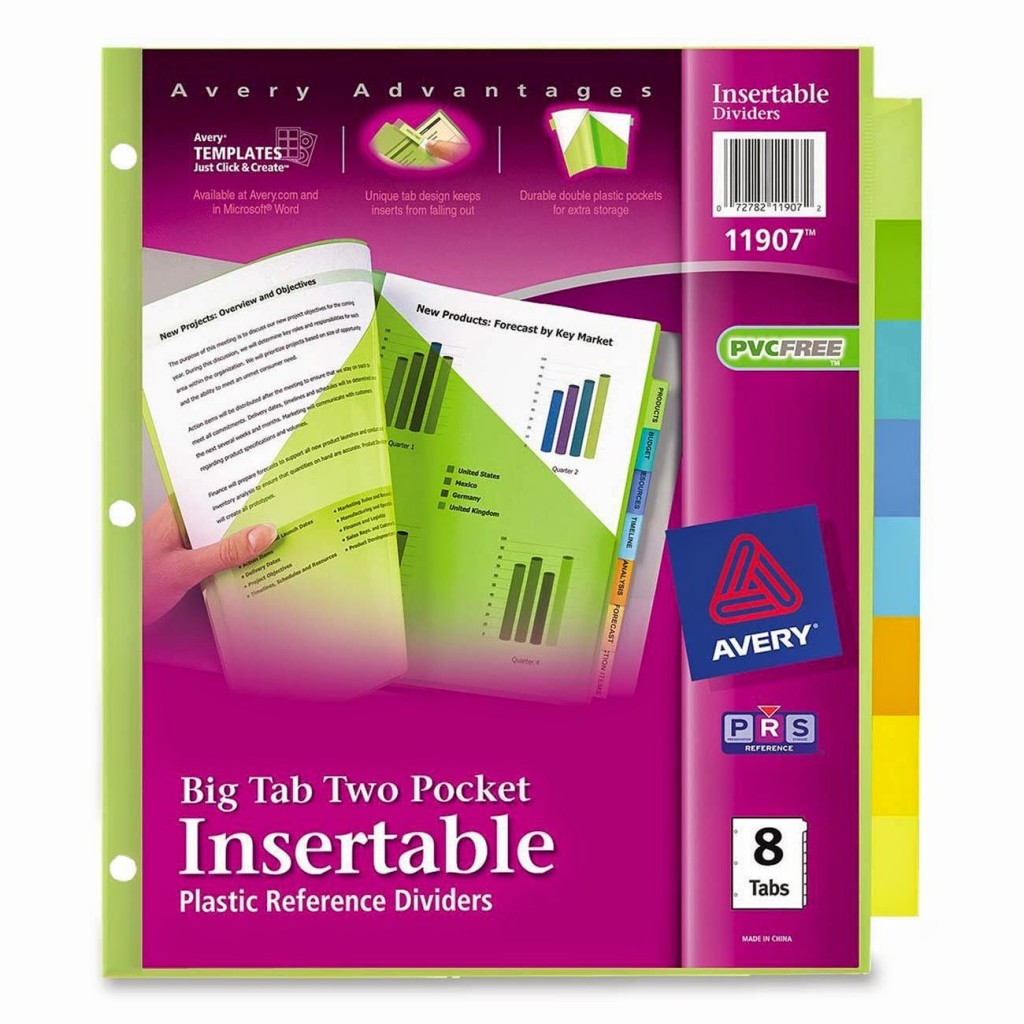
This is by far the biggest and most important section! Each student has a 2-pocket tab divider.
These are amazing at keeping student data in one space!
These ones from Avery are awesome and are on sale at Amazon for under $3 bucks! #steal
Each tab is labeled for each student. In the front of the pocket stores any “paperwork” a student may have (IEP’s, PST, invention and enrichment, RTI documentation). The back side of the divider stores their DRA’s, individual FAIR (or state assessment scores), QPA’s, and PAST’s (if needed) I can also store fluency/comprehension checks here as well. This can vary depending on what you want/required to keep track of. In between the pockets, I usually store a student’s sight word checklist that I had 3-hole punched and any other teacher recording sheets I may have. This allows me to way just flip right to a student and check them off!
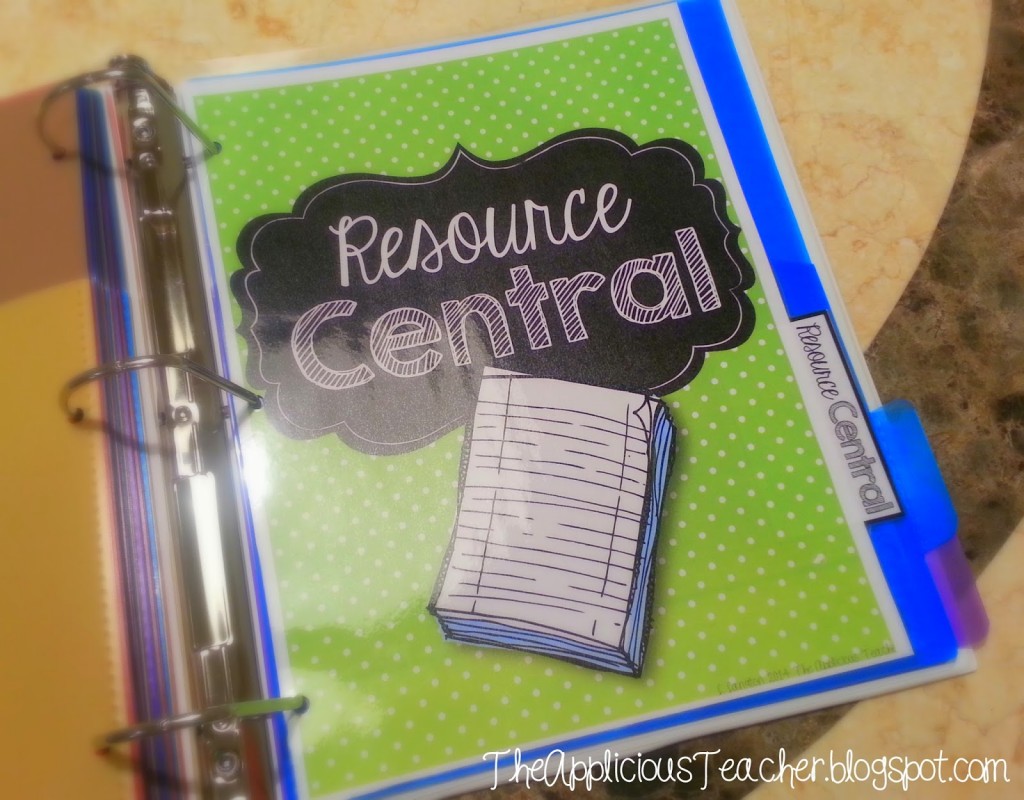
Student Data Binder: Resources and Reference Sheets
Behind that meaty section is all my resources and reference sheets!
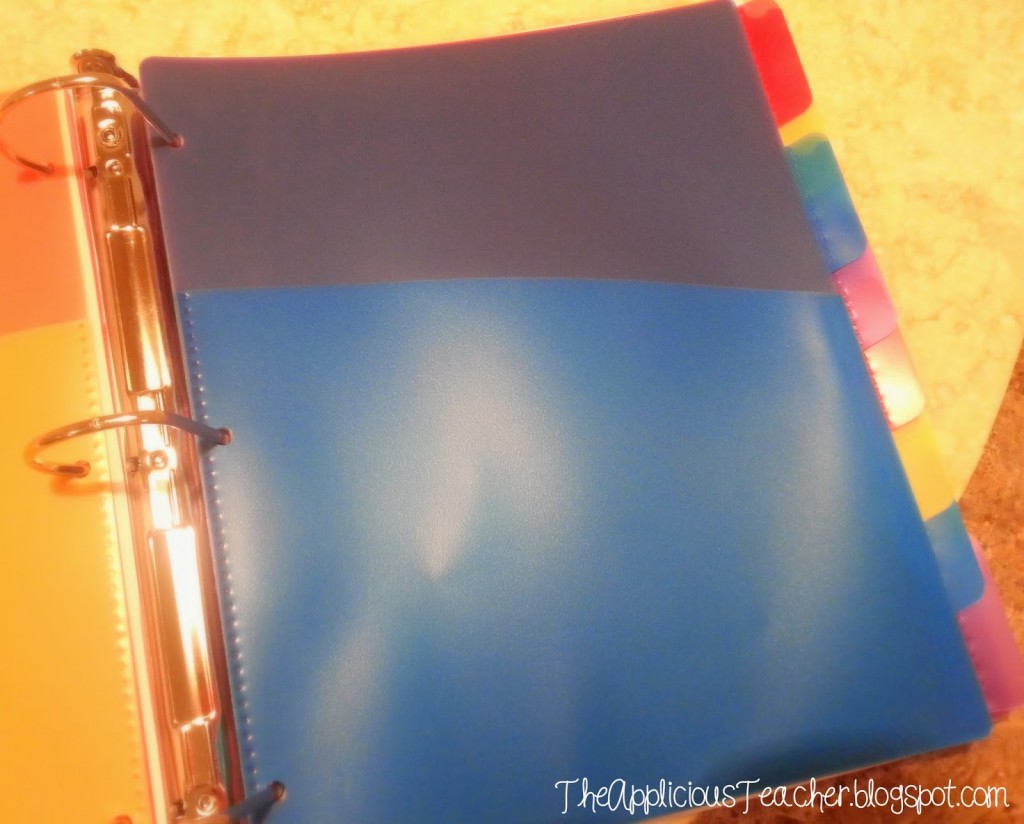
I’ll put a few extra pocket tab dividers behind there too to hold any loose paperwork that is too thick to store in the rings or in page protectors. Click here to grab a few reference freebies!
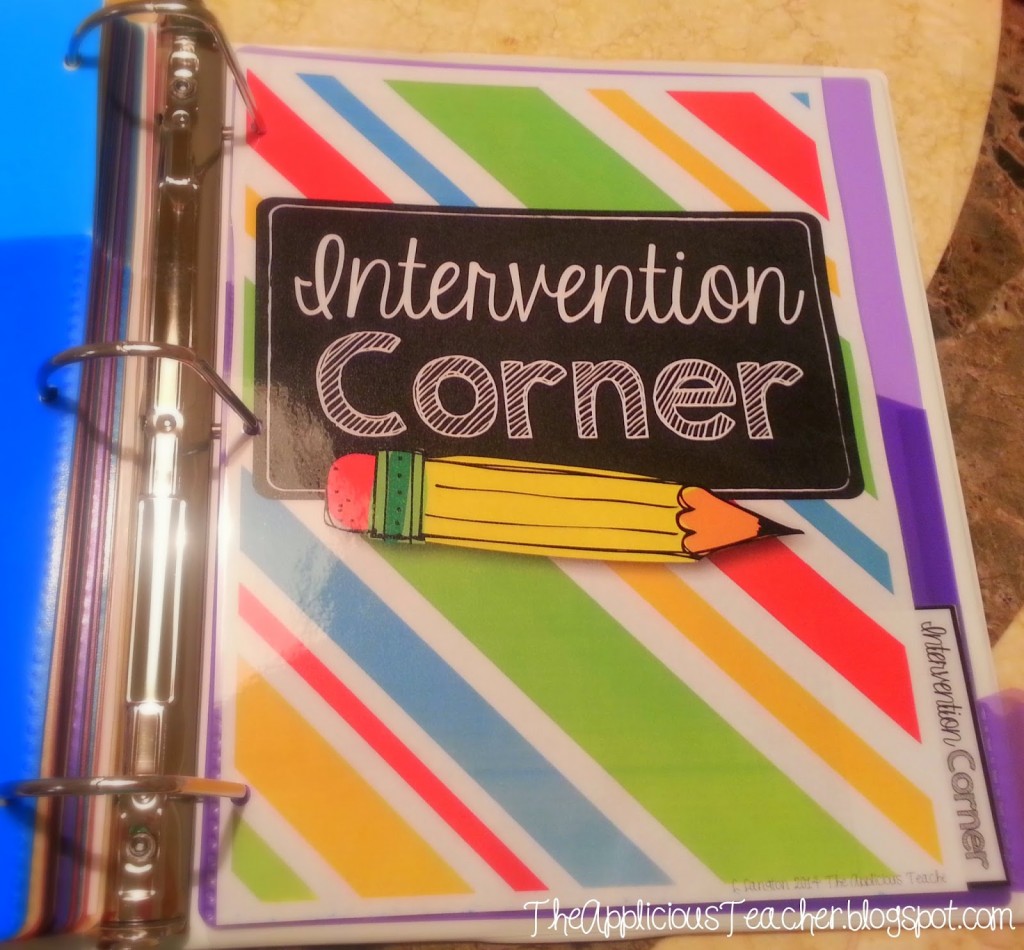
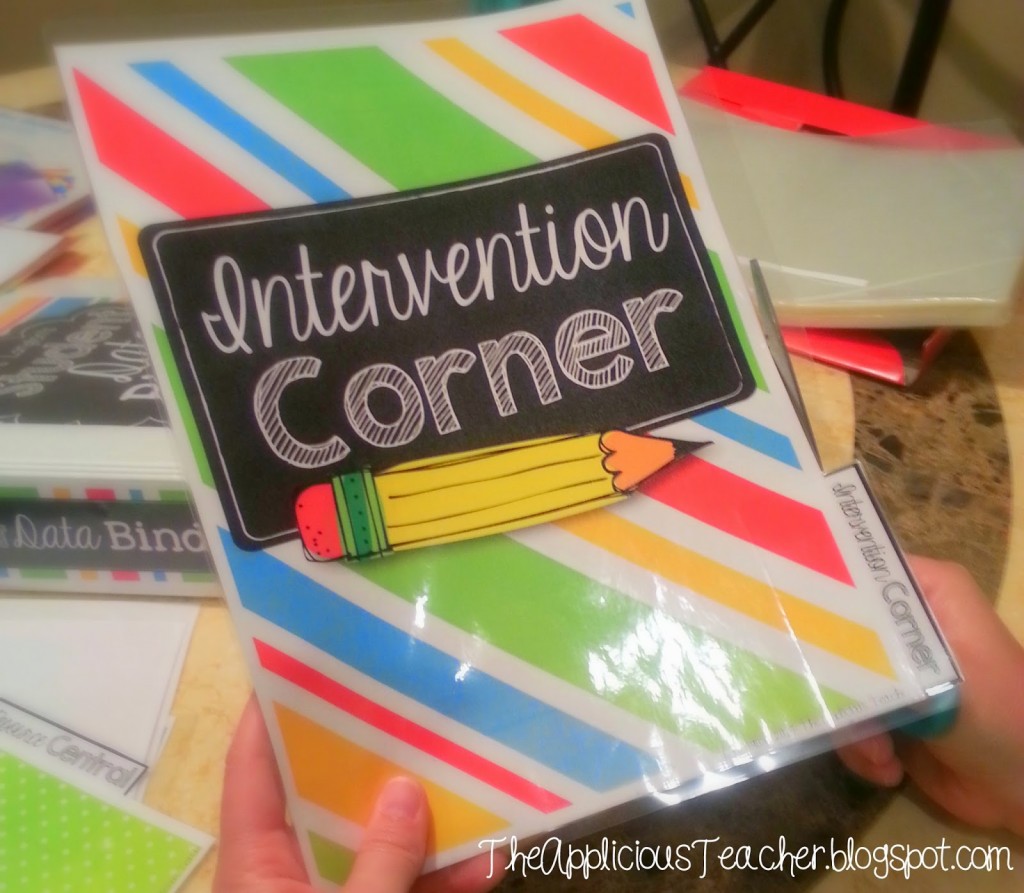
The last section of the binder is where all the intervention or decision trees are housed. This is a list of suggested interventions, district-approved interventions, and even enrichment resources. Black-line graphs for tracking progress are stored in extra tab pockets and reference material is housed in page protectors.
I do not store the student data there. That I keep all in one section under their tab in the “Student data” part of the binder.
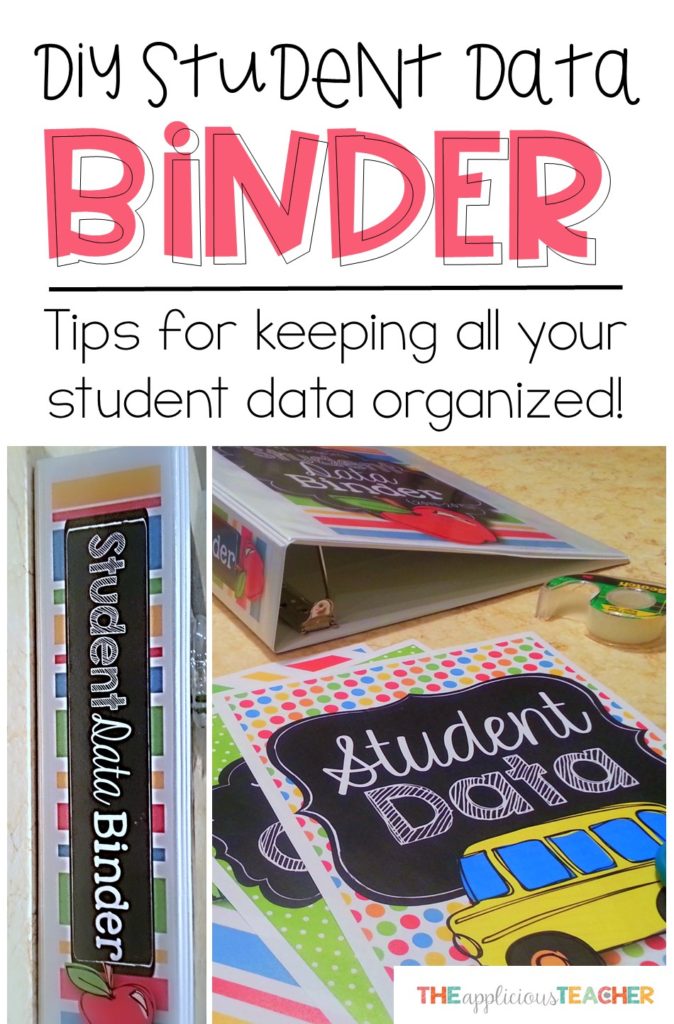
Student Data Binder: Setting It Up
Ok… so now you know the what and the how let’s get to the making of one!
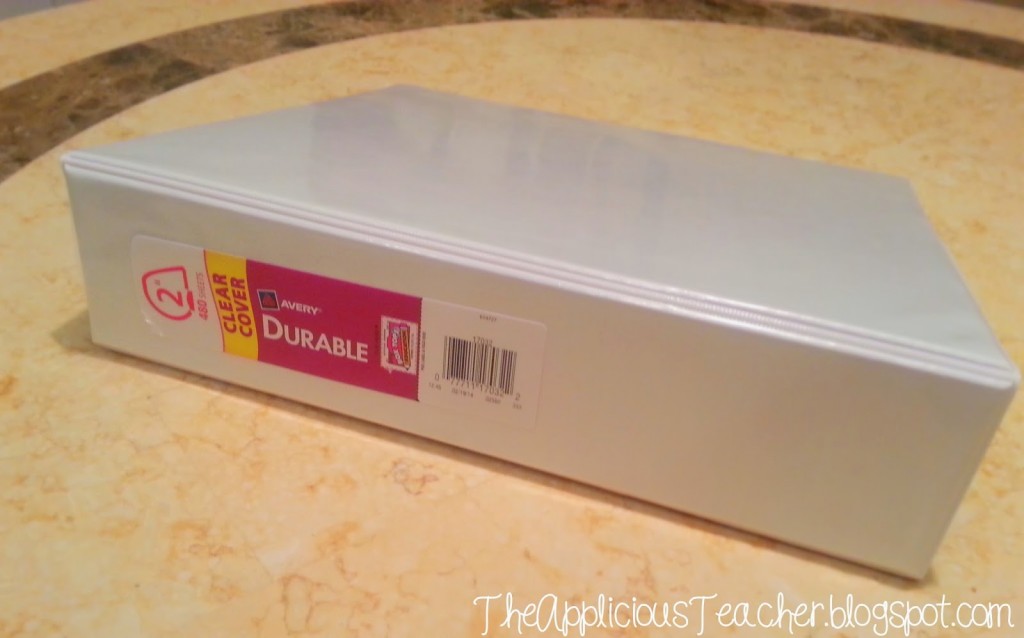
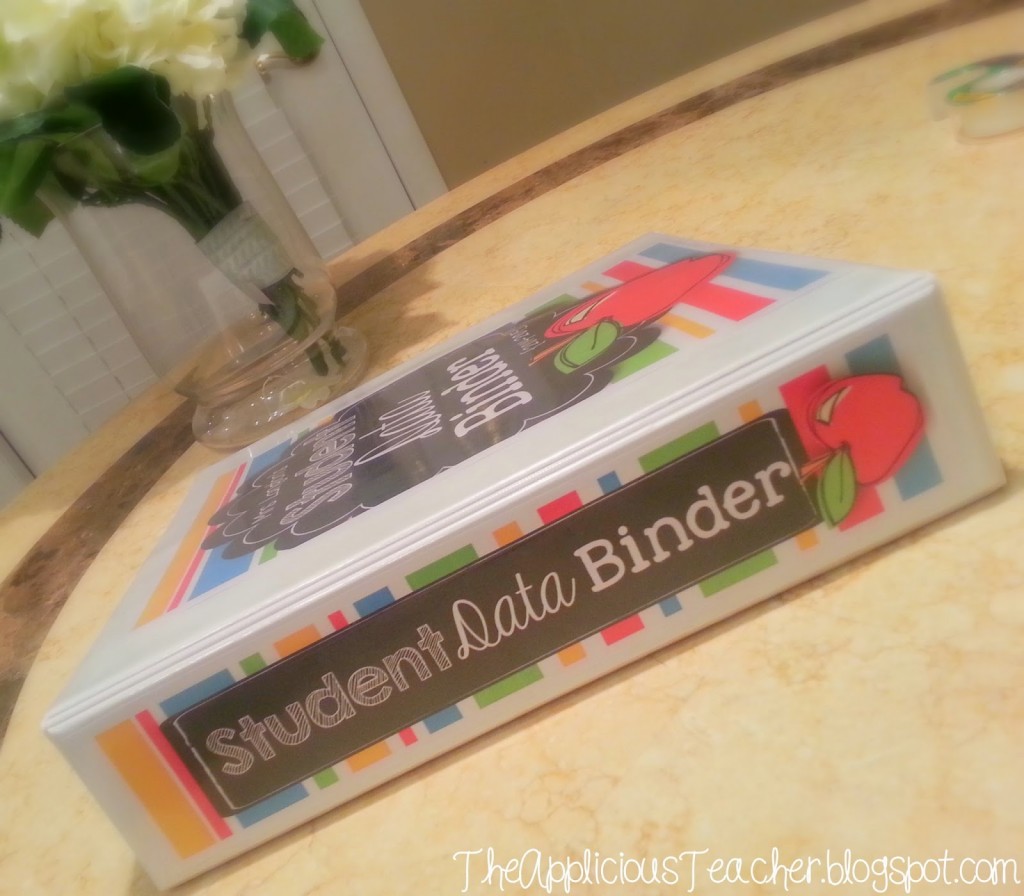
First up, you’ll need a binder. Do yourself a favor and buy the heavy duty ones! You’re gonna put LOTS of papers in here and it’s going to get lot’s of use, so save yourself a replacement headache and spring for the “durable” ones!
I like the white with clear pockets like this one… but any 2 inch or larger binder will work.
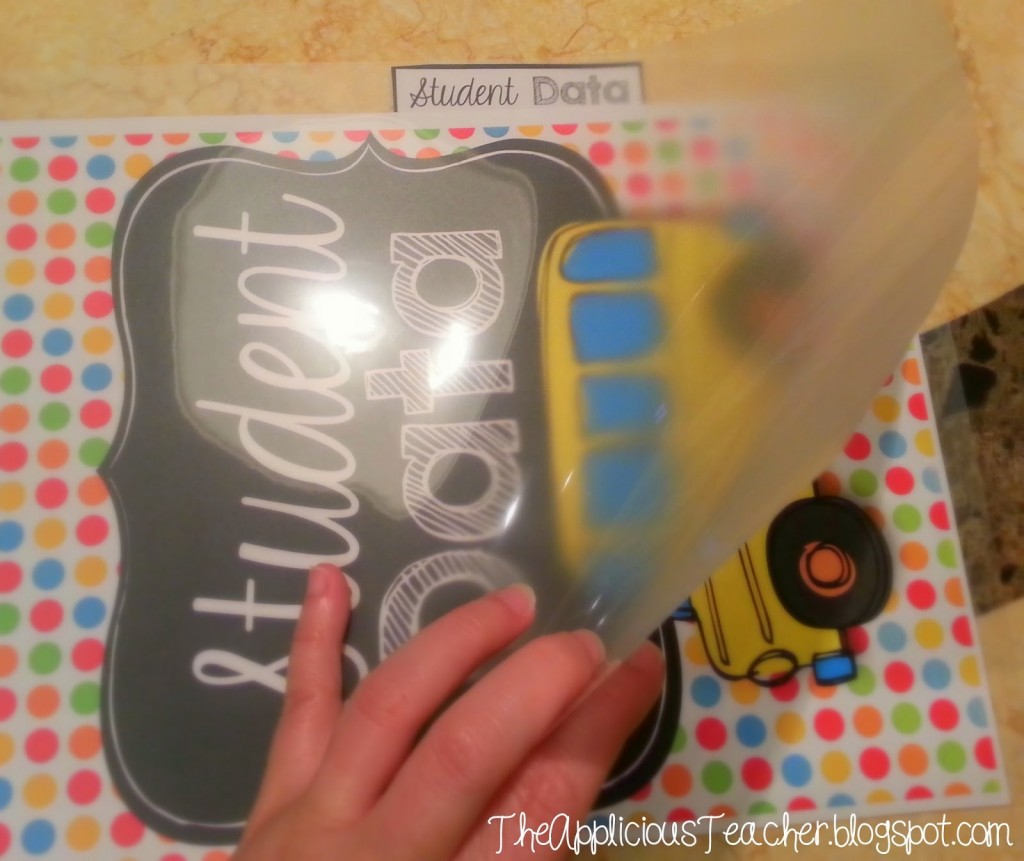
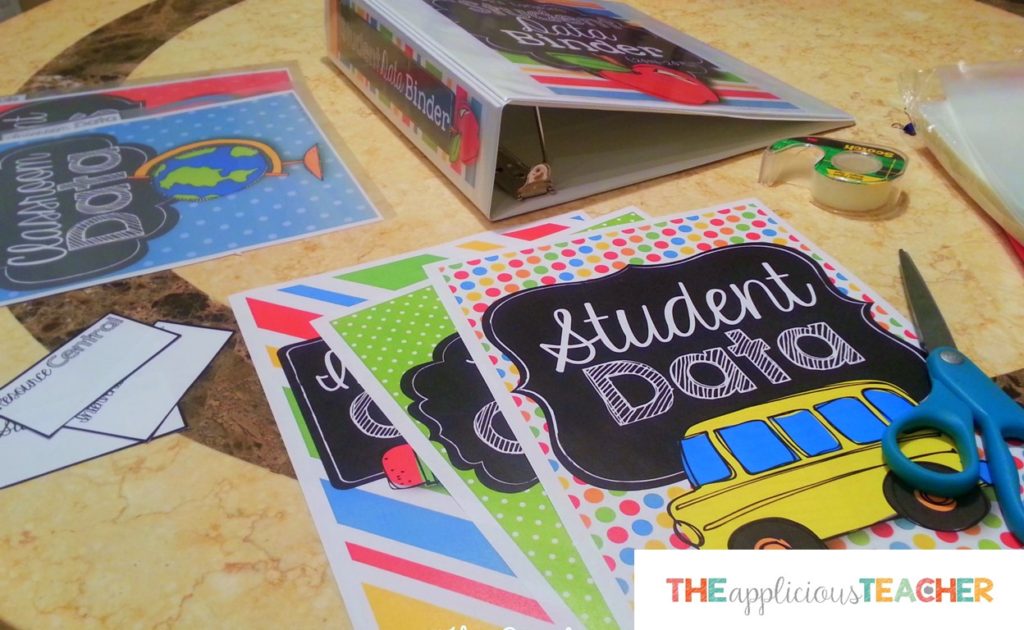
Next, you’re going want to add tabs to keep it organized. I promise it will just flow better! I made my cover and tabs (which you can check out an editable version of them here!).
To make the tabs, I printed out the labels and label tabs, trimmed out the tabs and put them in a laminating sleeve.
Make sure to line up your tab so you can see the label!
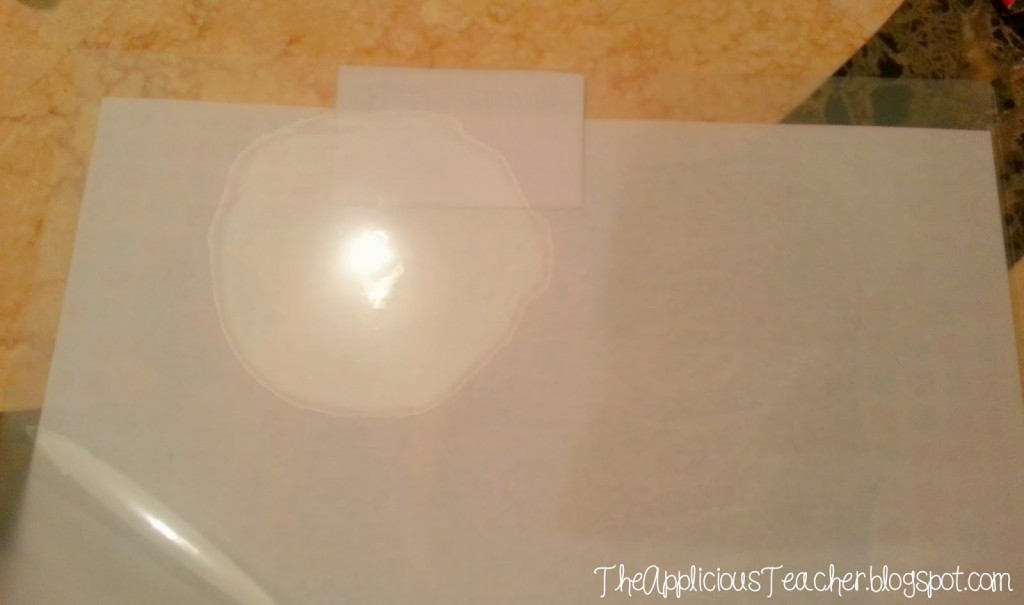
Then I ran them through my trusty laminator (like this one here) and trimmed out the tab.
Three-hole punched the tabs so they’ll go in your binder…
and…Ta-dah!
You don’t have to go this fancy by any stretch, but I figured if I have to look at it, I want to like what I see. Other options include using a half of a legal size file folder and three hole punch them. Once you put your tab dividers in, start filling this baby up with ALL your data!
Now you’ve got a great Student Data Binder that you can grab at a moments notice! Just don’t forget to keep it updated. 🙂
Now you can say goodbye to unorganized piles, stressful last minute meetings, or “where did I put that?” questions.
Want to grab this Student Data Notebook for yourself? Be sure to click the picture below! It will take you to all the different colors and types of binders in my TPT store!
The Applicious Teacher is all about creating hands-on and engaging lessons that align with the standards while still having time for your life. This is your place for ideas, tips, and resources for the REAL teacher!
We use cookies on our website to give you the most relevant experience by remembering your preferences and repeat visits. By clicking “Accept”, you consent to the use of ALL the cookies.
This website uses cookies to improve your experience while you navigate through the website. Out of these, the cookies that are categorized as necessary are stored on your browser as they are essential for the working of basic functionalities of the website. We also use third-party cookies that help us analyze and understand how you use this website. These cookies will be stored in your browser only with your consent. You also have the option to opt-out of these cookies. But opting out of some of these cookies may affect your browsing experience.
Necessary cookies are absolutely essential for the website to function properly. These cookies ensure basic functionalities and security features of the website, anonymously.
Cookie
Duration
Description
cookielawinfo-checbox-analytics
11 months
This cookie is set by GDPR Cookie Consent plugin. The cookie is used to store the user consent for the cookies in the category "Analytics".
cookielawinfo-checbox-functional
11 months
The cookie is set by GDPR cookie consent to record the user consent for the cookies in the category "Functional".
cookielawinfo-checbox-others
11 months
This cookie is set by GDPR Cookie Consent plugin. The cookie is used to store the user consent for the cookies in the category "Other.
cookielawinfo-checkbox-necessary
11 months
This cookie is set by GDPR Cookie Consent plugin. The cookies is used to store the user consent for the cookies in the category "Necessary".
cookielawinfo-checkbox-performance
11 months
This cookie is set by GDPR Cookie Consent plugin. The cookie is used to store the user consent for the cookies in the category "Performance".
viewed_cookie_policy
11 months
The cookie is set by the GDPR Cookie Consent plugin and is used to store whether or not user has consented to the use of cookies. It does not store any personal data.
Functional cookies help to perform certain functionalities like sharing the content of the website on social media platforms, collect feedbacks, and other third-party features.
Performance cookies are used to understand and analyze the key performance indexes of the website which helps in delivering a better user experience for the visitors.
Analytical cookies are used to understand how visitors interact with the website. These cookies help provide information on metrics the number of visitors, bounce rate, traffic source, etc.
Advertisement cookies are used to provide visitors with relevant ads and marketing campaigns. These cookies track visitors across websites and collect information to provide customized ads.