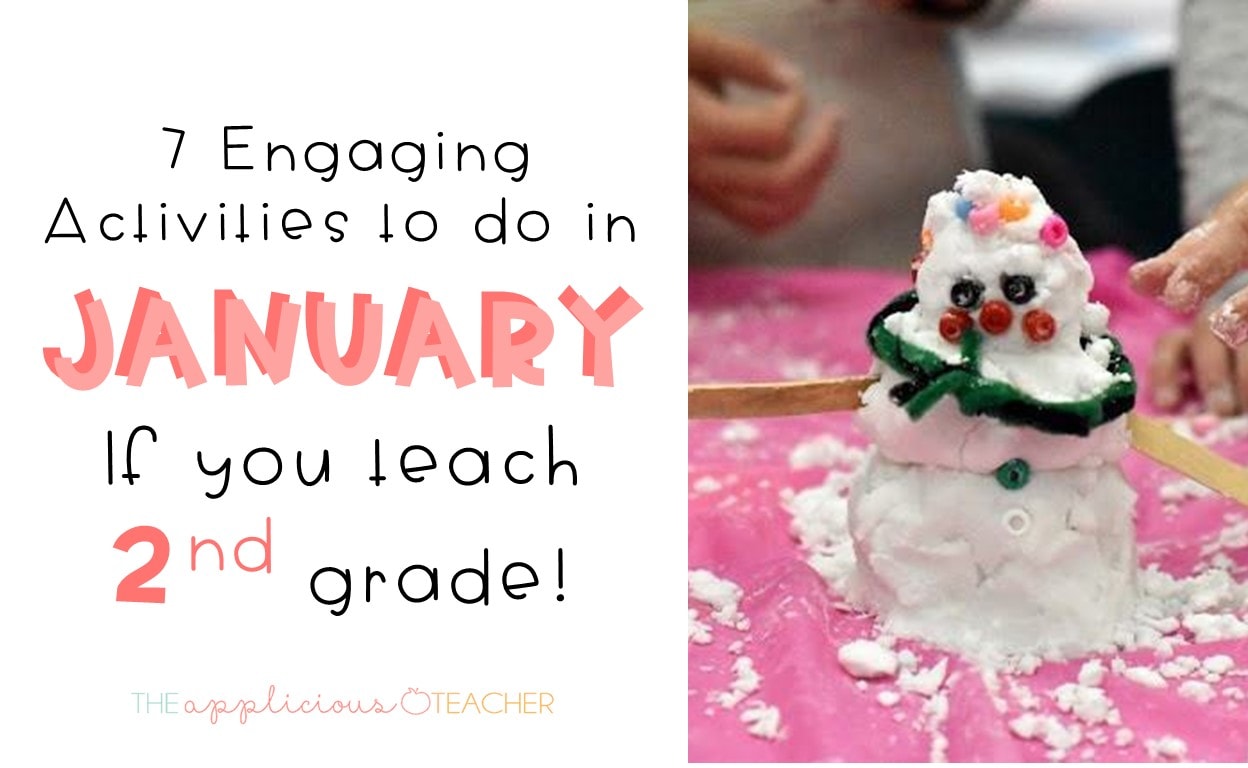
The school I worked at this past year was REALLY focused on STEM. I mean like really focused. Like so focused, the teachers worked to turn the old Media Center into a STEAM Lab complete with Lego wall, Makerspace, robots, and magnetic whiteboard wall for marble mazes.
I brought my 5th-grade class down there on an almost weekly basis as STEM and STEAM lessons were part of our curriculum.
But when I moved down to kinder, it was very challenging to drag my 20 kindergartners down there to explore. It was just a little too much. So, instead… I made a little mini STEM Lab in our classroom.

Please note this post does contain affiliate links. To read more about affiliate links and how they support the upkeep of this website, please click here.
This became a space where students could explore, create, and build! Honestly, it was one of my (and the kids’) favorite spaces in my classroom! So today, I’m sharing how to bring this little magical nook to your classroom!
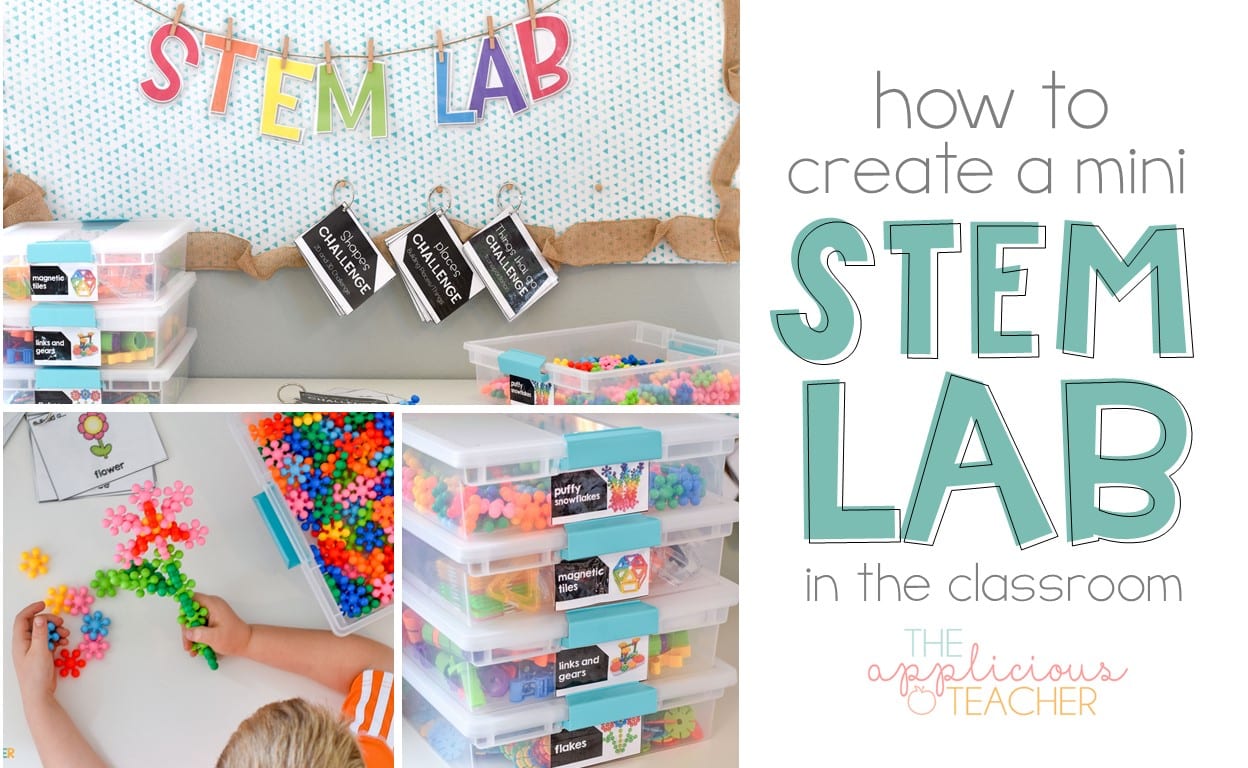
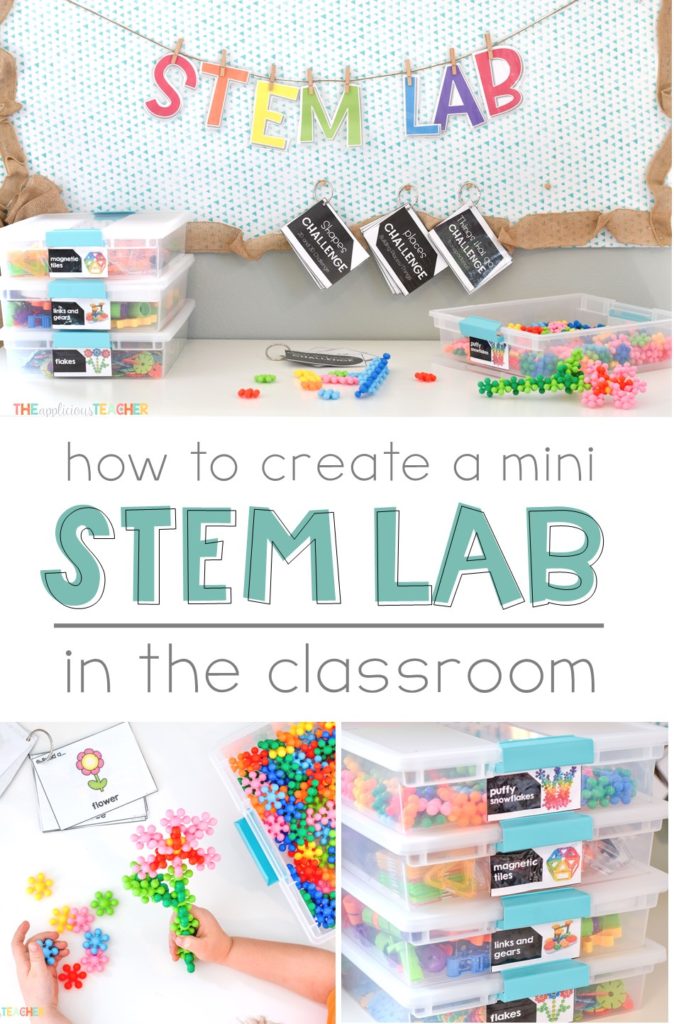
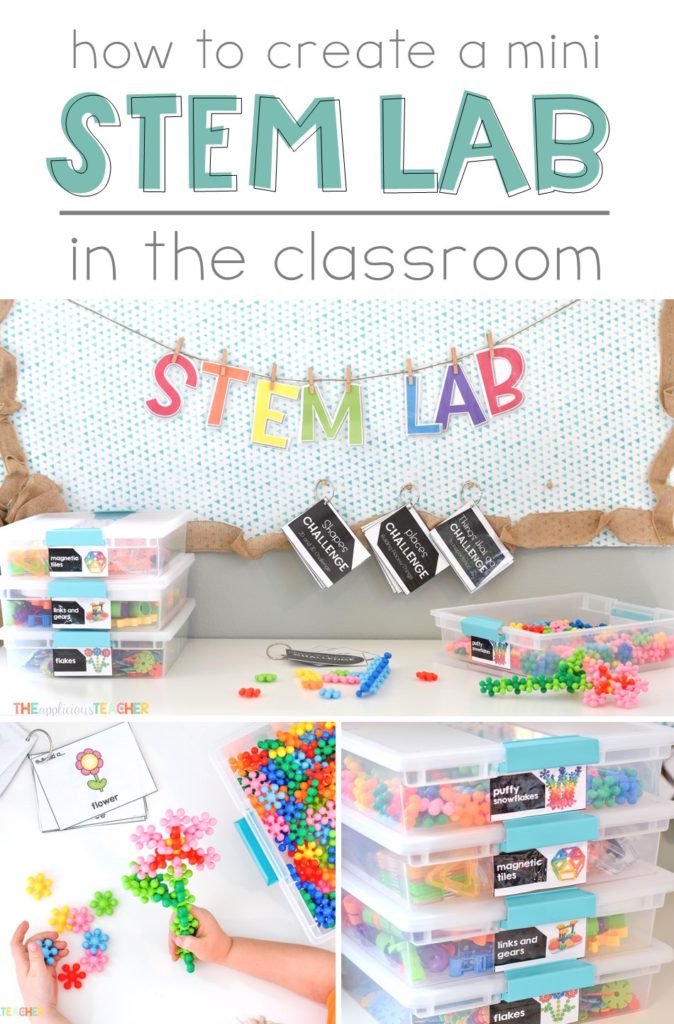
Classroom STEM LAB
It all starts with a little space in your classroom. For your STEM Lab area, be sure there’s tabletop space for building and floor space for exploring.

For this space, I used an old desk that had a bulletin board behind it. This allowed me to keep our materials close and contained. Students could bring the pieces to the floor nearby, but they really liked working at the desktop. You don’t have to use a desk for your space, though!
Other STEM Lab location ideas:
- a small table lowered to floor height with pillows around.
- a STEM Lab nook in the corner of a classroom
- back of the classroom on the window ledge
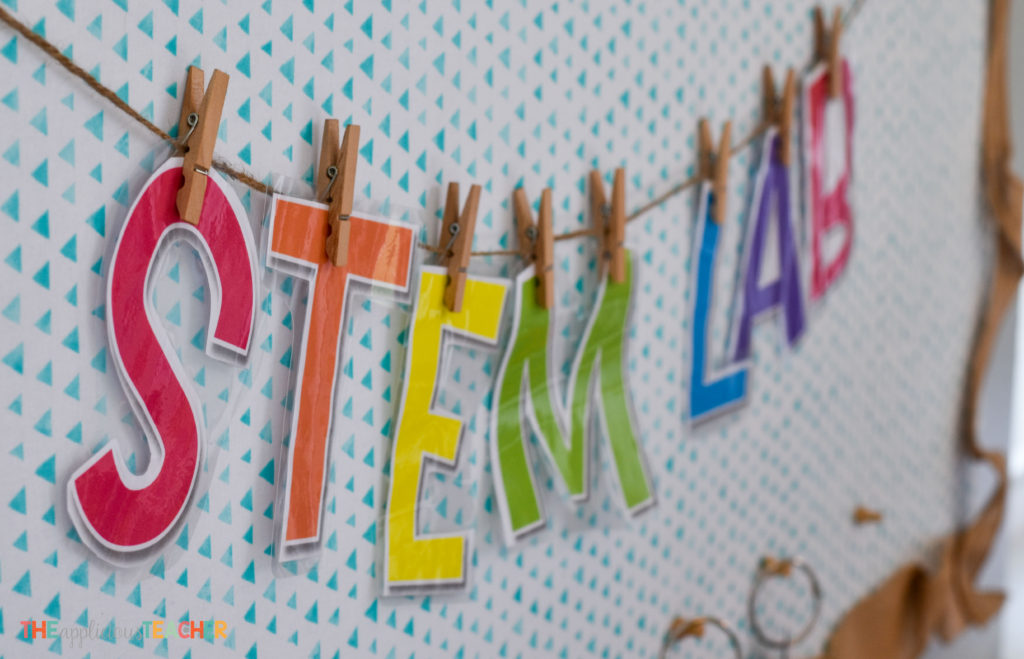
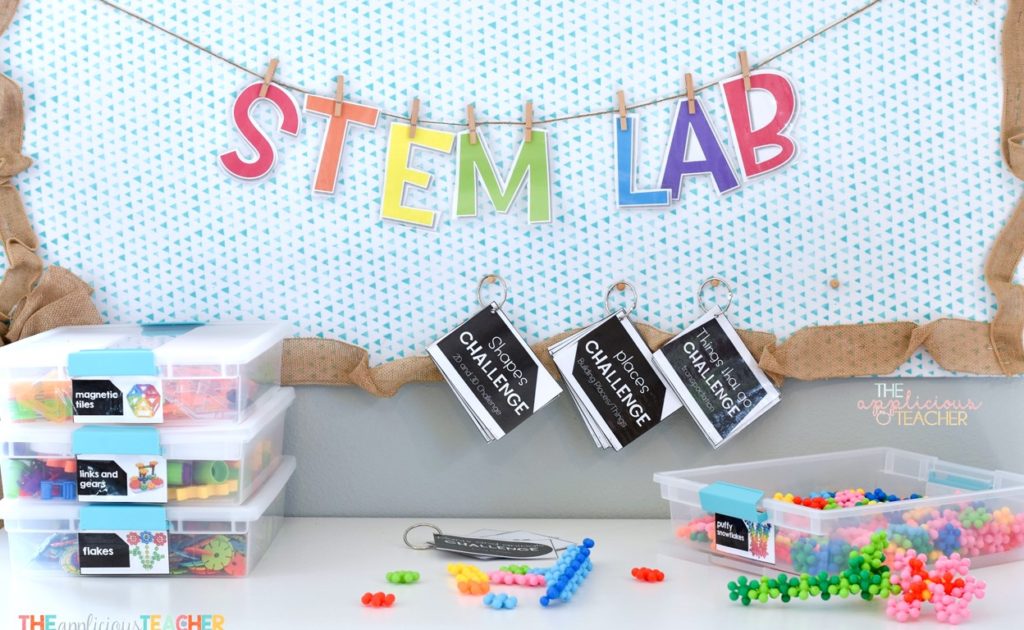
I also hung this cute STEM Lab pennant banner on the bulletin board to help define the space. The twine and mini clothespins gave it just enough crafty chic. To make this banner, I just printed the large letters on white paper, trimmed them out, then laminated. From there, I re-cut them and strung them up using mini-sized clothespins like these! Seriously LOVED this sign!
STEM Lab Material
Once the space was created, supplies were needed! We didn’t go too fancy here as I wanted creativity and ingenuity to be the main focus. For the most part, I grabbed materials and manipulatives that were already in the classroom.
STEM Lab Material Ideas:
Don’t feel like you need to run out and buy a ton of new materials to create this makerspace in your classroom! Here are some classroom standbys that my students LOVED working with!
- unifix cubes
- pattern blocks
- bare counters (perfect for testing out boats, cars, and playgrounds built in the lab!)
- Legos
- wooden blocks
- connecting cubes
- Play-doh
If you are looking to add a few things, here are a few crowd-pleasers from our room that I know your students will LOVE!
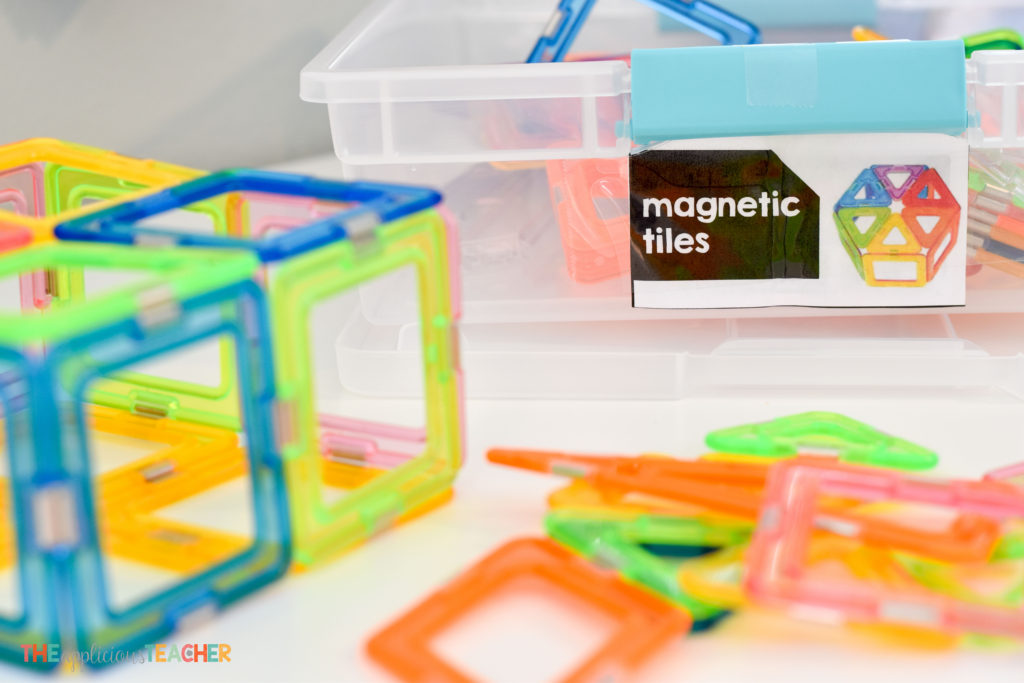
- Magnetic Tiles
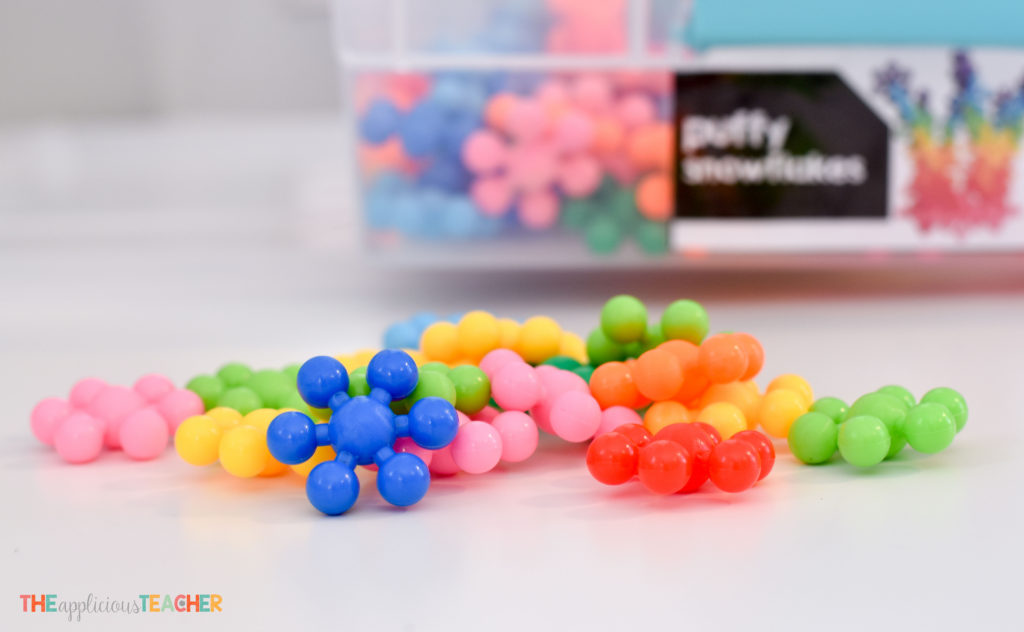
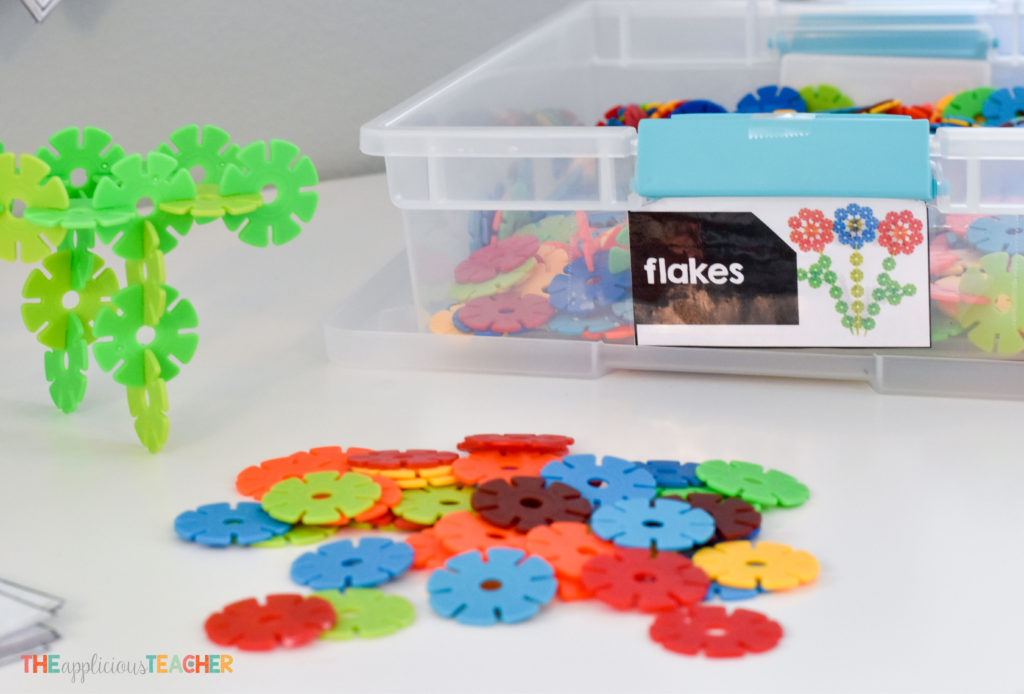
- Snowflake Blocks
- Brainflakes
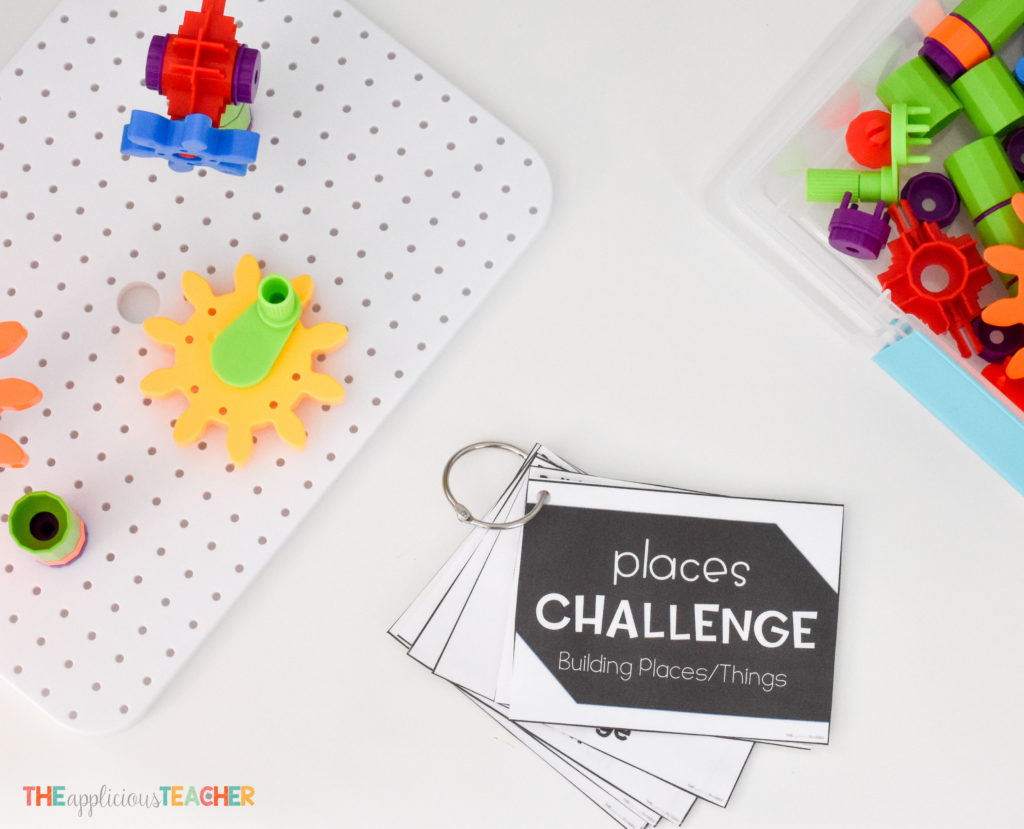
- Links and Gears
- Bee-Bots or Dashbots
These are just a few ideas! Paper, pipe cleaners, and glue all work well too! If students can build with it, it’s perfect for this little STEM lab space! See a list of my MUST-HAVE materials, check out this post!
Keeping the STEM Lab Organized!
You’ve got your space and materials, but how are you going to keep all the things organized?
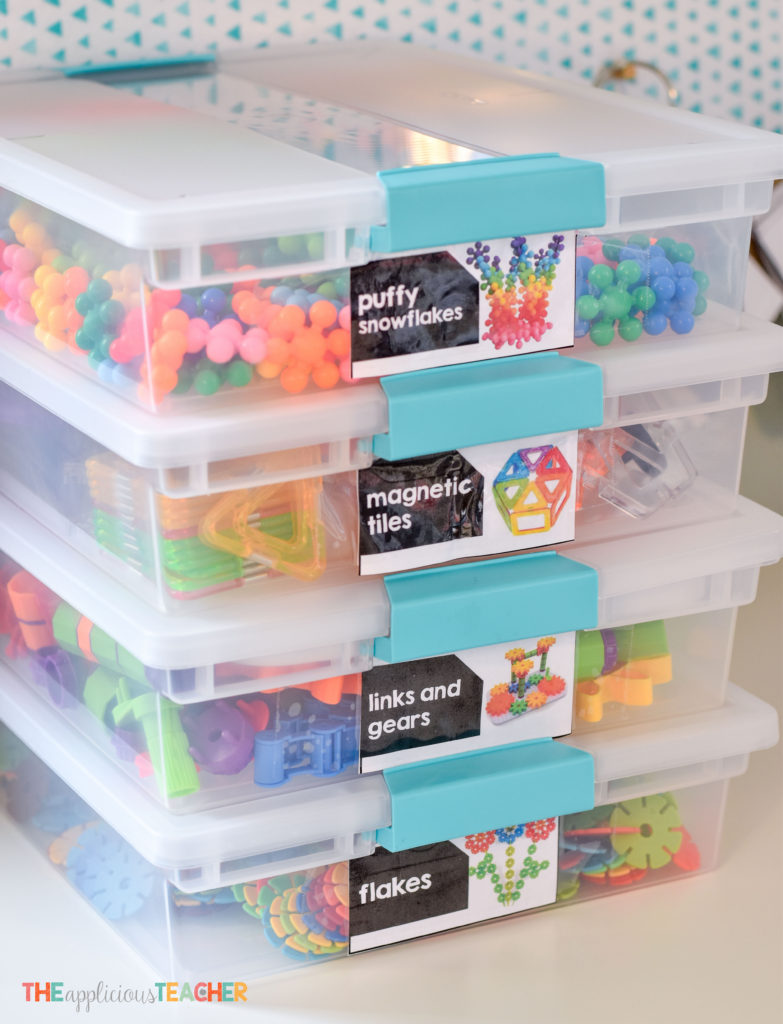
For our lab, I used paper sized plastic totes with clip-lids. These were a little more pricey per unit, but the sturdy plastic and clip-on lids made them easy to stack and stow away for later use.
Like these on Amazon!
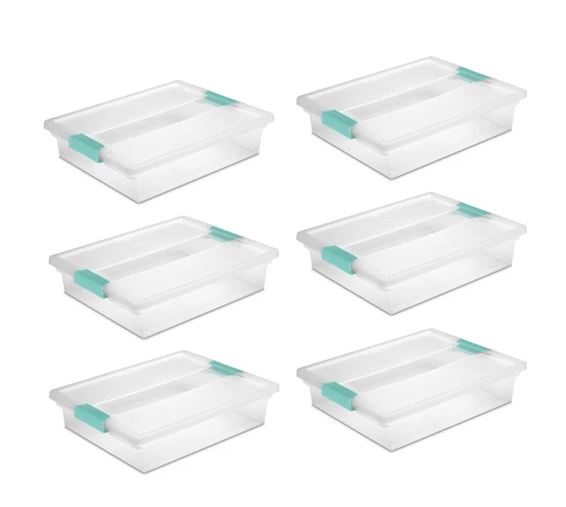
![]() You can also find something similar at Target!
You can also find something similar at Target!
To make sure that students cleaned up and put away supplies properly, I also added picture material labels to each bin.
This made clean up a breeze. When the lab wasn’t in use, the bins easily stacked up on the table top. Their small size also makes them ideal for stowing away in closets or on bookshelves.
STEM Lab Use
Now as much as I would have loved to just allow my kinders to wonder over to our mini STEM lab at any point in the day, that would have made for UTTER chaos! To help keep the sanity, we used this space mainly during our math bucket times.

Use During Math Stations:
This space became part of our math station (or math bucket time) Instead of working on a bucket at their seats, their team would be allowed to work in the STEM lab area. Most times, I’d choose a task card deck for them to work through and their choice of materials (to limit the mess-making!)
But towards the end of the year, my students were ready to start choosing their own projects, so I allowed them to pick their choice of task cards to work through and their materials. I did keep the one material at a time rule, though, to help keep clean up easy!
Math Buckets:
To make this routine work in any room, you could also just add materials and a defined building task to part of your math or science stations. Just place your choice of materials and an assigned STEM task and BOOM! Instant activity!
STEM Lab Activities: STEM Challenge Task Cards
To keep students on track and working, I also incorporated STEM Challenge Task Cards. To make, I printed out the cards , laminated them, then hole punched and put on a binder ring. This made it easy to keep right near our STEM Lab workspace!
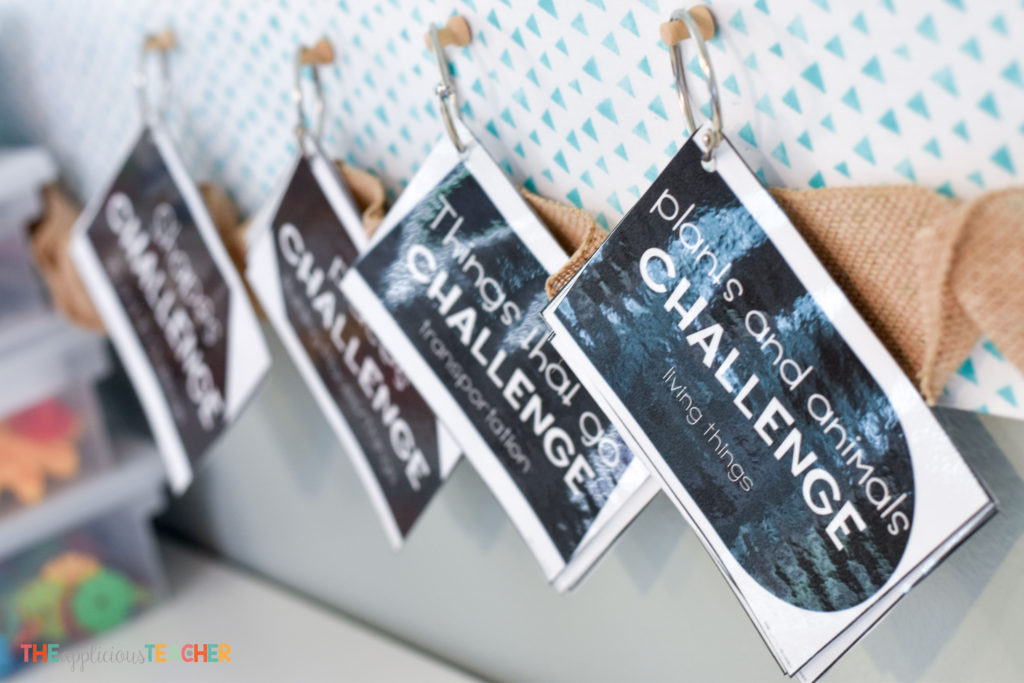
This year, students worked through four different task card sets. The tasks were pretty general and worked perfectly year round!
To introduce the cards, we first only worked on one task card at a time. Then gradually, we built up to a full deck that students could choose from. Like I said earlier, later in the year, students were able to choose their deck and their task cards. This was one of my favorite (and easiest!) ways to differentiate this station!
Tips for Your Classroom STEM Lab
Creating a space like this in our room definitely came with a steep learning curve, so I’m going to share a few lessons learned so that you can avoid some BIG mistakes! LOL!
- Introduce Materials One by One- When I first created the space, I made the mistake of not allowing students time to work with the manipulatives before assigning tasks. This made it hard for students to build, create, or engineer as they didn’t really understand how to use the materials. By the second round, I had learned my lesson! So, before putting a new material in the Lab area, I put out a collection at each table so students could manipulate and “play” before they went to work!
- Gradually Move to Student Choice in Younger Grades- Having spent the first half of the year in 5th (and most of my classroom experience in 2nd and 3rd), I didn’t realize the pitfalls of younger students and making choices. Our first dive into the Lab, I allowed students to choose their cards and materials. This seemed like a great idea at the time (and would probably work well for older students!), but it led to issues in our very young kindergarten class. So after some experimenting, I found that in the beginning, it was best if I dictated the task and materials with a goal to move to student choice.
- Practice Cleaning Up- To avoid our STEM Lab looking like a war zone, we practiced and practiced (and practiced!) cleaning up the Lab properly. We reviewed where to put the cards, how to put away materials, and re-stack bins. We also practiced cleaning up as soon as we heard the timer. Many of my STEM-gineers still wanted to play even after the timer went off!
- Set Limits- Students will want to pull everything out and try to build everything, but accomplish nothing. Hold students accountable by setting limits:
- Time: Time limits define a project’s size and complexity.
- Materials: I also included limits on materials (only 1 bucket at a time).
- Task: By limiting students to one task card at a time, students were forced to work together and problem solve (even when they might have felt a little bored!).
- Students: Set a limit on the number of students working in the station. I set the number to 4, and no more than 3 working on a card or project at a time. Too many cooks…
- Space: Students could work on the top of the desk or on the floor right near the station, but that was it. No walking around!
Grab All These Mini STEM Lab Supplies for Yourself!
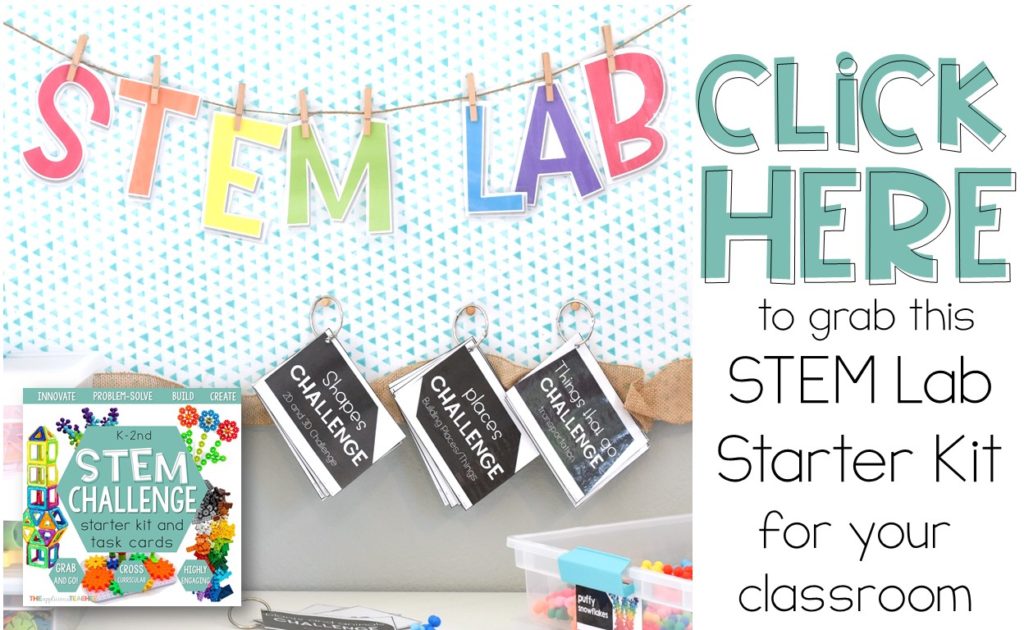
Creating a space like this in your classroom can be challenging, but you know I’ve got your back! You can grab all the labels, task cards, and the banner that I mentioned in this post by following the link to my store!
This STEM Lab Challenge Kit Includes:
- STEM Lab Banner
- STEM Material print-and-go labels, and customizable labels so you can make this Lab your own with customized colors and fonts!
- STEM Lab Bucket Labels- perfect if you’re not ready to commit to a Mini STEM Lab, but are ready to introduce your students to this amazing routine! (Also editable and can be customized with your color preference and fonts!)
- Four sets of STEM Challenge task cards that are perfect for little STEM-gineers. These task cards encourage spatial sense, collaboration, creativity, curiosity, problem-solving skills, and perseverance! Their simple picture commands and easy to read font also help foster increased vocabulary (perfect for your ELL’s) and literacy!
I can’t wait for your students to build some amazing future-ready skills with this STEM Kit!