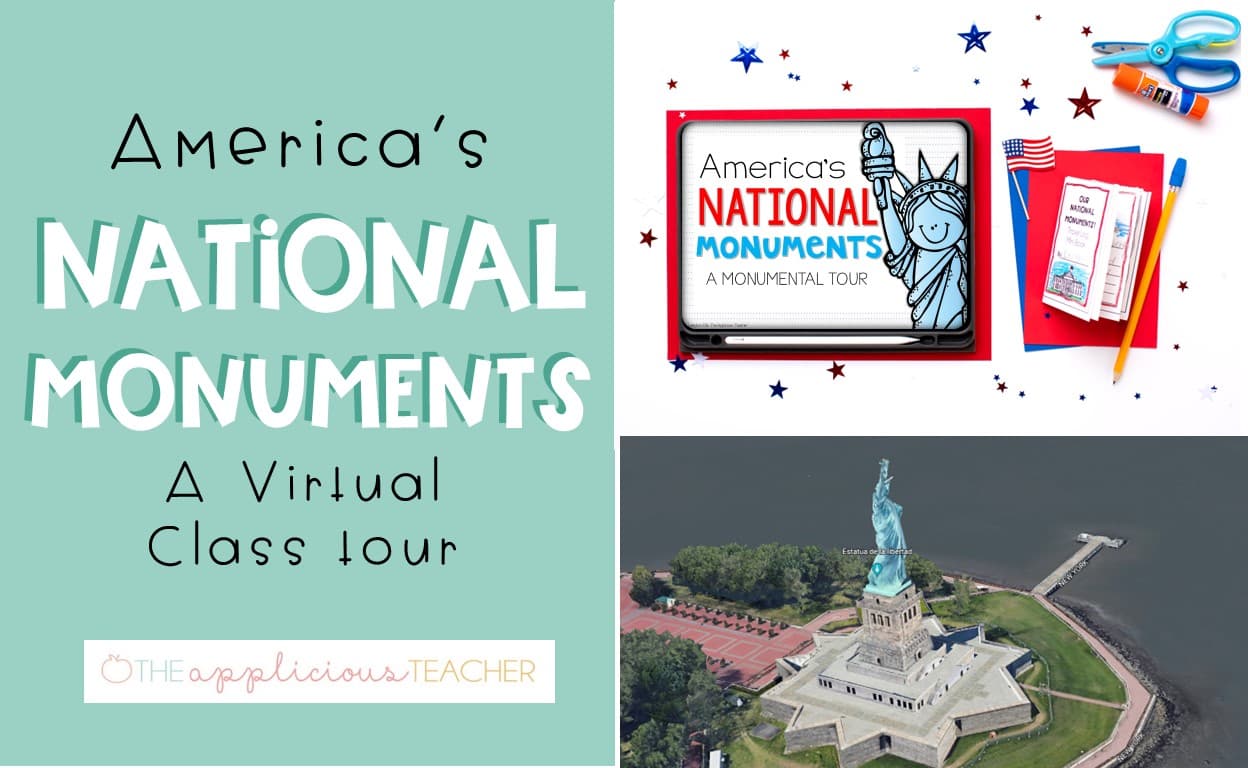

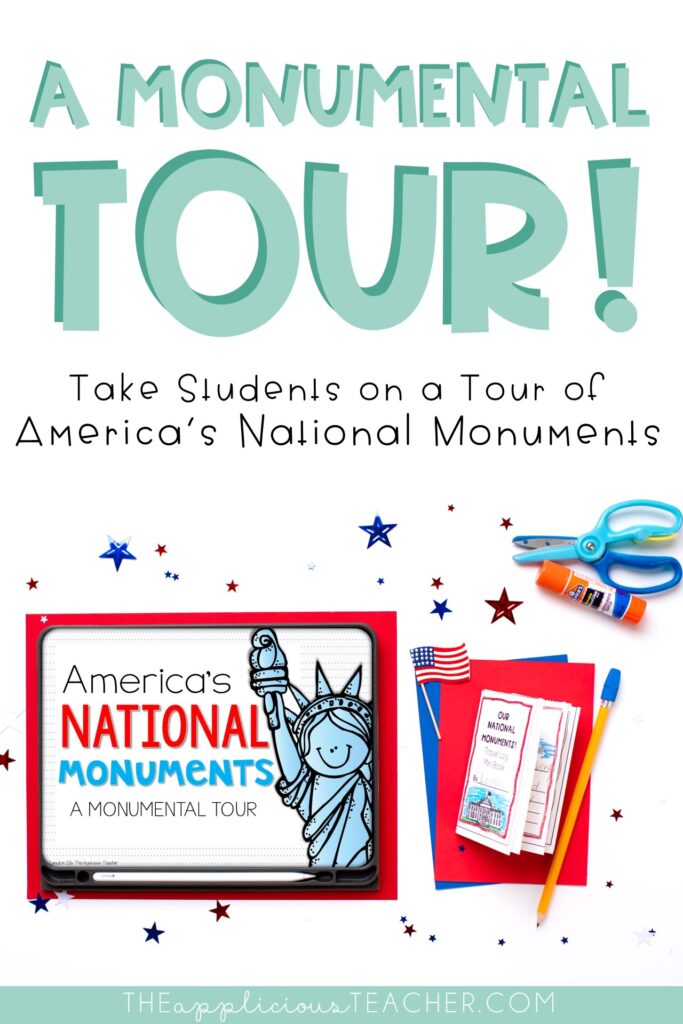
Learning about National Monuments can be fun! No really! Today, I’m sharing how you can create a fun, interactive virtual tour of some of our nation’s monuments without ever leaving your classroom! Your students will love these National Monuments activities.
Let’s be honest… teaching social studies is on the lowest end of the priority list- and I’m right there with you! From the lack of quality resources (that 15-year-old textbook doesn’t help!) to the lack of time… it can be tricky to find the desire to teach the subject. But today, I’m sharing a super fun and easy way to tick off a TON of social studies standards with very few resources and TONS of fun! So what unit is that? A National Monuments unit, that’s what!
Introduction to National Monuments
To kick off your National Monuments study you’ll need to get your students excited about learning and *visiting* all the different monuments.
To do this, first introduce what a National Monument is. The PowerPoint presentation in this unit makes this part a breeze! Then, provide an example. Have students share if they’ve ever been to a National Monument or can think of other examples. Write a list of their responses. This is the perfect place to correct any misconceptions about National Monuments you might hear.
A Monumental Tour
Next, explain to students that for the next few days, you’ll be going on a road trip to visit just a few of the National Monuments around our nation! But first, they’ll need a logbook to keep track of all the cool places they’ll be visiting.
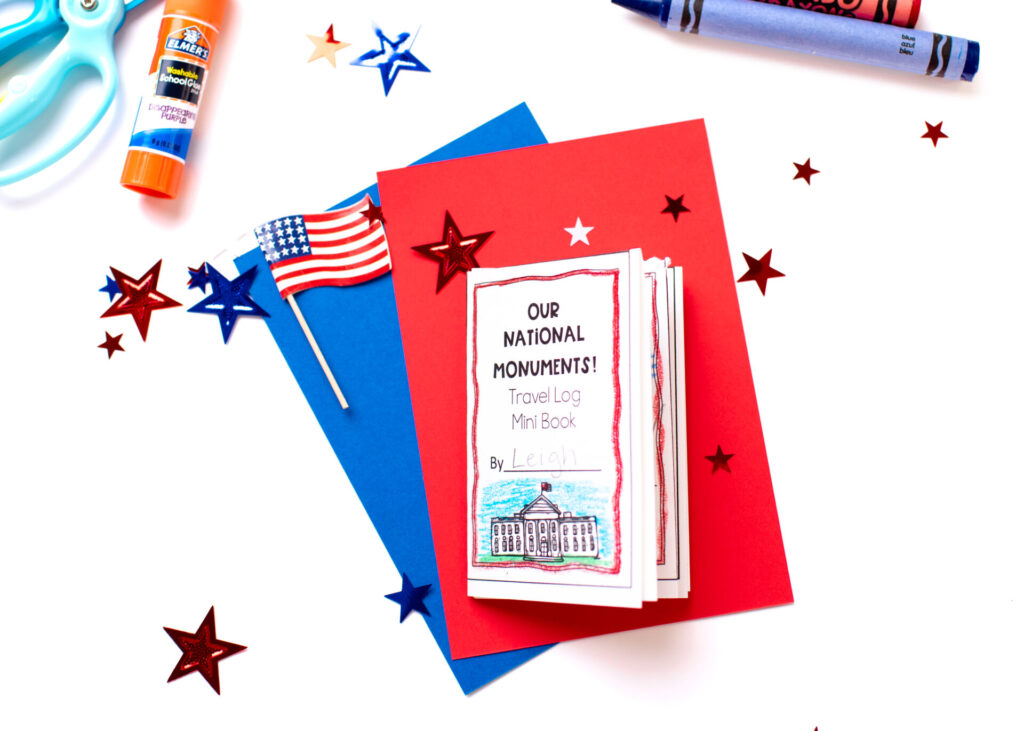
In this mini logbook, students can take notes on all the different monuments they’ll visit during your unit.
Making this mini-booklet is simple!
- Using a regular 8.5 x 11-inch sheet of paper, fold it in half lengthwise (hot dog fold).
- Fold again in half, this time vertically (hamburger fold).
- Fold again vertically, so you make a small “book” shape.
- Open up the paper and lay it flat.
- Cut along the middle of the fold line, leaving a folding space on each side.
- Fold booklet back in half.
- Accordion fold booklet to create pages.
Simplify this step by grabbing the premade book in this unit!
Give students time to color and write their names on their books. Either collect the booklets or have students save them in the safe place (folder, cubby) they will use during the entire unit!
Using Google to Tour the Monuments
The following day, have your students come down to the carpet. Remind students about National Monuments. Review what they are and talk about some examples that were shared the previous day. Let students know that they’ll be visiting many of the National Monuments around the United States for the next few days.
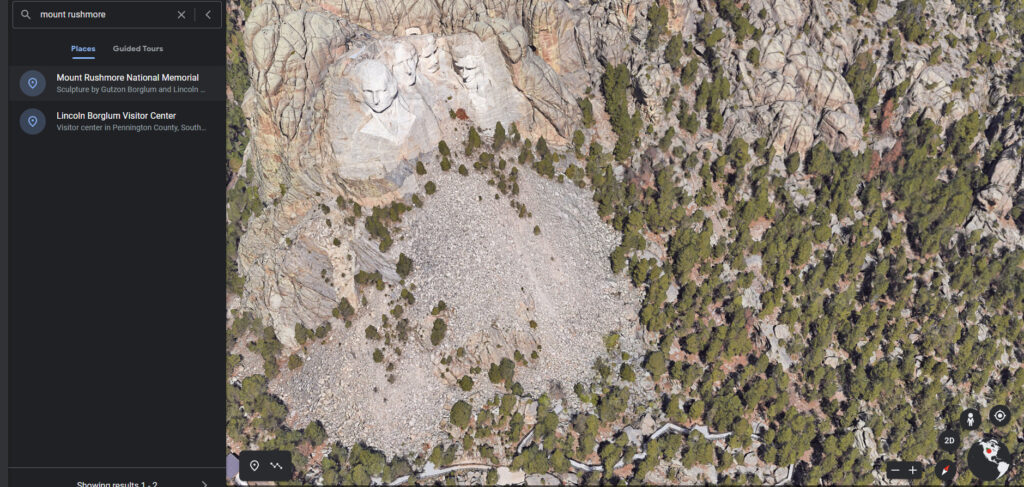
Using the teaching PowerPoint, click through to the first monument in the presentation. Review the name and location of the monument. Then, read the short paragraph and captions that detail specific information about the monument. After students have learned a little bit about the monument, click the link at the bottom of the slide to visit and explore around the monument using Google Maps.
Click the “Person view” to show little blue dots around the monument. Clicking the dots will bring up photos of the monument, just as if you were there. You can also click the 3D view of the monument. You can reinforce map skills by reviewing where in the United States the monument is located.
This part of the study can also be done in Google Earth, although it’s a little bit more entailed. Pull up Google Earth, then type in the monument. In addition to photos, Google Earth also includes tours and videos of many monuments.
Recording Your Learning with these National Monuments Activities
After learning about the monument for the day, have students pull out their mini logbook (or pass it out) and find the picture of the monument they visited that day. Then, have students add the name of the monument and one to three facts they learned about that monument.

Continue this process as you move through the monuments tour throughout the week. Each time, introduce the monument with location and facts, then give time to explore the monument using Google Earth or Google Maps.
Monumental Timeline
Might as well add in some more text feature lessons while you’re at it, right? As you learn about the different monuments, make a note of when construction was first started.
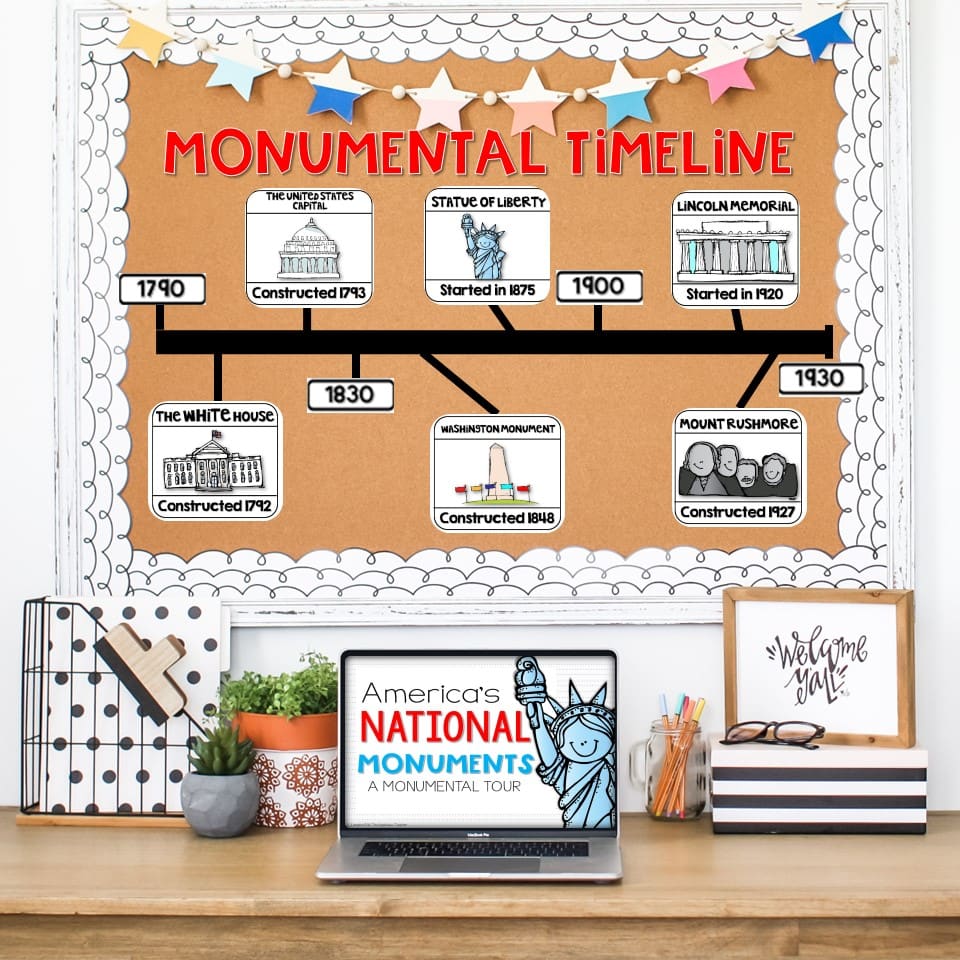
This information can be used to make a class timeline as you are learning about each monument, or at the end!
Using a large piece of black construction paper, make a thick paper line the width of the bulletin board. Then, add year benchmarks. Add photos/pictures and dates as you learn about each monument. I like using an empty bulletin board to build our class timeline. Staple the pieces up on the board at the end.
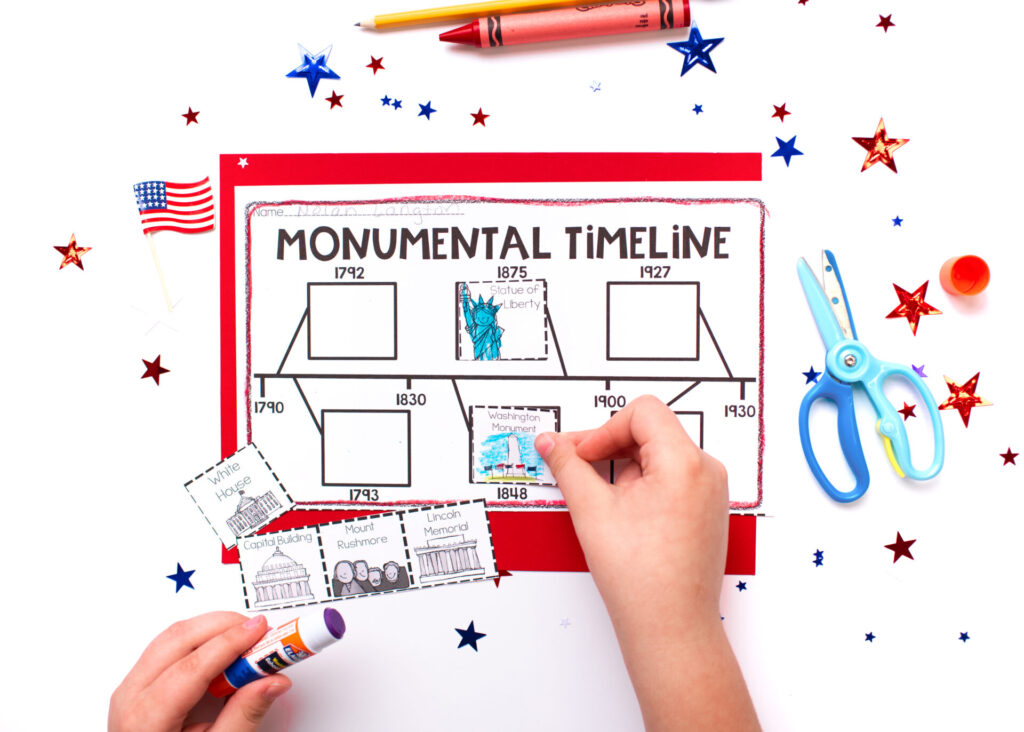
(No time/space for building the class timeline? This unit includes a quick print version!)
National Monument Writing Project
The ultimate form of displaying knowledge is the ability to write! That’s why I love ending this unit with an opinion writing activity.
For this writing project, students choose one of the National Monuments they learned about in the unit. Then, they write about why they would like to visit this National Monument in person.
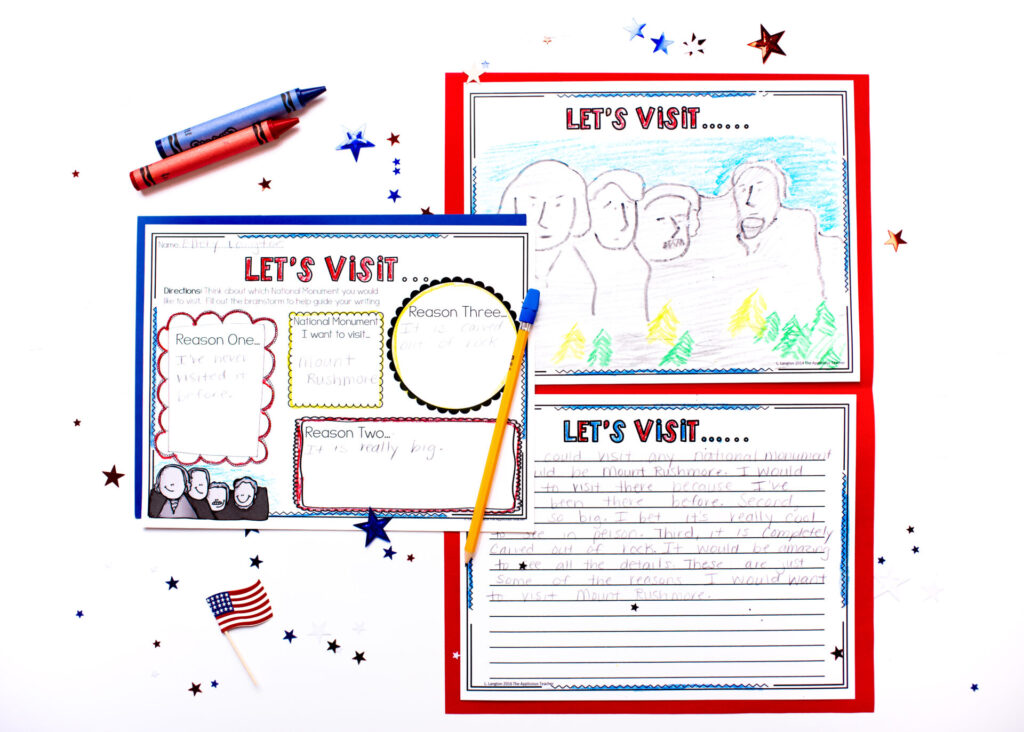
The writing process is made easier with this structured brainstorming sheet, where students get a chance to build support as to why that monument is the one they would like to visit.
When students are done with their brainstorm, model how to use the brainstorm to create a well-organized and developed paragraph. Publish the writing by adding an illustration and gluing the two sheets onto a piece of 18 x 24 construction paper. Display for other students to read and enjoy.
Take Your Students on a Monumental Tour
Want to take your students out of the textbook and onto the road to learn about National Monuments? Then be sure to check out this National Monuments Unit! This unit includes everything you need to easily implement this learning experience in your classroom. Think easy prep, done for you, and kid-approved! Teaching tools, hands-on activities, and even assessment printables – it’s all there!
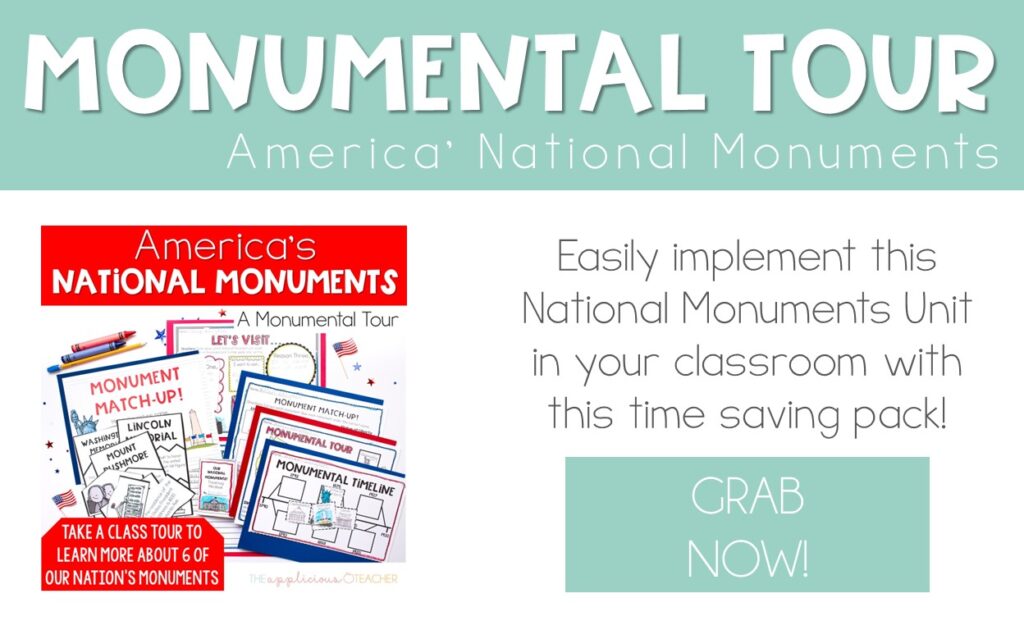
Here’s a peek at what else this unit includes:
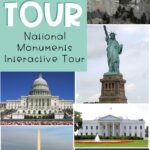
- Teacher PowerPoint including introduction slides and 6 informational slides on the following National Monuments: Capital Building, Statue of Liberty, The Lincoln Memorial, Mount Rushmore, Washington Monument, and The White House
- Links and suggested materials/resources to use while teaching the unit
- Monument Mini-book to complete during your tour. Includes folding and assembling directions.
- Monumental Tour Map- so your kiddos can plan their route as they explore the Nation’s Monuments. Includes one with and one without pictures.
- Monumental Writings- set of 3 writing activities to engage your students while utilizing their learning. Each writing activity includes a brainstorm, a primary lined page, an intermediate lined page, and an illustration page.
- Monument Match-Up- Students work to match the title of the monument to the picture and a fact. Includes a cut-and-paste activity. Use as a center or whole group activity.
- A Monumental Timeline- Create a class timeline by putting the monuments’ construction dates in order! Cut apart the dates and names for a challenge. Includes a cut-and-paste timeline sheet. Also includes bulletin board letters and date benchmarks to turn your timeline into an interactive learning board.
- Monuments Test- A quick assessment to spot-check your students’ understanding of the National Monuments taught in this unit.
More Great Ideas!

Check out these other posts to get more great ideas for your classroom!