
It’s that time of year where stress is high, energy is low, and teachers are being told if they are moving classrooms! Today, I’m sharing 10 of the best tips for making that ever-crazy and never-wanted classroom move less stressful!
I heard the tell-tale sign of footsteps coming up the ramp that led to my little portable…click-clump, click-clump (If you’ve ever taught in a portable classroom, you’ll know this sound well!). But nothing could have prepared me for the news that my principal was to share in just a few moments:
I was going to move classrooms for the following year. Goodbye portable, hello upstairs classroom!
Fear, excitement, and dread immediately defined the moments after she left. On the one hand, I was excited to move out of the portable I had called home that year. On the other, I was dreading the move… that’s a whole classroom to move across campus and up the stairs!
So no teacher ever really wants to hear the words: “You’re moving classrooms.” They just don’t. And there’s one simple reason for that: moving is a ton of work! And a ton of work after a whole school year of work is really the last thing that anyone wants on their plate.
But if you’ve found yourself on the receiving end of such news… don’t fret! I’ve moved seven times over my 12 years in the classroom. I’ve moved upstairs to downstairs. From portables to new classrooms, across campus and across districts. Even to new districts!
Thankfully, each new move got a little easier… and, although they were still annoying, I found that following even just a few of the tips I’m sharing today made the whole experience so much less stressful!
So, let’s dive into some of these tips for moving classrooms!
1. Purge! Early and Often.
This one is first for a reason.
Teacher friends: WE ARE HOARDERS!
It is in the teaching blood. We have to save, scrimp, and hoard all the things. I mean you never know when you might need that piece of sparkle tissue paper or string, am I right?
And books? Are there ever enough?
But, the truth is… there is such a thing as “too” much. Use this opportunity to purge some of your teaching stash. The sooner the better, too!
Struggling with where to start on purging the excess? Here are few tips:
Now, obviously, if things are still in good condition, but you just don’t have a need for (hello, decodable readers if you’re moving to 4th-grade math!), be sure to place them in a common area of your school with a note that says: FREE. I promise that pile will be G.O.N.E faster than you can say WAIT! 🏃♀️
2. Box Up by Area, Unpack by Each Area
This next tip will make the unpacking of your classroom so much easier! Plan out your boxing and pack up by area.
For example, pack up your guided reading materials. Try to keep it all in one or two boxes (if you can)! I know it’s tempting to take EVERYTHING with you but remember… your new classroom may come with a bunch of stuff (like math manipulatives), so be sure to only take what you need.
Once you’ve packed up one area, move on to the next. By boxing up items by area, you’re setting yourself up for easy unpacking in your new classroom. As you move in, you can put the boxes in their designated spaces. Then, you can move through each area and unpack each area one at a time.
3. Organize Your Items as You Pack Up for Your Classroom Move
So, this next one is a gift you are giving to your future teaching self. You know, the one who is running around at the last minute looking for that timer, those centers, that stack of task cards??? Listen to me: organize your stuff as you’re packing it up.
Notice your reading/writing station activities are a mess? Girl, don’t you do it! Don’t you dare pack up that mess! Organize them as you go, so that once you’re unpacking, you don’t have to organize them again.
The same goes for your school supplies, teaching resources, and books. Organize them as you pack them up. Unpacking will be easier, but you’ll also be organized for the next school year without the extra effort!
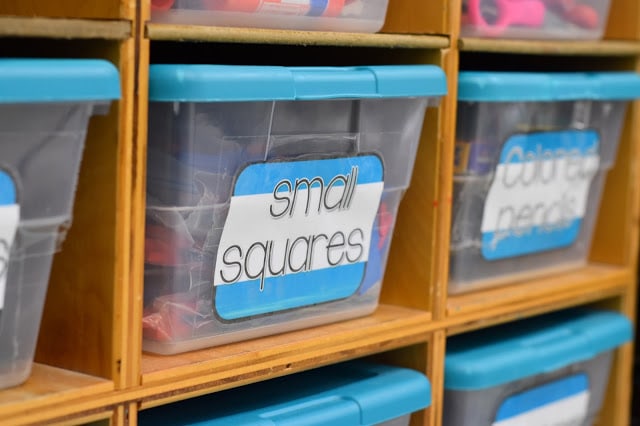
4. Label Each Box
I feel like this one goes without saying, but I’m saying it anyway! Label each box as you pack it. If it contains your teacher desk goodies, label it that way. Does this one hold your classroom library? Then be sure to label it!
This little step will save you time when you’re placing your items in your new classroom. Now, you (and whoever gets to help you) can just unload and place boxes in the areas around your room without any extra effort. It also helps you to keep track of all that stuff – like if your teacher binders aren’t in your teacher desk stuff, then you know they are missing… not just somewhere in another box.
Pro-teacher tip: It’s also a good idea to write your last name on the boxes as you label them, too!
5. Number the Boxes
Once your classroom is completely boxed up and ready to move… count all your boxes. Then, number them “1 of blank,” 2 of blank,” etc.” This is especially important if you are not the one moving the actual boxes.
Sometimes, schools only allow the custodians to move boxes (you know, because of the newly waxed floors!🙄), and when that’s the case… you’ll be glad to be able to double-check that all your boxes have made it to your room. And if they didn’t- it’s pretty easy to know which box is missing and how to know if it’s yours!
6. Plan Your Space Before You Move In
If you’re able, take some time before you move in to scope out your new space. Take notes on where you’d like to set up areas in your classroom. Use your former space as inspiration, but remember… a new classroom is a perfect time to experiment with new ideas!
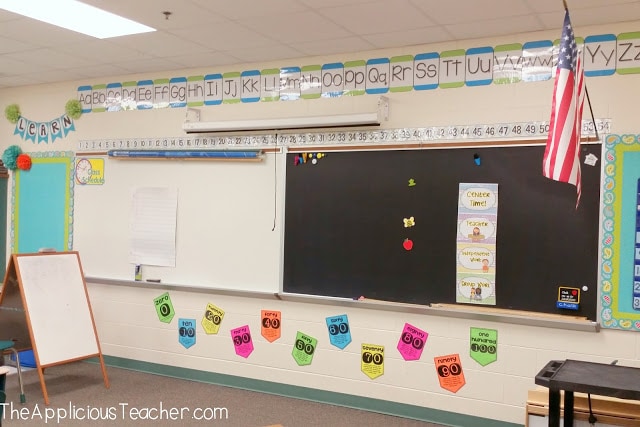
Take note of where the current placement of furniture is and how you’d like to keep or change it. Write down everything you can and keep your notes for when you’re ready to unpack. Remember, you can store notes on your phone using the Google Keep app, or go super old school and have a notebook labeled “BTS Prep” and just keep a running list there!
This step also allows you to move in and set up much faster. You’ll know what needs to be moved or changed before you fill your room with your stuff!
7. Be Creative with the Boxes
So, when we first hear we’re moving classrooms, our first thought might be to start buying moving boxes from our local moving company or home improvement store. Now, this isn’t wrong or even a bad idea, but chances are you won’t need as many boxes as you think… if you get creative!
For example, have filing cabinets full of files you plan on taking? Crates make easy transporters, can stack up nicely, AND BONUS!!! – they slide right into a filing cabinet – no unloading needed!
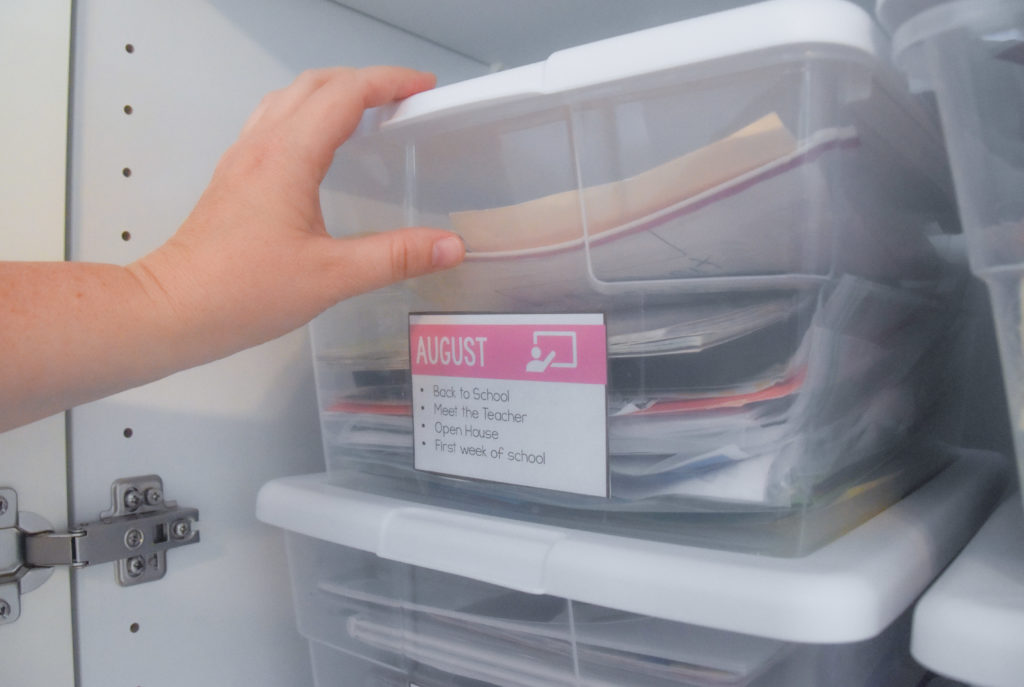
Also, if your stuff is already organized in plastic bins, you can just keep them in the bins and not re-box them. This is one of the reasons I started using Teaching bins in the first place.
For your classroom library, I suggest sourcing some banana boxes from your local grocery store. Just place a cardboard sheet at the bottom, and you’ve got a super sturdy box perfect for moving, carrying, and sliding your prized possessions!
8. Ask for Help: It’s Impossible to Move Classrooms by Yourself!
It can take an enormous amount of energy and time to pack and unpack a classroom. Ask a few friends or family members to help. In the past, I’ve asked my sisters to help me for the day. I know it’s hard to ask for help, but those extra hands will make quick work! I promise!
9. Have a Plan for the Helpers
Sometimes it’s hard to delegate certain tasks to people, so be sure to have a clear plan of action for your helpers.
Some simple suggestions:
- Wiping out the cupboards/shelves before you unpack. This should be a tip on its own, but PLEASE! PLEASE! PLEASE! bring some disinfectant wipes and plan to wipe out every cabinet before you unpack!
- Unpacking and organizing school supplies into specific shelves
- Unloading the books onto the bookshelf
- Placing files in filing cabinets
Having specific jobs for your helpers allows you to focus on setting up things like your teacher station, your guided reading group table, or rearranging some furniture pieces.
10. Plan at Least 2-3 Days for Unpacking and Setting up
Take a deep breath… moving is hard and even the best-laid plans may need adjusting. Make sure you’re planning some extra time for packing, moving, unpacking, and setting up. And that time has to come from somewhere.
This may mean taking an extra few days before pre-planning to start unpacking. Or, possibly coming in a few days over summer. Talk logistics with your principal or principal’s secretary. They’ll know the best times for you to come in during summer hours.
I know it’s hard to think about working over the summer. Teachers deserve a summer without having to work, but even just a few days of summer prep will save you! Give yourself time then, so that you’re not stressing trying to get your room situated while you’re also trying to do BTS prep. Believe me, these extra days on the front-end mean less extra time spent during the school year trying to find things.
Take a Breath! You Rocked Your Classroom Move!
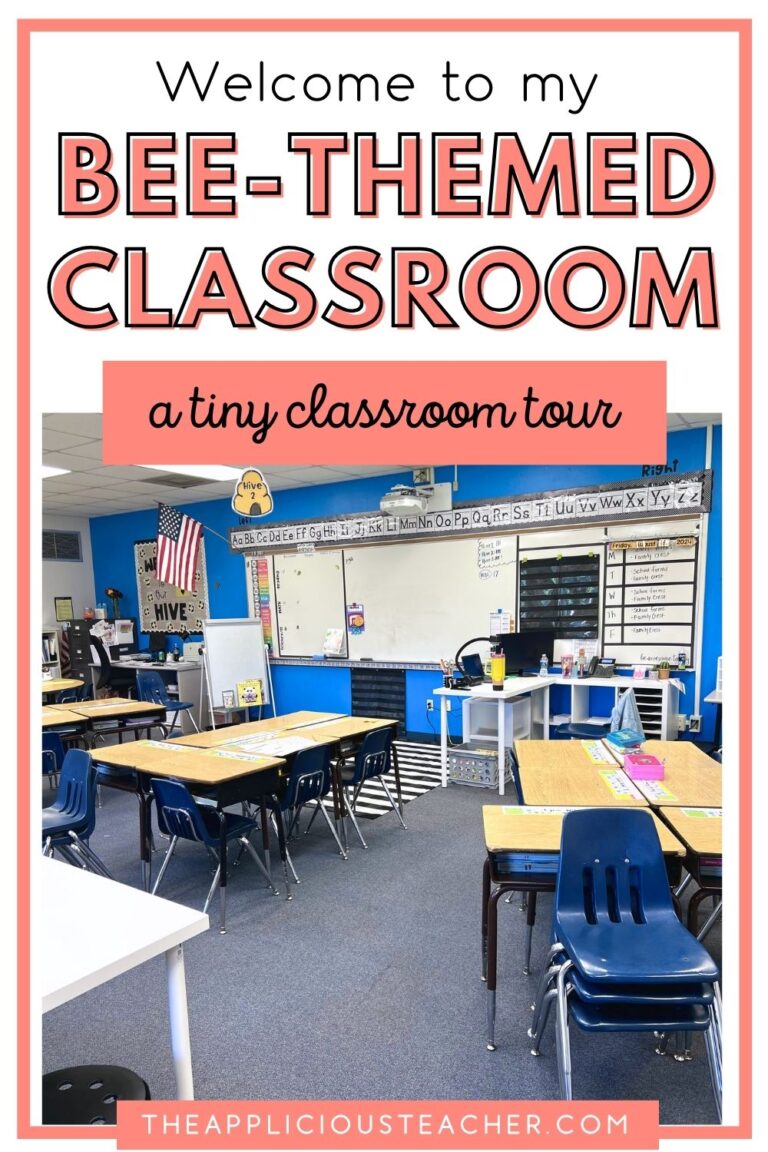
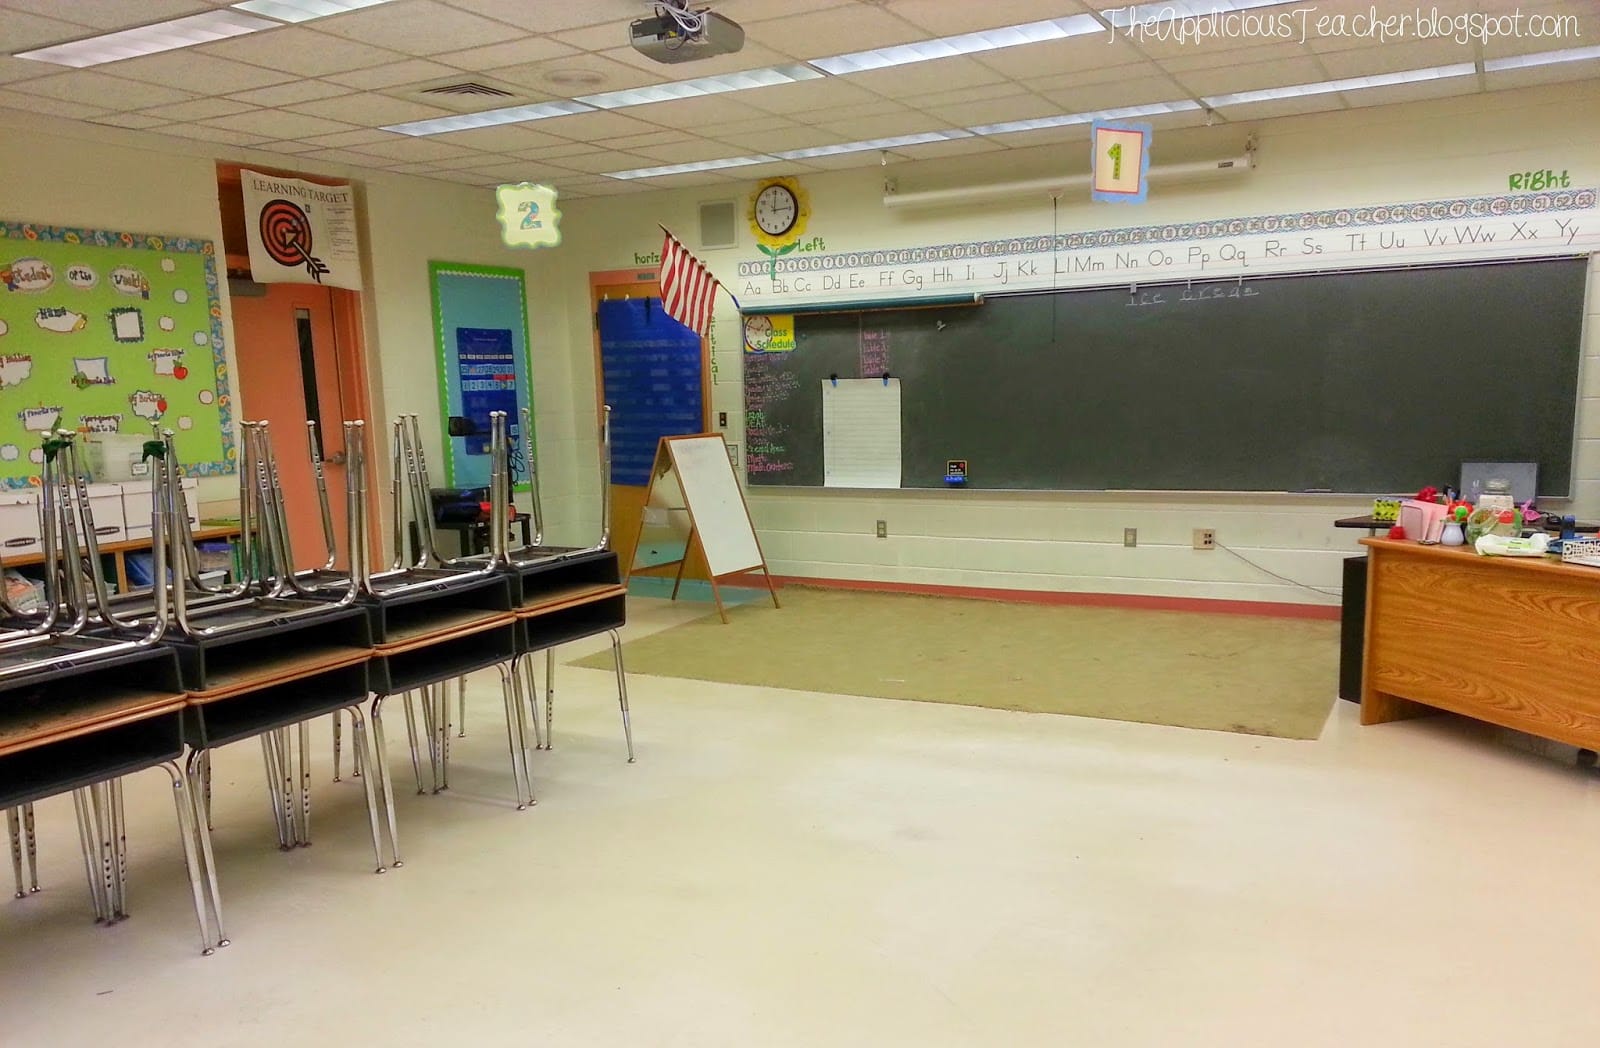
As I survey my new classroom, I can’t wait to move my stuff in and start decorating. I’m getting all the new classroom feels and none of the stress! Little did I know that I would be packing up all this stuff again in five years and moving to a new school across town (and again after that… and again after that)!
See… moving doesn’t have to be so bad! I’ve moved classrooms seven times over my 12-year teaching career. From upstairs to down, from one building to another, even across counties. Each time, I am always so thankful for the extra little prep work I did while packing because it makes the unpacking so much easier. I hope these tips help you on your new classroom journey as well!
More Posts to Love