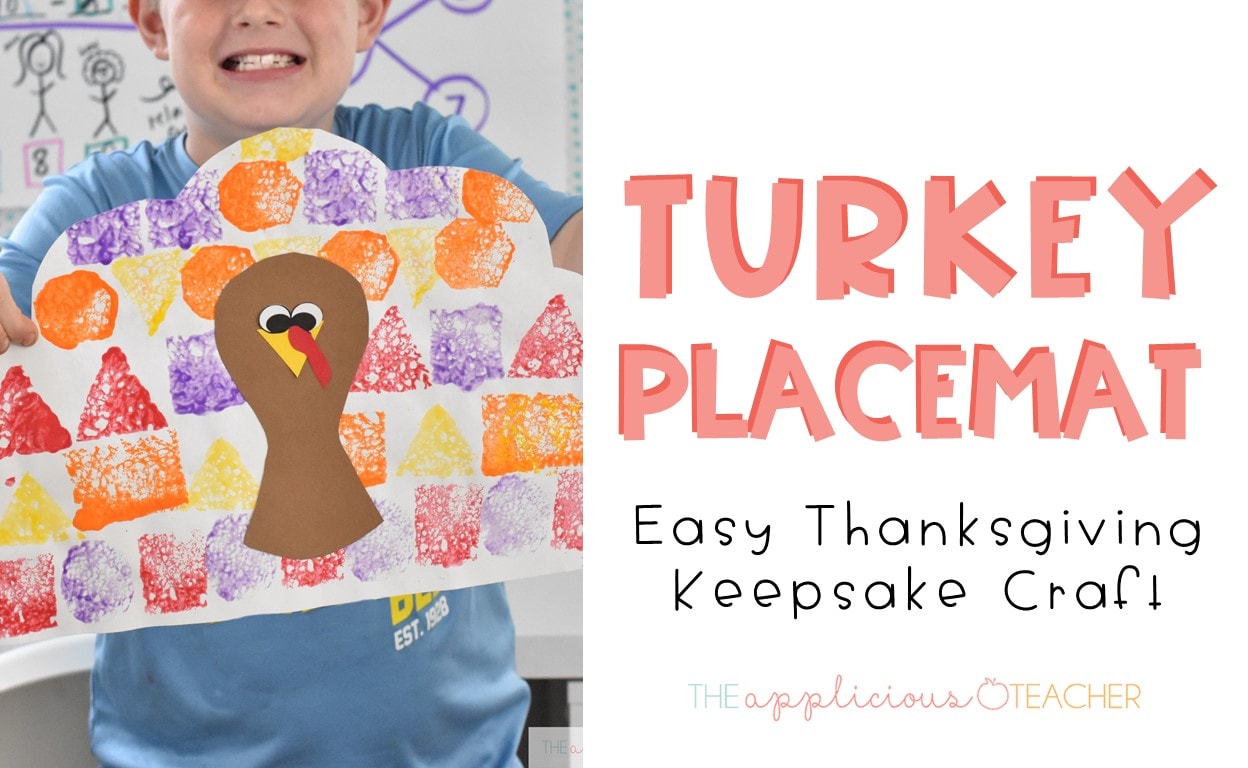
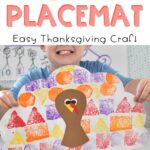
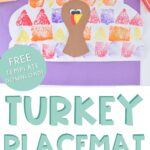
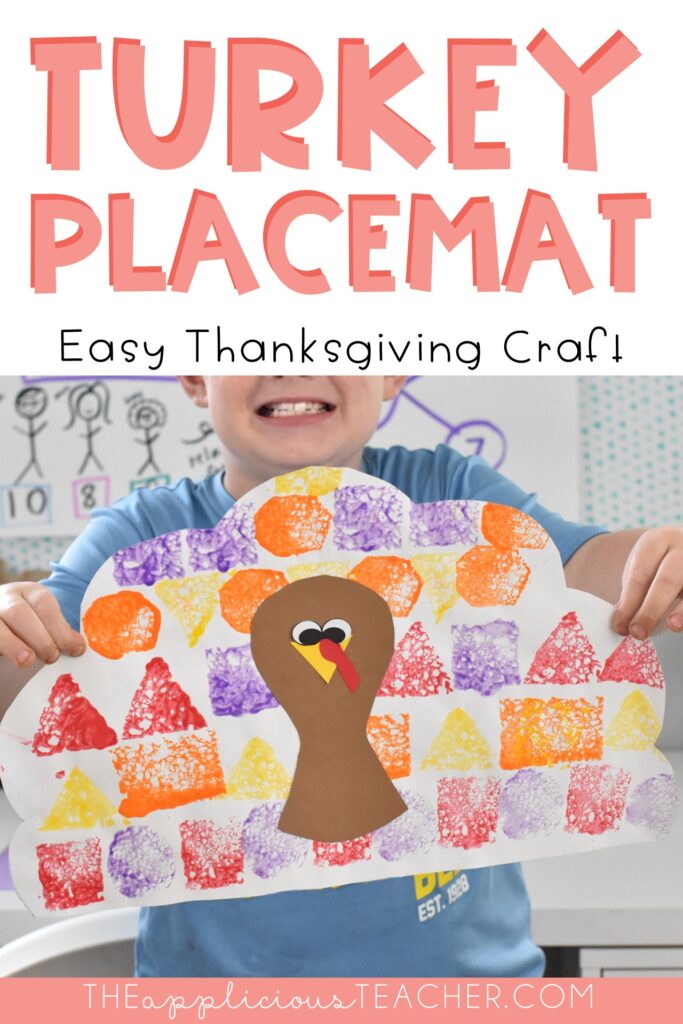
It’s finally fall, teacher friend! The weather has been in the 60s in the morning around these parts, and although we’re still heating up to the mid-80s by noon, I feel like Florida has decided to allow fall to start. All this “cooler weather” talk got me thinking about Thanksgiving. One thing I loved about this time of year was some of the “fun” stuff I could do with my students. One of my favorites was a keepsake turkey placemat! Perfect for a Thanksgiving feast, this easy turkey placemat craft takes only a few minutes and requires supplies you already have in your classroom!
Please note this post contains affiliate links. When you use my link to purchase an item, I receive a small monetary fee in return. These small fees help pay for the upkeep of this website and allow me to continue bringing you amazing content year after year! To learn more about this, click here.
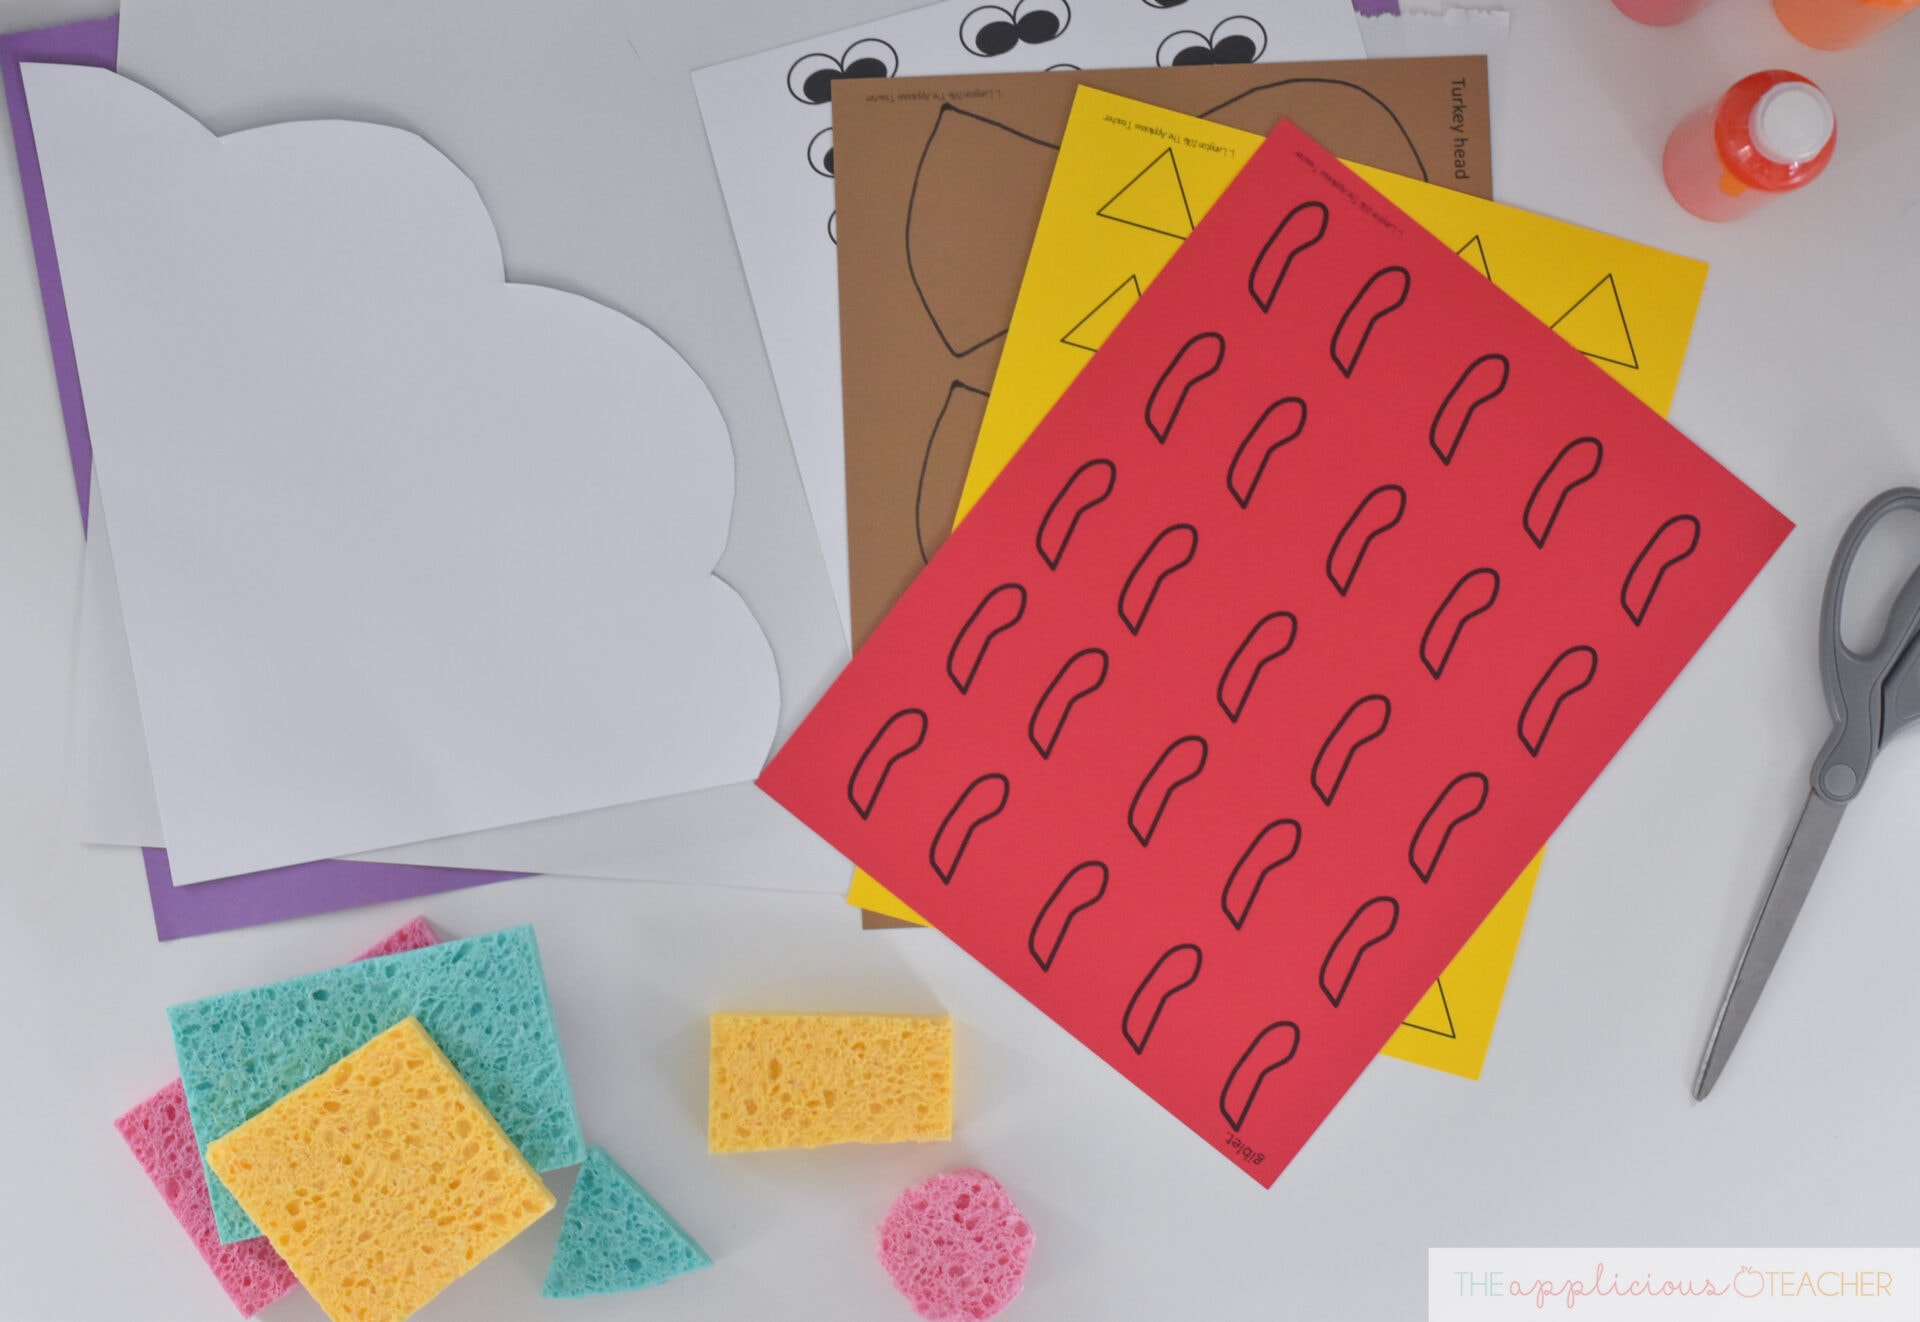
Materials for Turkey Placemat
Like I said earlier, all the materials for this turkey placemat craft are things you most likely have stashed away in your classroom cupboards already.
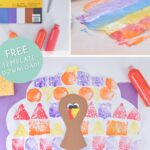
Here’s a peek at what you’ll need:
- Tempera Paint in fall colors (These have been a classroom staple for me!)
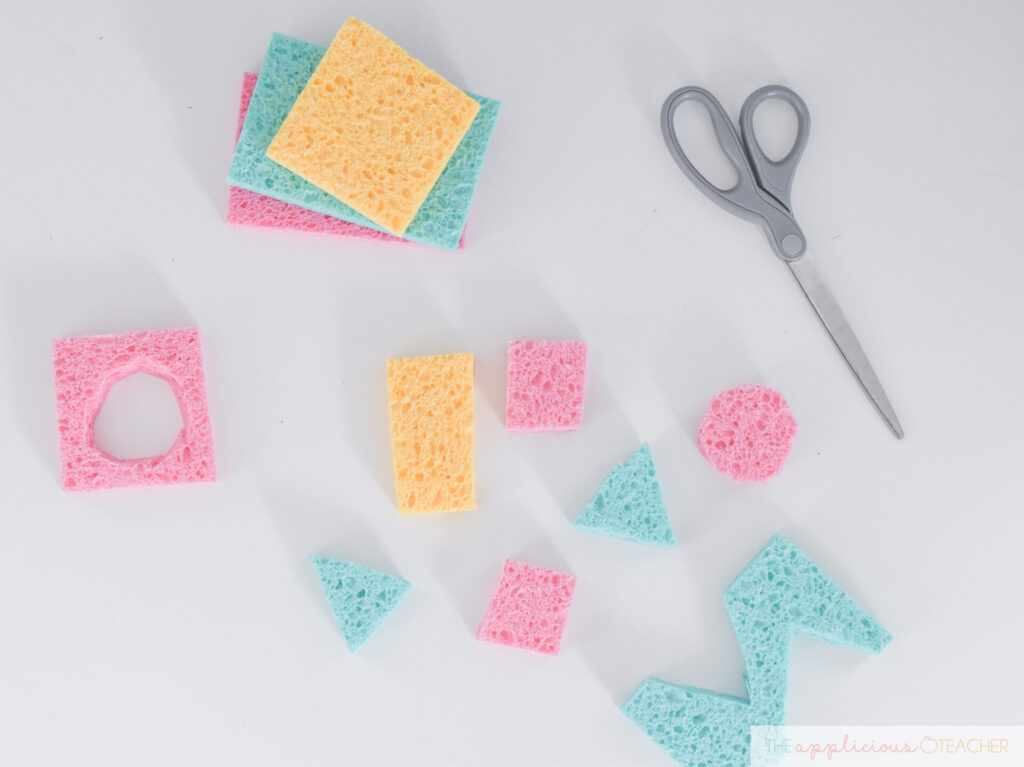
- 4-6 sponges (without the scrubbing side) cut into shapes (square, circle, triangle, rectangle)
- scissors (I love these scissors!)
- paper plate for paint- one for each color used
- 18 x 12 white or manilla construction paper
- . Large paper to cover working space (These tablecloths work well to wipe and use again!)
- Turkey head and face template (freebie at the end of this post!)
Getting Started
First, prep your painting table. Having a specific spot where the painting happens will minimize the mess.
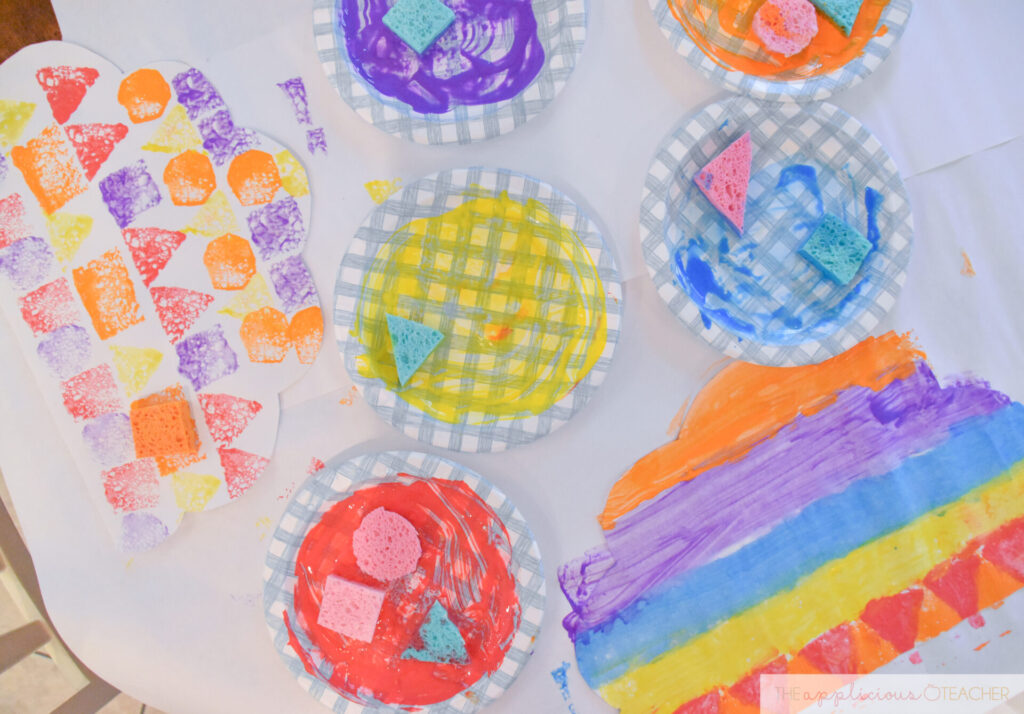
To set up the painting space, cover a table with newspaper or old chart paper, or use a wipe-off tablecloth. Then, pour a sizable amount of fall-colored paint onto different plates. You should have one plate for each color. Then, mix in a little bit of water into the paint. This will help coat the sponges better and help the paint last a little longer.
Then, cut shapes from the sponges. I like to keep it pretty simple with a few circles, triangles, and squares. Every paint plate should have one of each sponge shape. This will give your students options while painting.
Now, to be super prepped, trace the turkey tail ahead of time onto the large construction paper. Then, on the bottom, write the students’ names and the year. This way, you can see who’s had a turn and who still needs to paint. It also keeps you moving quickly because you’re not stopping to have to trace more tails or dig through to see who you have called.
Applicious Teacher Tip! – Have a volunteer come in for the day and head up the painting. They can just keep calling students back while you teach.
No volunteer? No problem. Throughout the day, find pockets of time to call a few students back to paint. It might take a few days, but you’ll get through it. I normally find that time in the morning and during centers works well for this.

Ready to Paint the Thanksgiving Placemat
Now comes the fun part: PAINTING!
To start, have 2-3 students come to the painting area. Then, have them use the sponge shapes to create designs on the turkey tail. It’s helpful to have a sample of a finished turkey placemat available, so students know what the end result will look like.
Now, here’s the chance for students to get creative!
Younger students may need to be shown how to dip the sponge in the paint, then tap the sponge to the paper. Older students may need to be reminded not to smash down on the sponges as they paint. Most importantly- we don’t mix colors on the plates! Remind students to place the shaped sponge back on the plate they took it from before moving on to a different color. If they want to mix colors, they can do that on their paper. Not the plates! (OCD teacher here!)
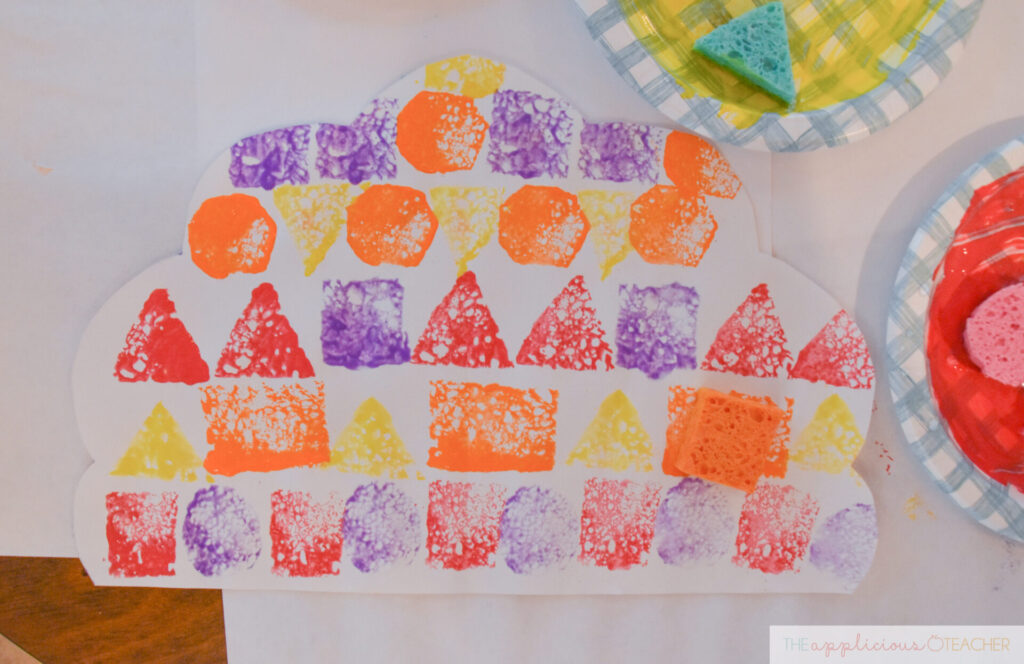
They can create a pattern, like alternating circles and squares in different colors, or use the sponges to create a feathered look. I usually leave it up to them!
If you’re worried about overly observant admin, I suggest steering students towards the patterns, so at least you can say you’re working on repeated patterns for math.
Once students have filled the whole tail, place the painting on a shelf or counter to dry. The thinned out tempera paint shouldn’t take too long to dry, but you’ll want it completely dry before moving on to the next step.
Add the Turkey Face and Head
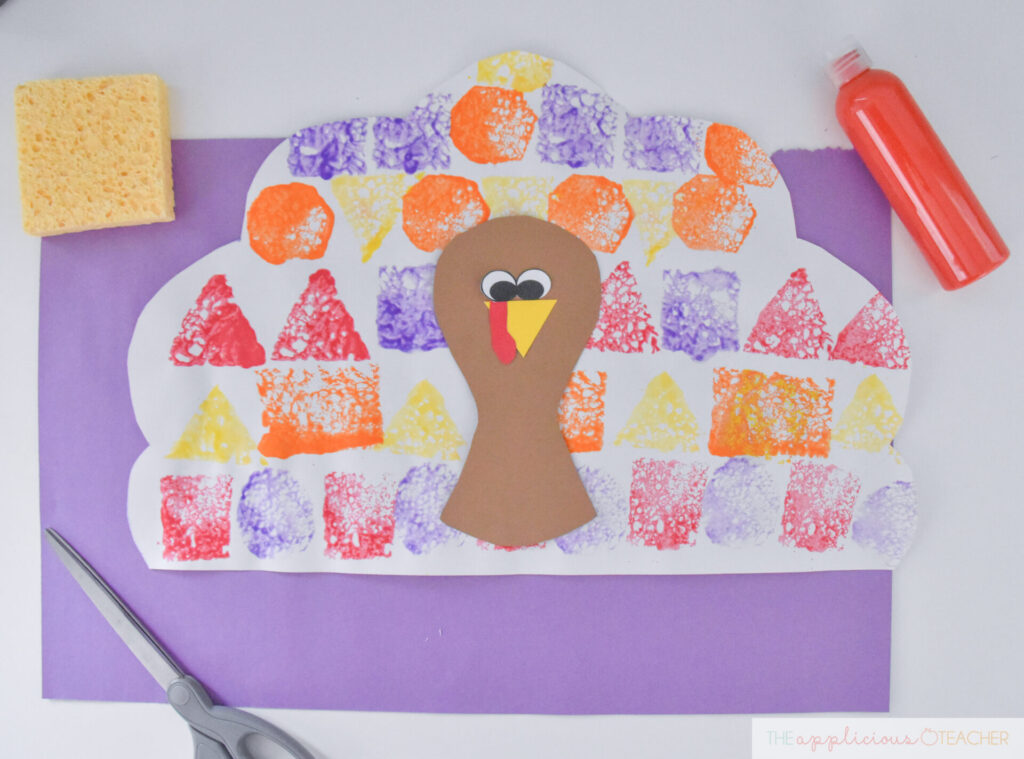
Once the placemats are dry, it’s time to trim out the tail and add a head and face.
Print out and cut apart the eyes, beak, and giblet of the turkey. You will also need either head tracers or head cutouts. I like to have all the pieces rough cut and bagged ahead of time. This way, I can hand each student their pieces to cut quickly and easily, and we can finish the turkey placemat that day!
Just like before, have a few students come to a table to work at a time.
First, have students trim out the tail so it creates a nice semicircle shape for the turkey placemat. You may need to rewrite their name and the year on the bottom in permanent marker.
Then, have students trace and cut out the head for their turkey. To save time, you can have heads already printed out and ready to go.
Students will cut out the heads and glue onto the middle of the turkey tail.
Then, they will cut out the beak, eyes, and giblet, and glue them onto the middle of the head.
Set aside to dry.
The Finishing Touch on the Turkey Placemat
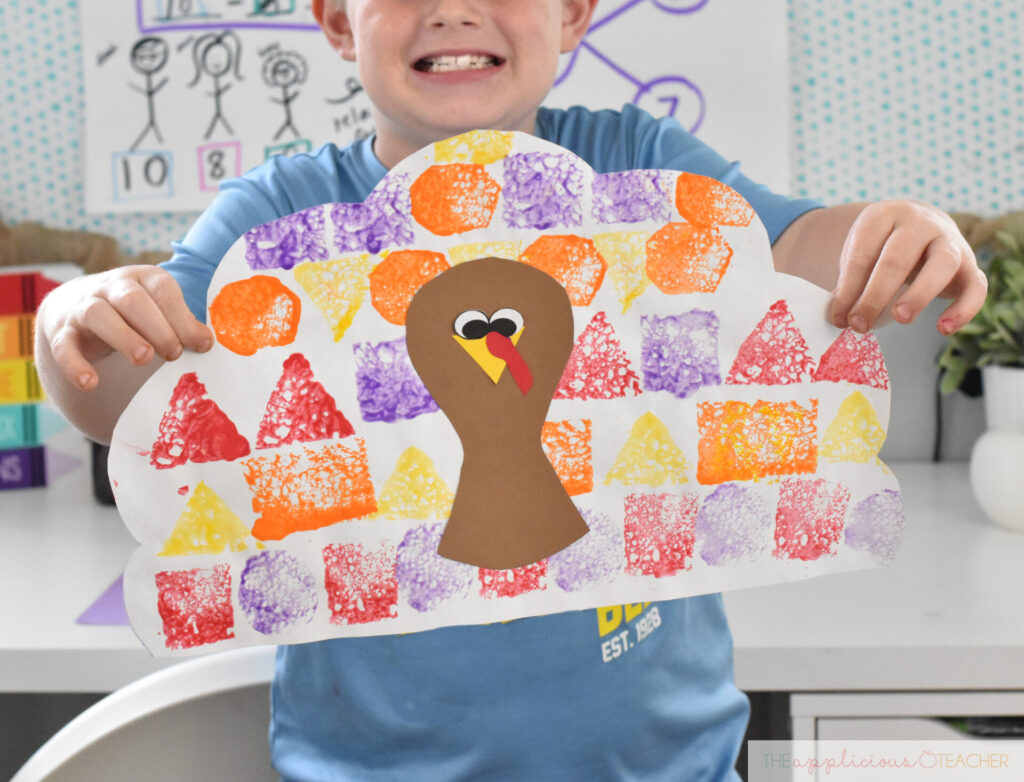
Once the turkeys are dry, have them laminated so that they’ll last a few years as a special Thanksgiving placemat. Your students (and parents) will love pulling it out year after year!
To keep your pieces ready to go, place any leftover pieces and the turkey placemat sample in a gallon sized zip lock baggy. Then, pace it in your November Teaching tub and you’ll remember to prep it again year after year!
Other Design Ideas
No time for sponge painting? Have students use paintbrushes instead. You can also have students make handprints to decorate the tail feathers! The possibilities are endless!
Grab the Turkey Placemat Pieces!
Ready to have your students complete this fun activity in your classroom? Sign up below to join The Applicious Teacher community! Newsletter subscribers gain access to tons of free resources, including everything you need to complete this project. Sign up below to have this sent right to your inbox!
More Fall Fun!
Check out these other Fall fun posts for more ideas and resources to help you this season!